Illustrated Stitch Guides
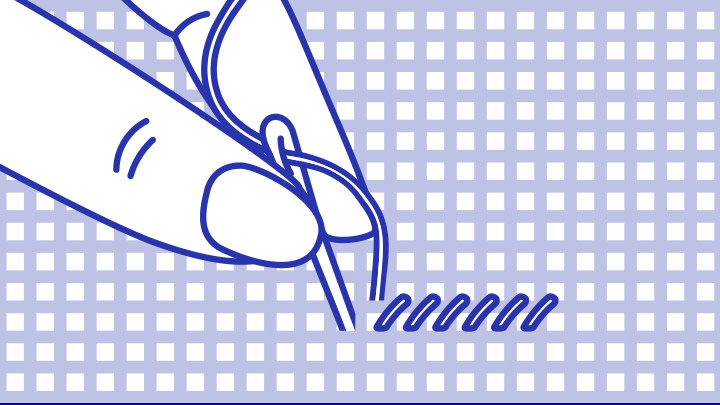

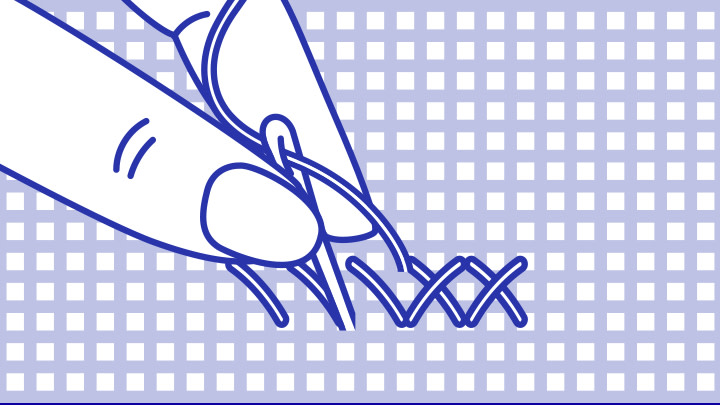


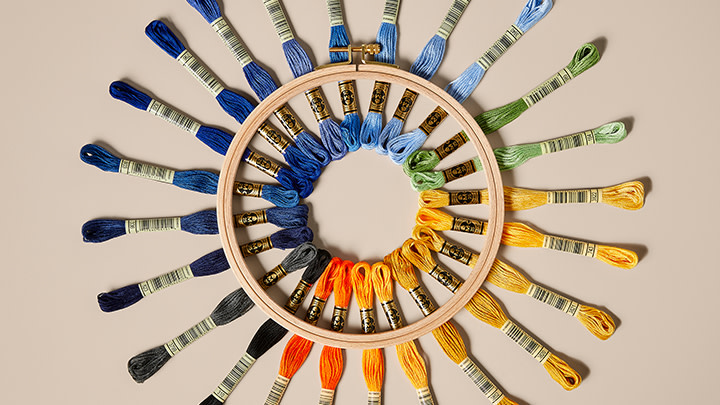
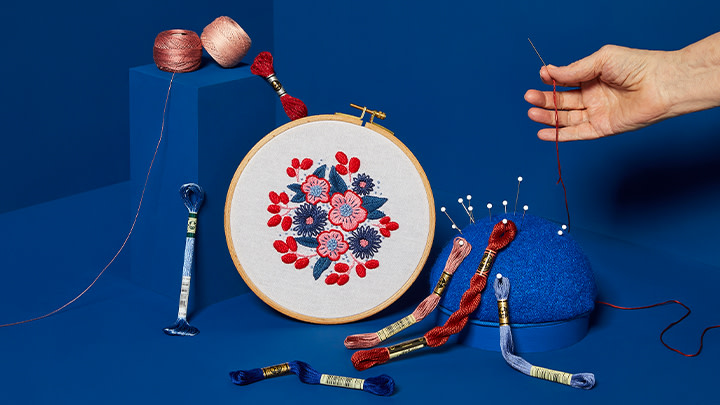
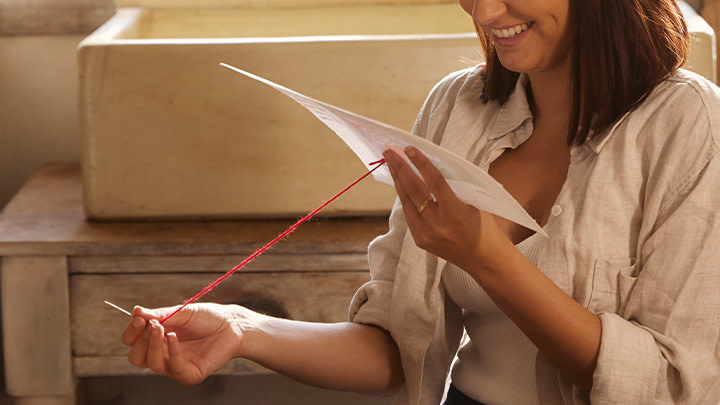
Our Embroidery Articles
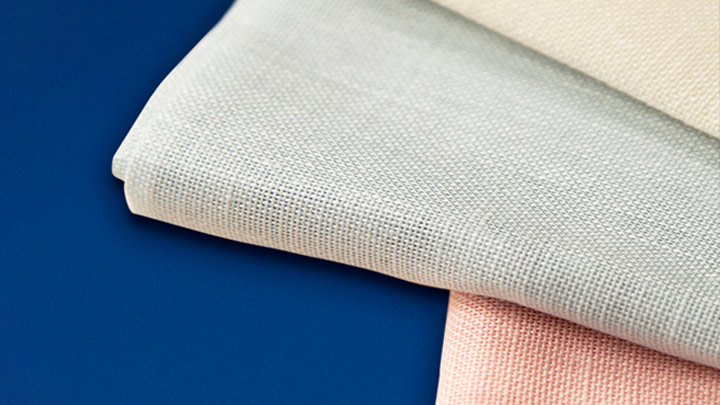


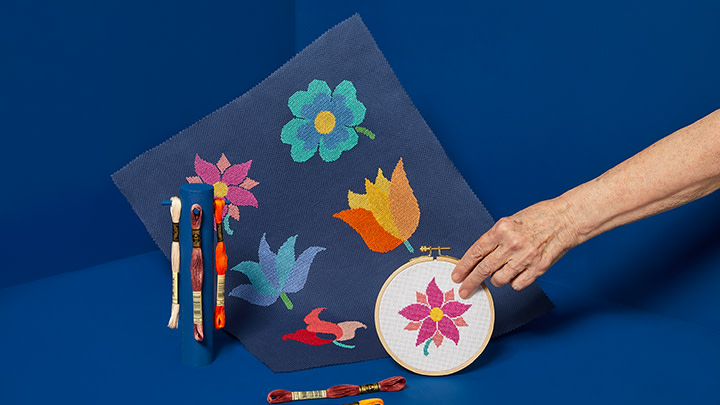
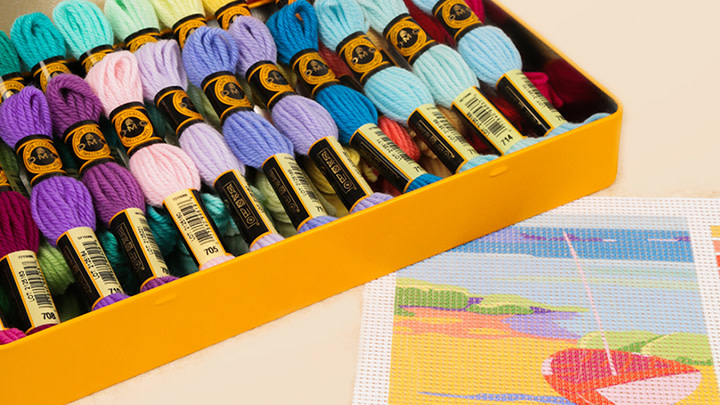
Our Cross Stitch Articles


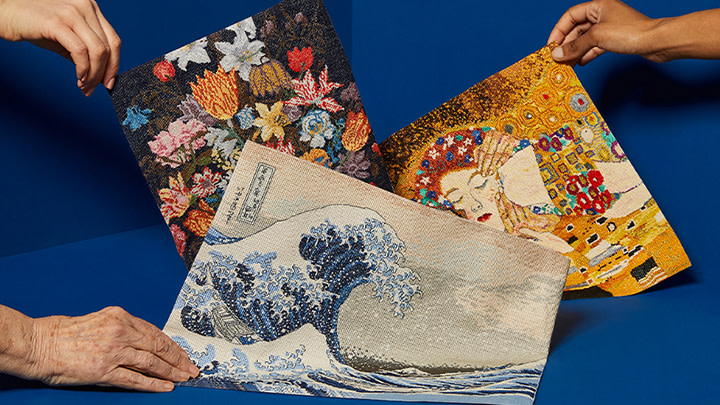
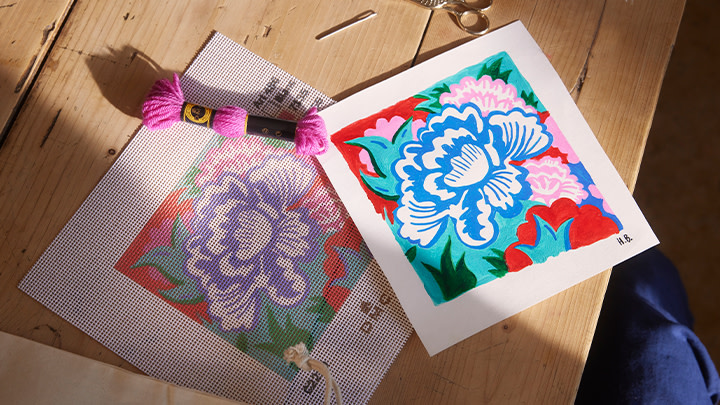
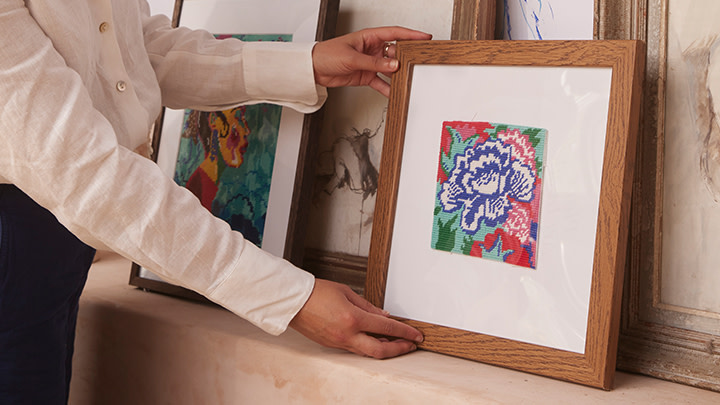
Our Tapestry Needlepoint Articles

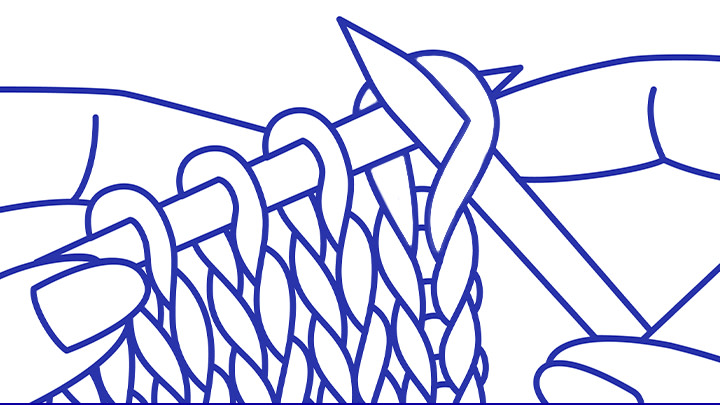
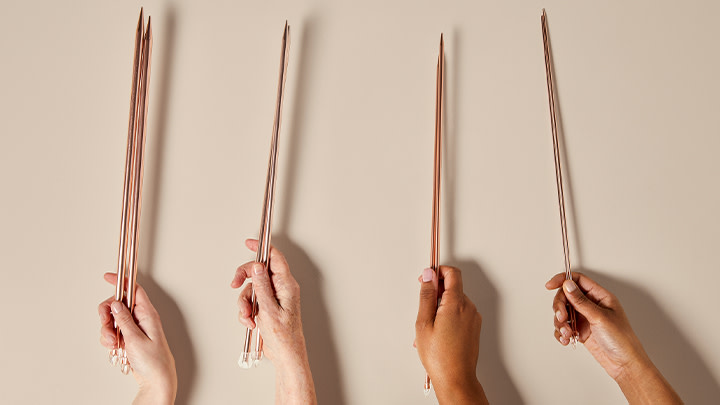
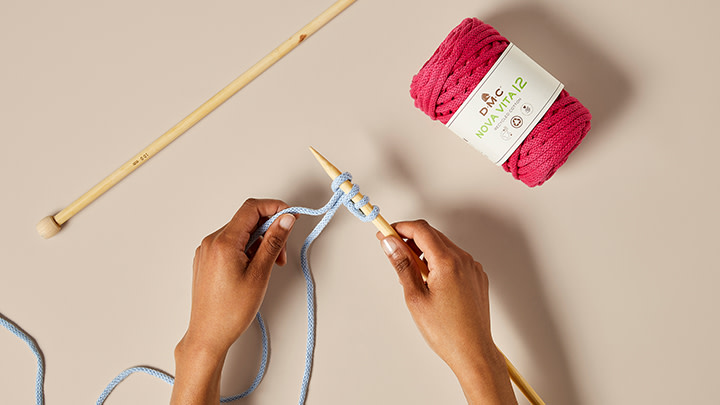
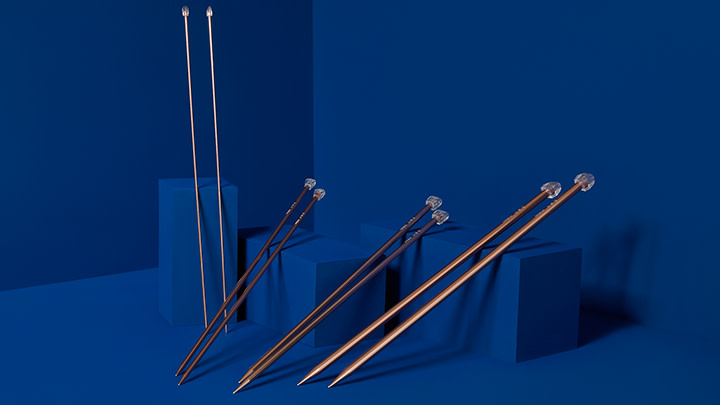
Our Knitting Articles


Our Crochet Articles


Our Punch Needle Articles