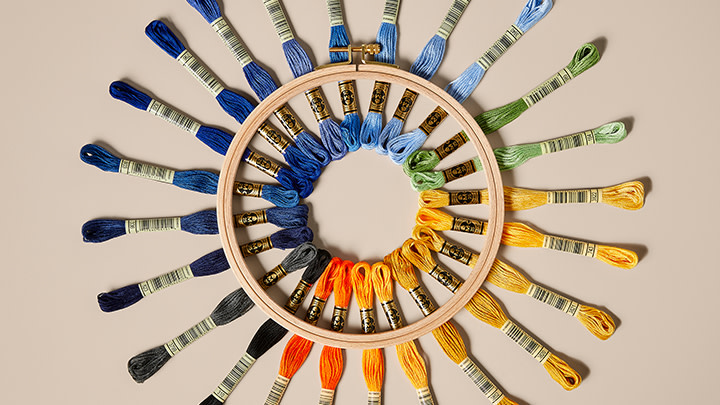
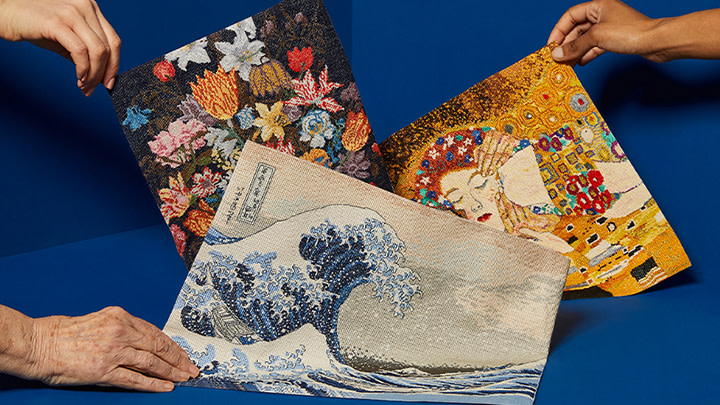
Stranded embroidery thread is designed to be separated before use. By using different numbers of strands you can change the look of your embroidery and create different effects. We have been producing DMC Mouliné Spécial since 1898. It is the world’s favourite embroidery thread. In this article we explain how to use this iconic stranded thread including the best way to separate strands.
How Much Floss Should I Stitch With?
If you stitch with thread that is too long it can become worn, frayed or dirty from being handled too much and passed through the fabric too many times. How much you need will vary slightly depending on the embroidery technique you are using but as a general rule the distance from the tips of your fingers to your elbow is a good length.
How Many Strands of Floss Should I Use?
Embroidery designs will usually tell you which thread to use and, if it is a stranded floss, how many strands to use. You will not usually stitch with all six strands of floss at once so you will have to separate the strands before stitching.
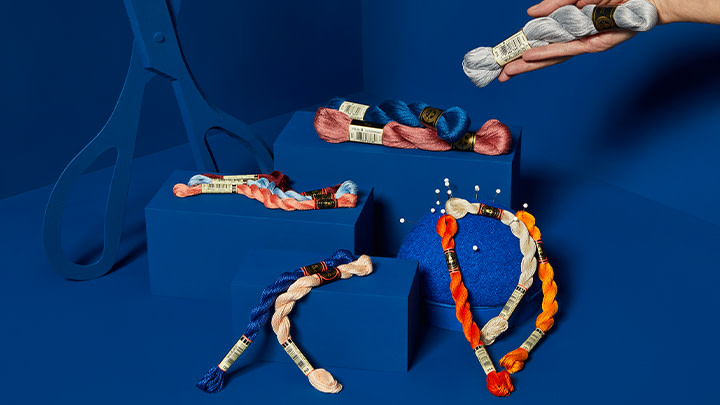
How to Separate Stranded Embroidery Floss Easily
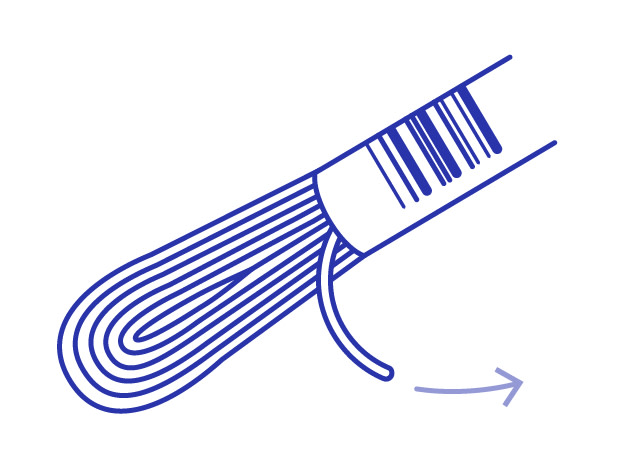
Find the end of the floss under the larger bottom label (the one with the barcode and number). Slowly pull from the skein until you have a maximum of 50cm (18”) of floss. (Use your arm as an easy measure for a good amount of floss.)
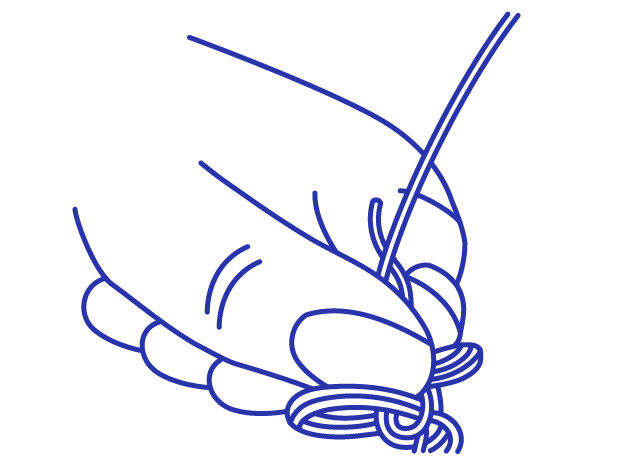
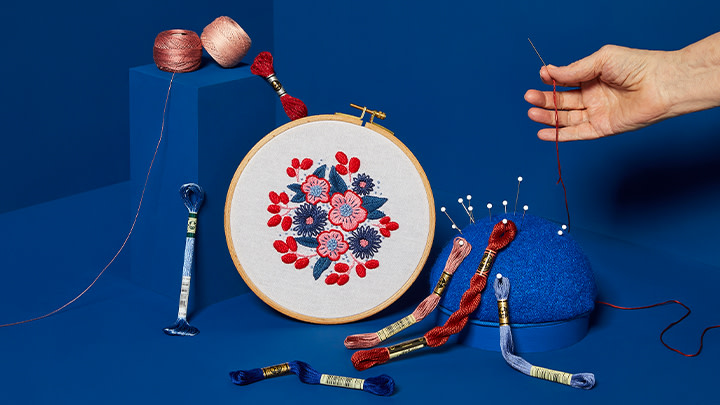
Separate one strand at a time by holding the cut floss loosely, tap the end to make it easier to grab an individual strand. Then pull the end of a single strand straight up to avoid tangles.
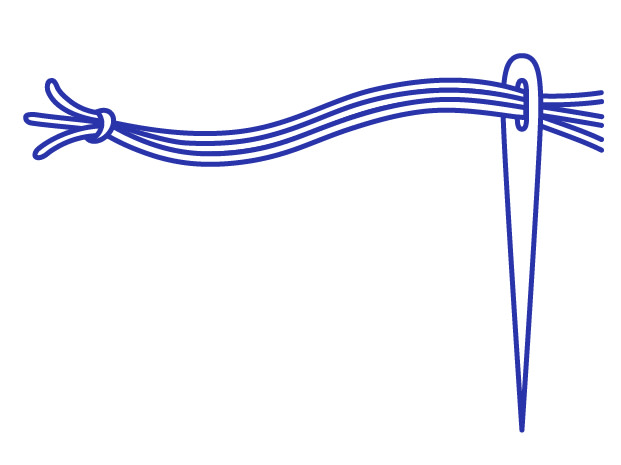
Recombine the number of strands you want to use.
Find the end of the floss under the larger bottom label (the one with the barcode and number). Slowly pull from the skein until you have a maximum of 50cm (18”) of floss. (Use your arm as an easy measure for a good amount of floss.)
Separate one strand at a time by holding the cut floss loosely, tap the end to make it easier to grab an individual strand. Then pull the end of a single strand straight up to avoid tangles.
Recombine the number of strands you want to use.
Tip
Cut the thread with sharp scissors at a 45 degree angle to make it easier to thread your needle.