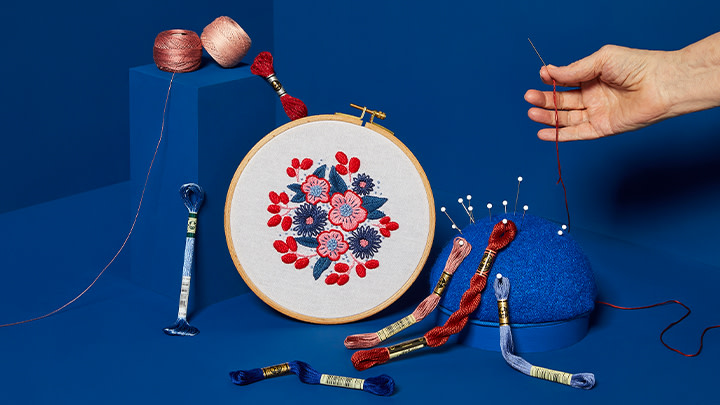
Ein Stickrahmen ist eine einfache und kostengünstige Möglichkeit, Ihren Stoff beim Sticken straff zu halten. Er macht es einfacher, saubere und gleichmäßige Stiche zu erzielen. In Kombination mit einem Ständer können Sie mit einem Stickrahmen auch mit zwei Händen sticken, was die Genauigkeit und Geschwindigkeit erhöht.
Warum Sie einen Stickrahmen verwenden sollten
Wenn Sie einen Stickrahmen verwenden, um den Stoff straff zu halten, ist es einfacher, saubere, gleichmäßige Stiche zu erzielen. Für größere Projekte können Sie einen Stickrahmen verwenden. Achten Sie jedoch darauf, dass Sie Ihre Arbeit nicht über einen längeren Zeitraum im Stickrahmen lassen. Dadurch können Falten entstehen, die sich nur schwer entfernen lassen.
Um gleichmäßige, gut geformte Stiche zu erzielen, stechen Sie mit der senkrecht gehaltenen Nadel auf und ab durch den Stoff im Stickrahmen. Ziehen Sie den Faden bei jedem Stich mit der gleichen Spannung. Lose Stiche wirken schlaff, und zu enge Stiche verziehen den Stoff und verzerren Ihr Motiv.
Wie Sie einen Stickrahmen benutzt
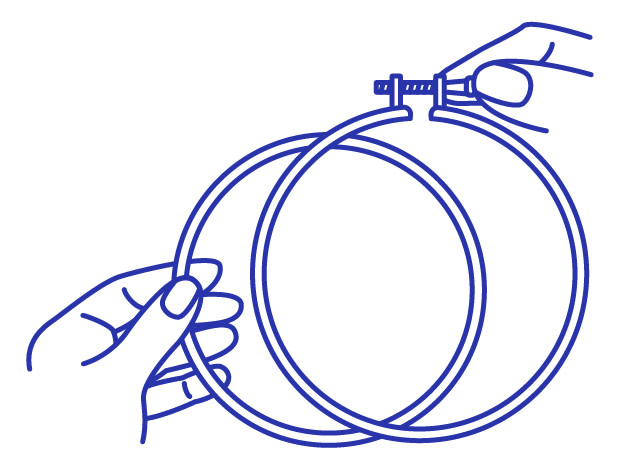
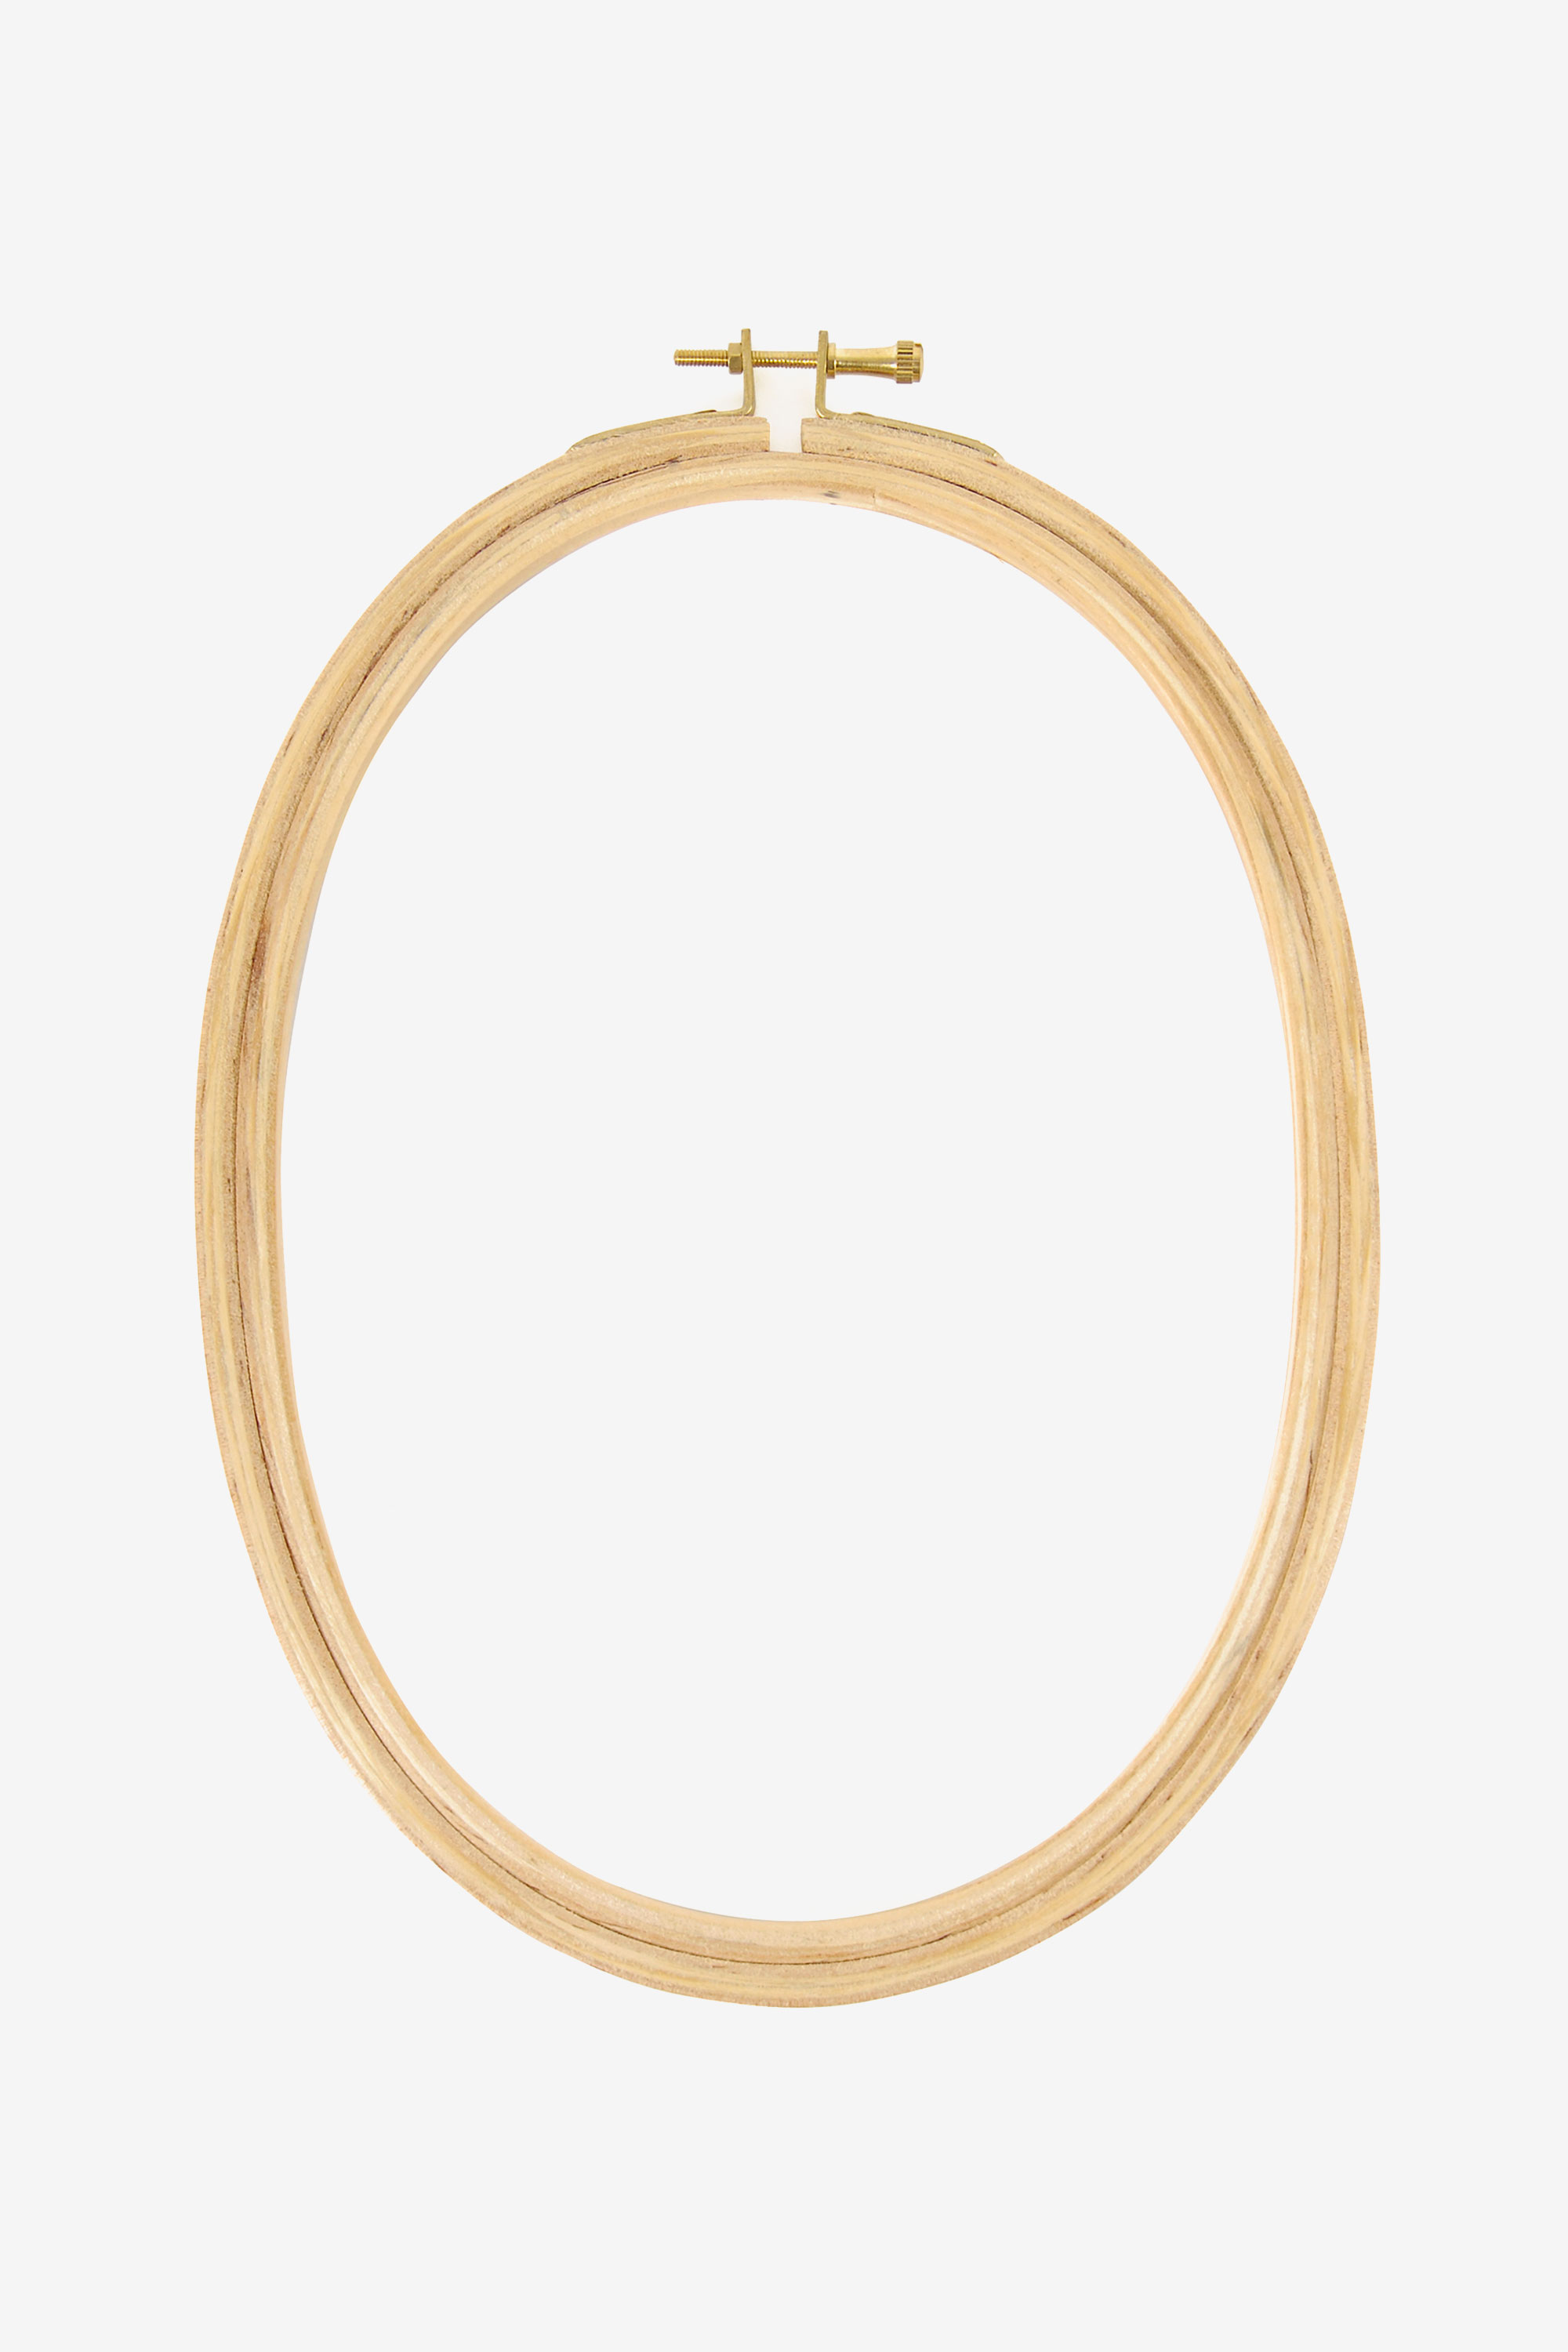
Lösen Sie die Schraube und trennen Sie den Innen- und Außenring.

Legen Sie den inneren Ring auf eine flache Oberfläche, so dass der Stoff mittig über der Oberseite liegt. Legen Sie dann den äußeren Ring über den Stoff und drücken Sie ihn nach unten, sodass der untere Ring fest im äußeren Ring sitzt. Ziehen Sie die Schraube an, sodass sie den Stoff zu greifen beginnt.
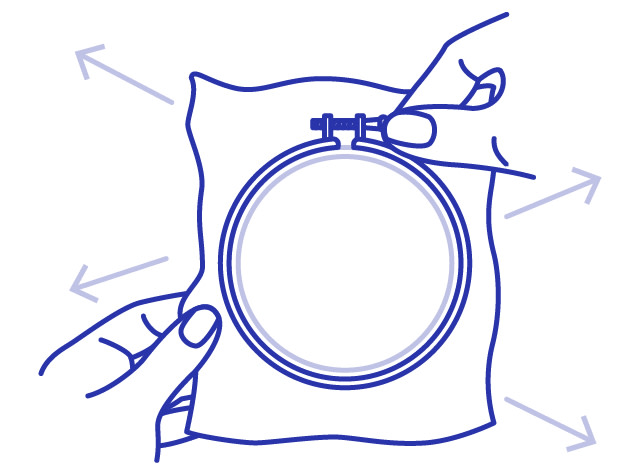
Ziehen Sie um den Rahmen herum vorsichtig an den Rändern des Stoffes, bis er ganz straff ist. Ziehen Sie die Schraube langsam an, um den Stoff in dieser Position zu halten. Es sollte wie eine Trommel klingen, wenn Sie darauf klopfen. Sie können einen Schraubenzieher verwenden, um die Schraube richtig fest anzuziehen.
Während Sie nähen, müssen Sie diesen letzten Schritt von Zeit zu Zeit wiederholen, um sicherzustellen, dass der Stoff fest sitzt.
Lösen Sie die Schraube und trennen Sie den Innen- und Außenring.
Legen Sie den inneren Ring auf eine flache Oberfläche, so dass der Stoff mittig über der Oberseite liegt. Legen Sie dann den äußeren Ring über den Stoff und drücken Sie ihn nach unten, sodass der untere Ring fest im äußeren Ring sitzt. Ziehen Sie die Schraube an, sodass sie den Stoff zu greifen beginnt.
Ziehen Sie um den Rahmen herum vorsichtig an den Rändern des Stoffes, bis er ganz straff ist. Ziehen Sie die Schraube langsam an, um den Stoff in dieser Position zu halten. Es sollte wie eine Trommel klingen, wenn Sie darauf klopfen. Sie können einen Schraubenzieher verwenden, um die Schraube richtig fest anzuziehen.
Während Sie nähen, müssen Sie diesen letzten Schritt von Zeit zu Zeit wiederholen, um sicherzustellen, dass der Stoff fest sitzt.
Tipp: Umwickeln Sie den inneren Bügel mit Schrägband, damit der Stoff nicht beschädigt wird und nicht verrutscht.