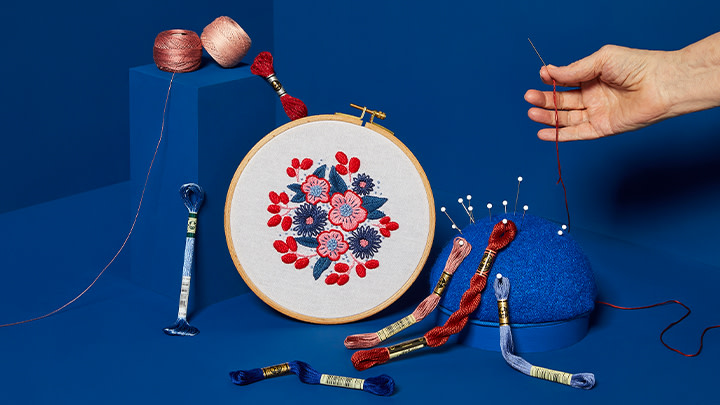
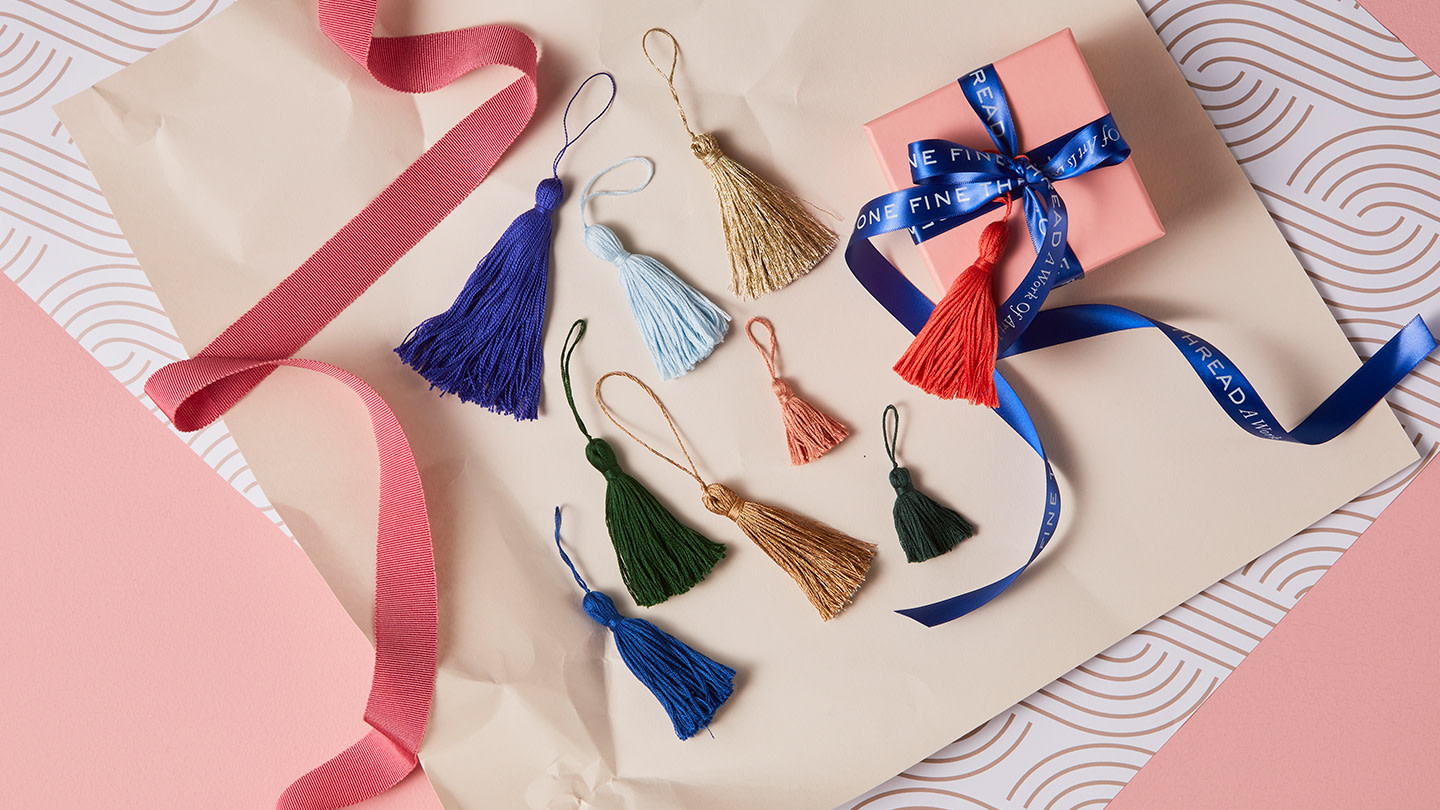
Ces instructions étape par étape permettent, même aux débutants, de créer facilement des pompons glands à partir d'une seule échevette de fil Mouliné Special DMC, le fil à broder multibrins préféré au monde. Les pompons glands ajoutent une touche élégante aux emballages cadeaux et aux décorations pour l'arbre de Noël. Attachez-les aux fermetures à glissière de vos sacs à main ou glissez-en un sur le manche de vos ciseaux pour savoir toujours quelle paire est la vôtre lorsque vous travaillez avec des amis.
Comment faire des pompons avec le fil Mouliné Spécial
Un projet créatif pour débutants à l’occasion des fêtes
2 Minutes de lecture
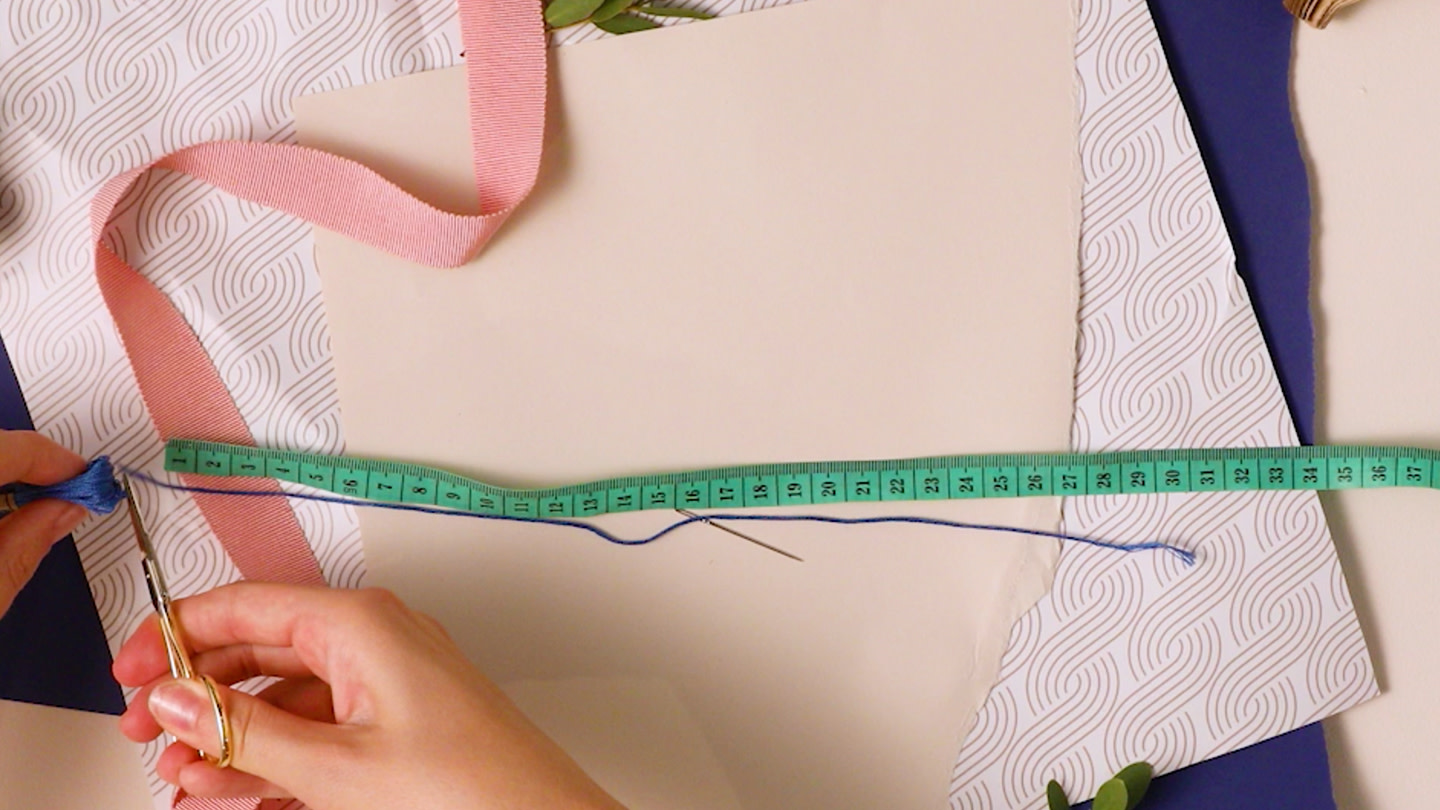
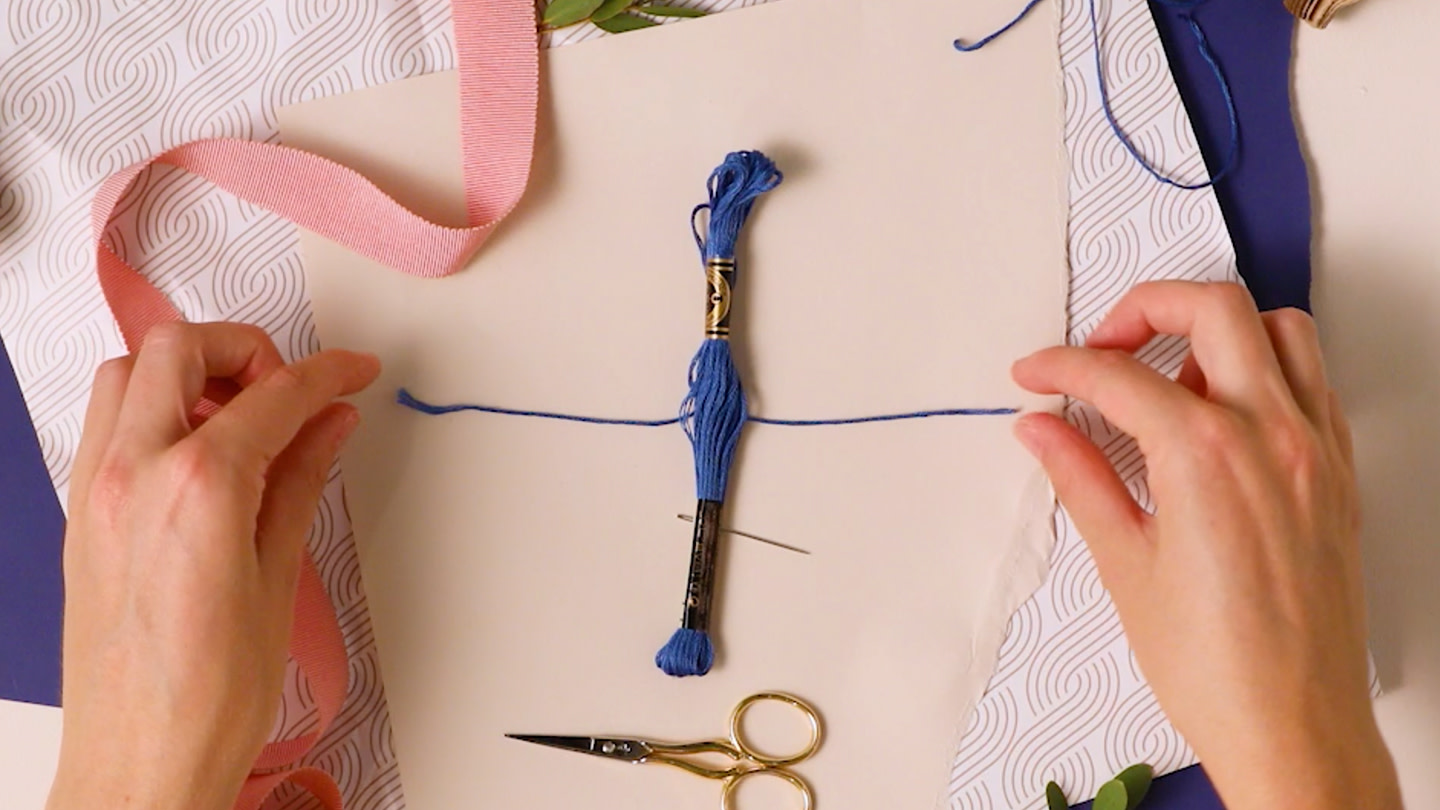
Étape 1
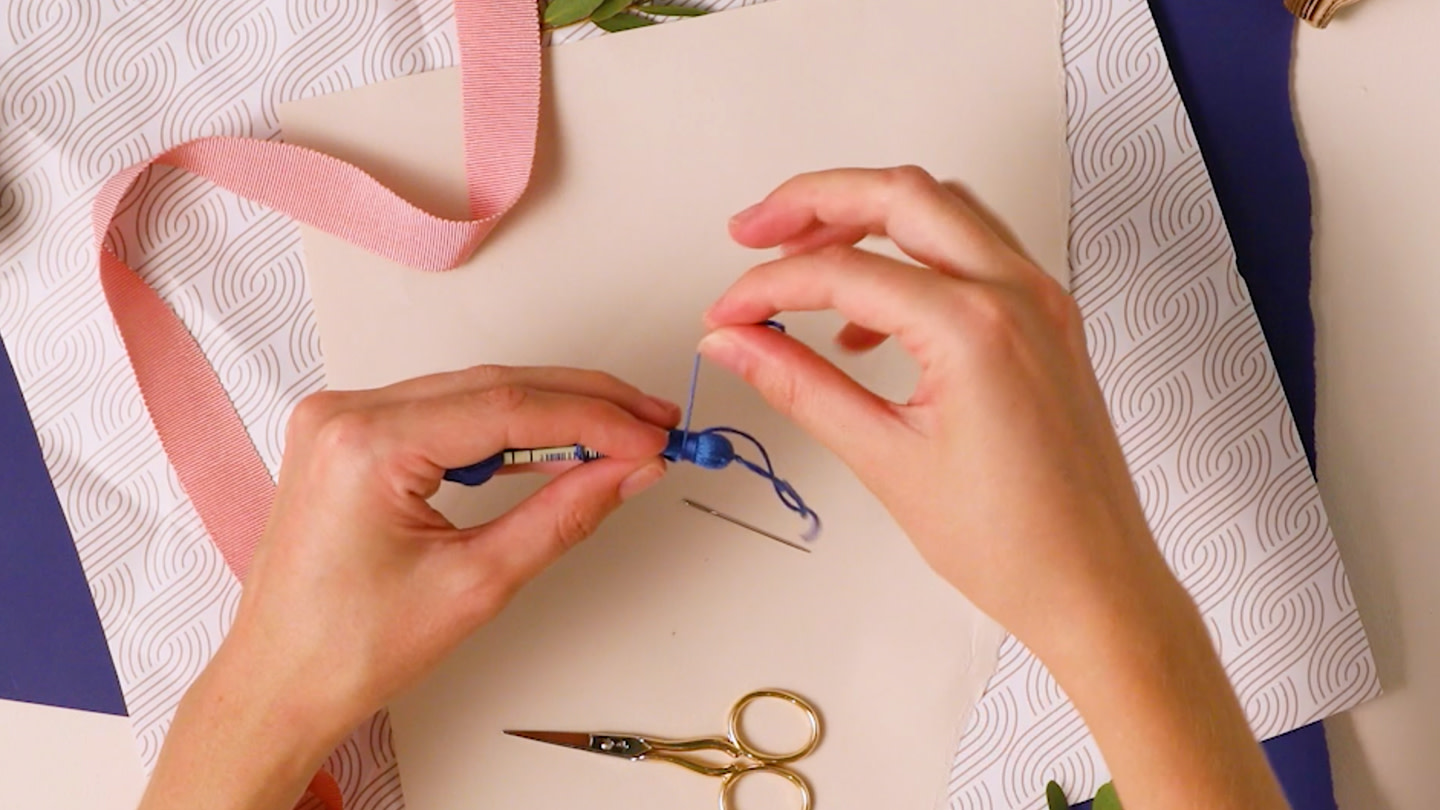
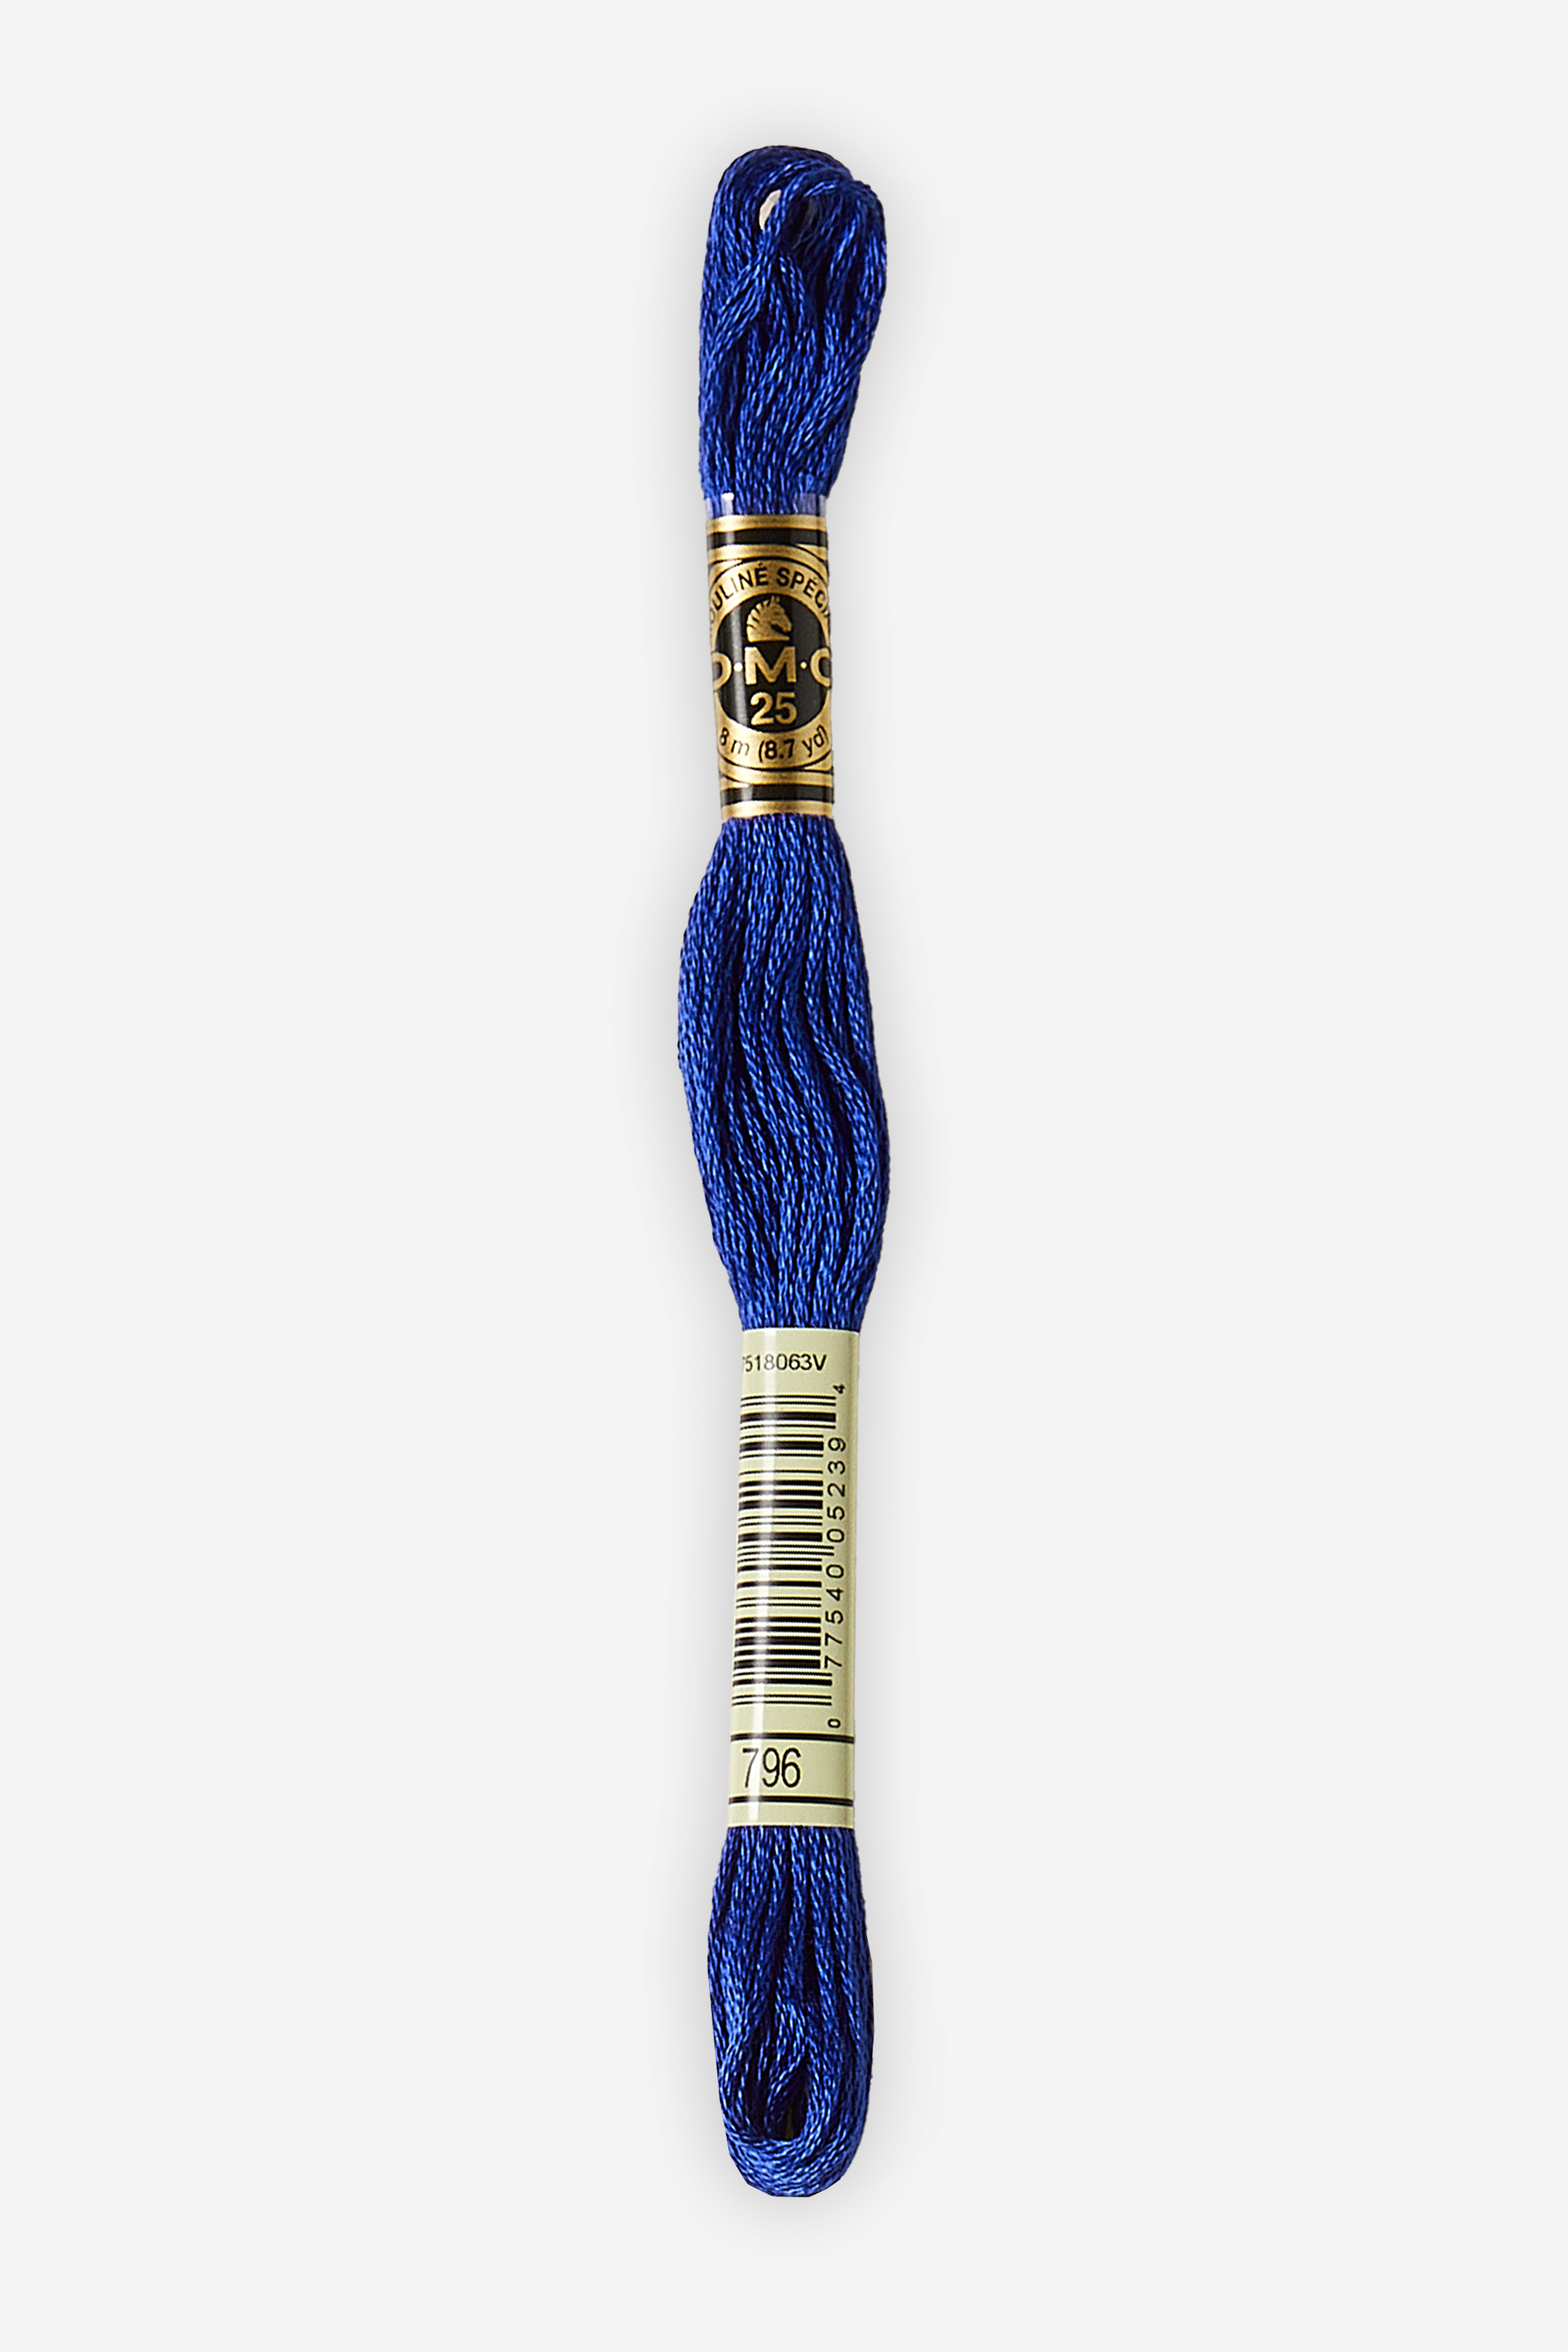
Prenez une échevette de Mouliné Spécial dans la couleur de votre choix. Trouvez l'extrémité du fil sous l'étiquette du bas de l'échevette (celle avec le code-barres) et coupez deux longueurs de fil de 33 cm.
Étape 2
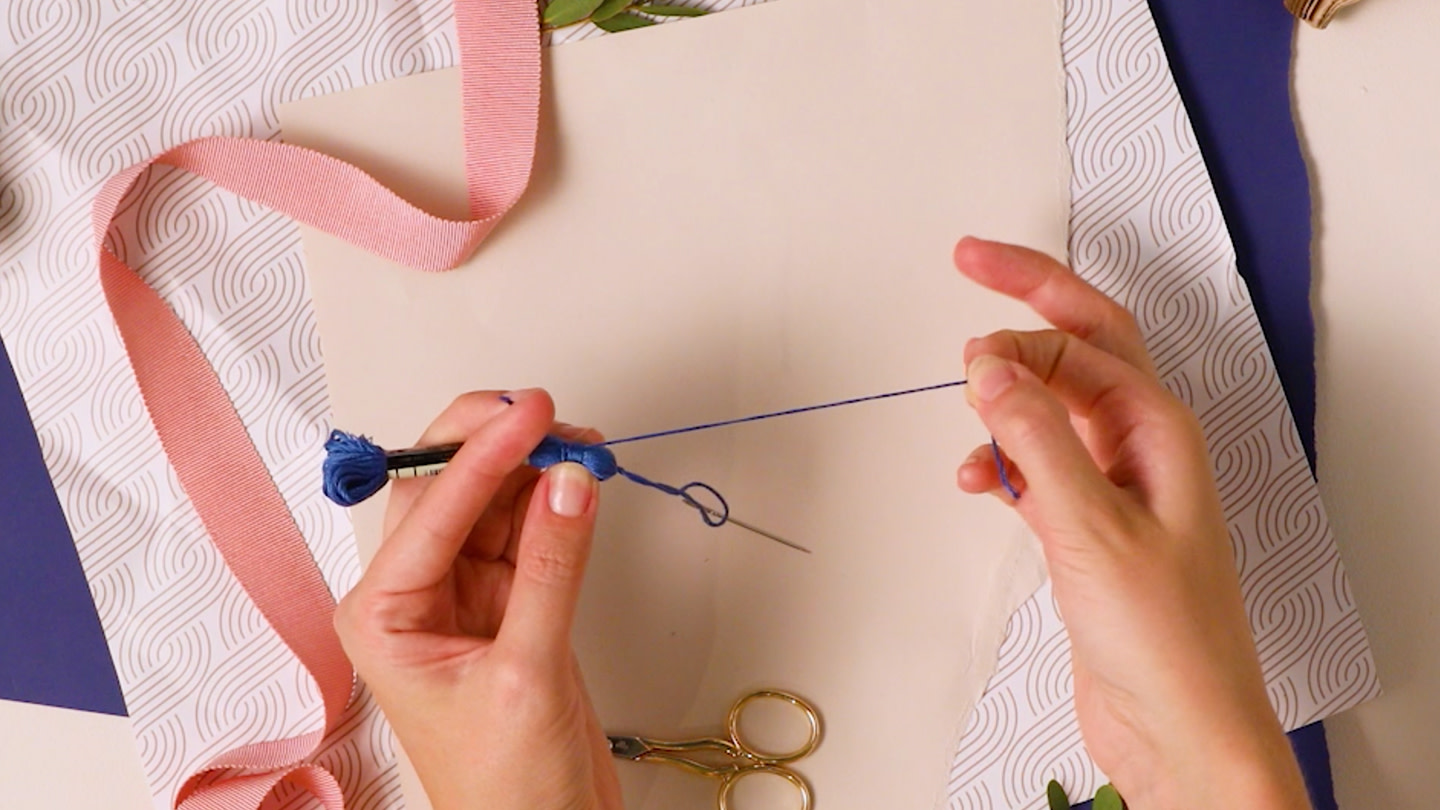
Pliez l'un des brins en deux et nouez une boucle en haut d'environ cinq centimètres de long, puis séparez les extrémités.

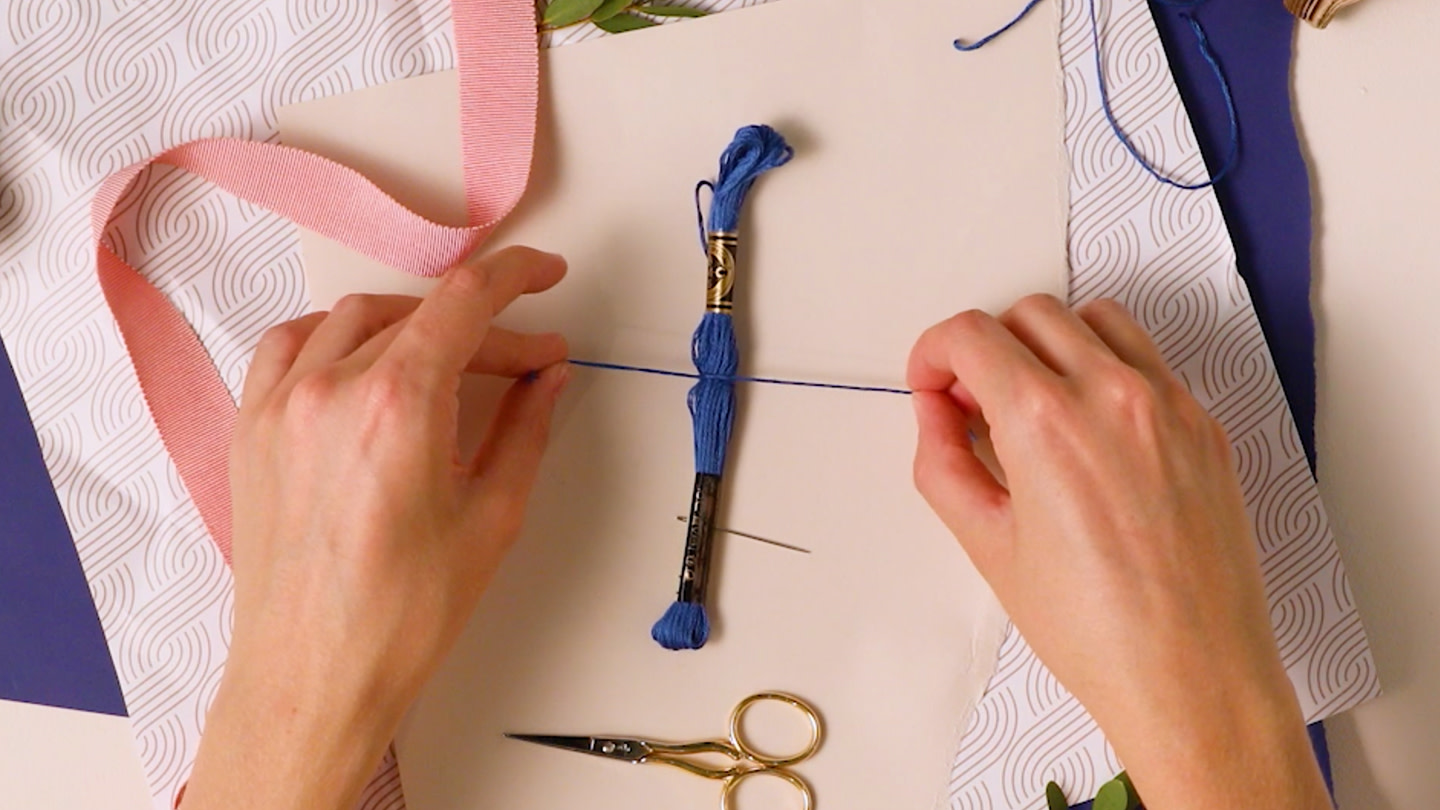
Étape 3
Trouvez le centre de l'échevette en pliant l'échevette en deux. Gardez les étiquettes. Placez-la sur le fil en boucle de manière à ce que le centre soit juste au-dessus du nœud que vous avez fait.
Étape 4
Attachez les extrémités du fil en boucle autour de l'échevette avec un double nœud. Tirez bien et fort. Les extrémités du fil en boucle doivent avoir à peu près la même longueur que le reste de l'échevette.
Étape 5
Faites glisser les étiquettes de chaque extrémité de l'échevette et pliez-la en deux. Enfilez la boucle dans l'une des étiquettes et faites glisser l'étiquette vers le bas jusqu'à ce qu'il reste environ deux centimètres de fil.
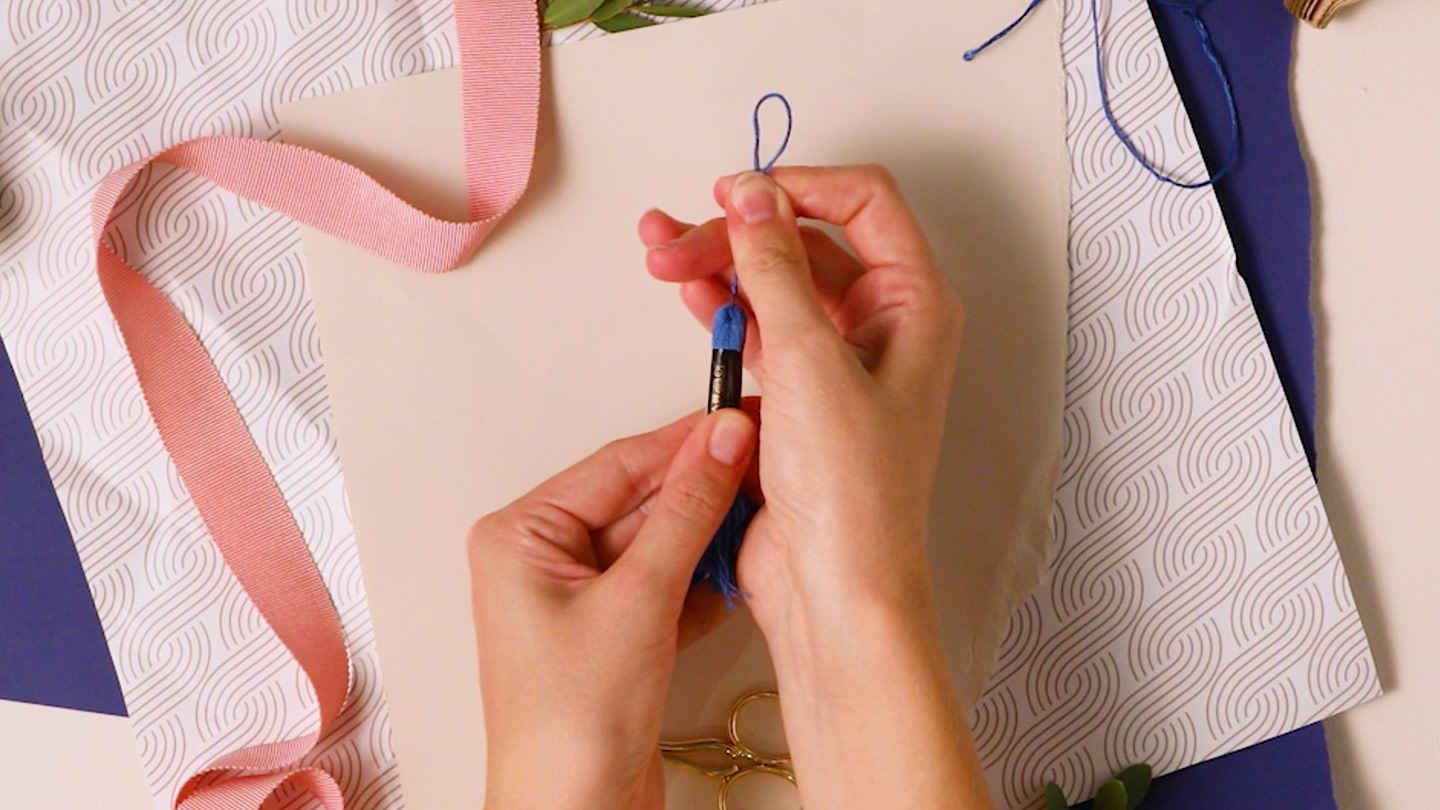
Étape 6
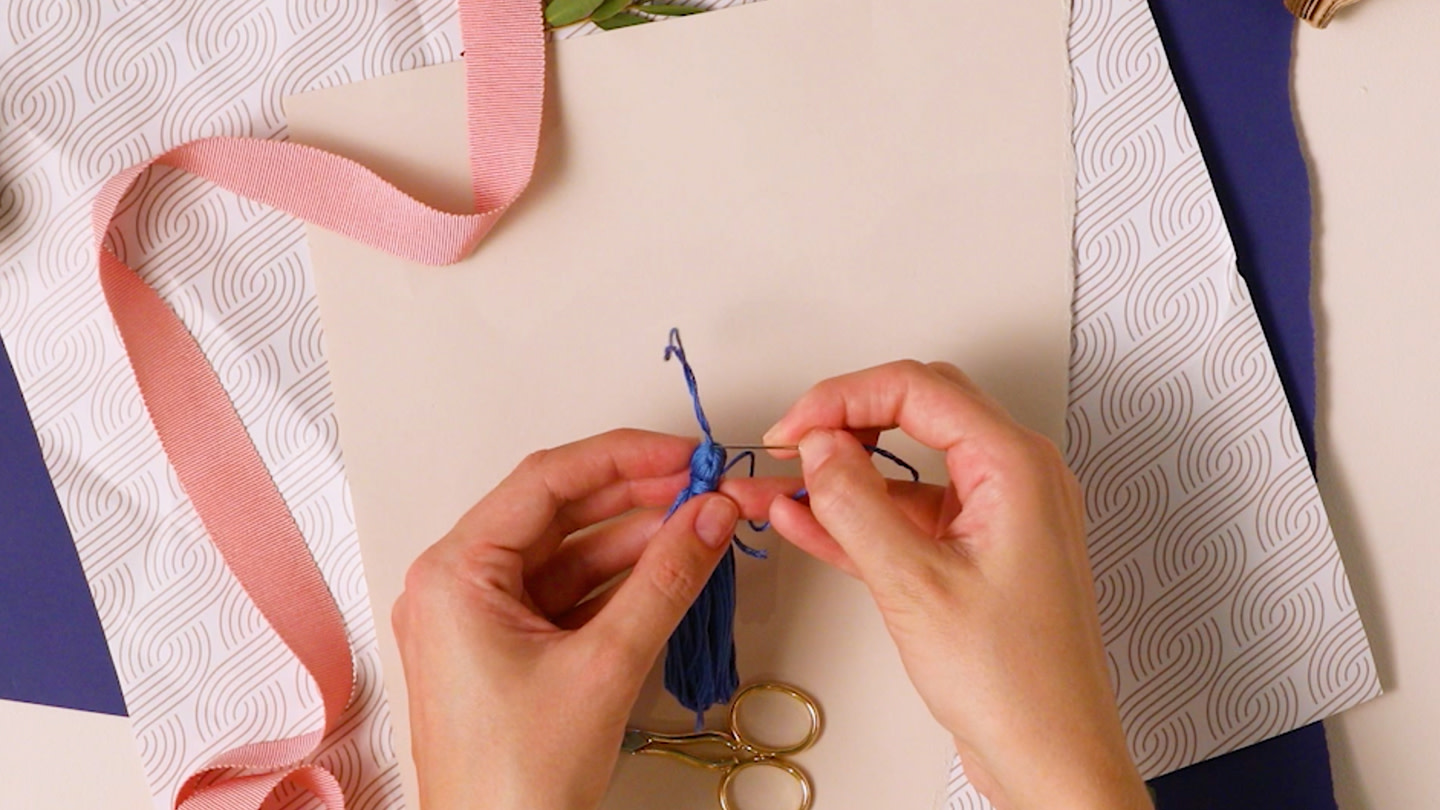
Pliez l'autre fil de 33 cm que vous avez coupé pour former une boucle de sorte qu'une extrémité soit juste un peu plus longue que le pompon gland. Tenez la boucle près du haut de l'étiquette de manière à ce que les deux extrémités pointent vers le haut du pompon gland.
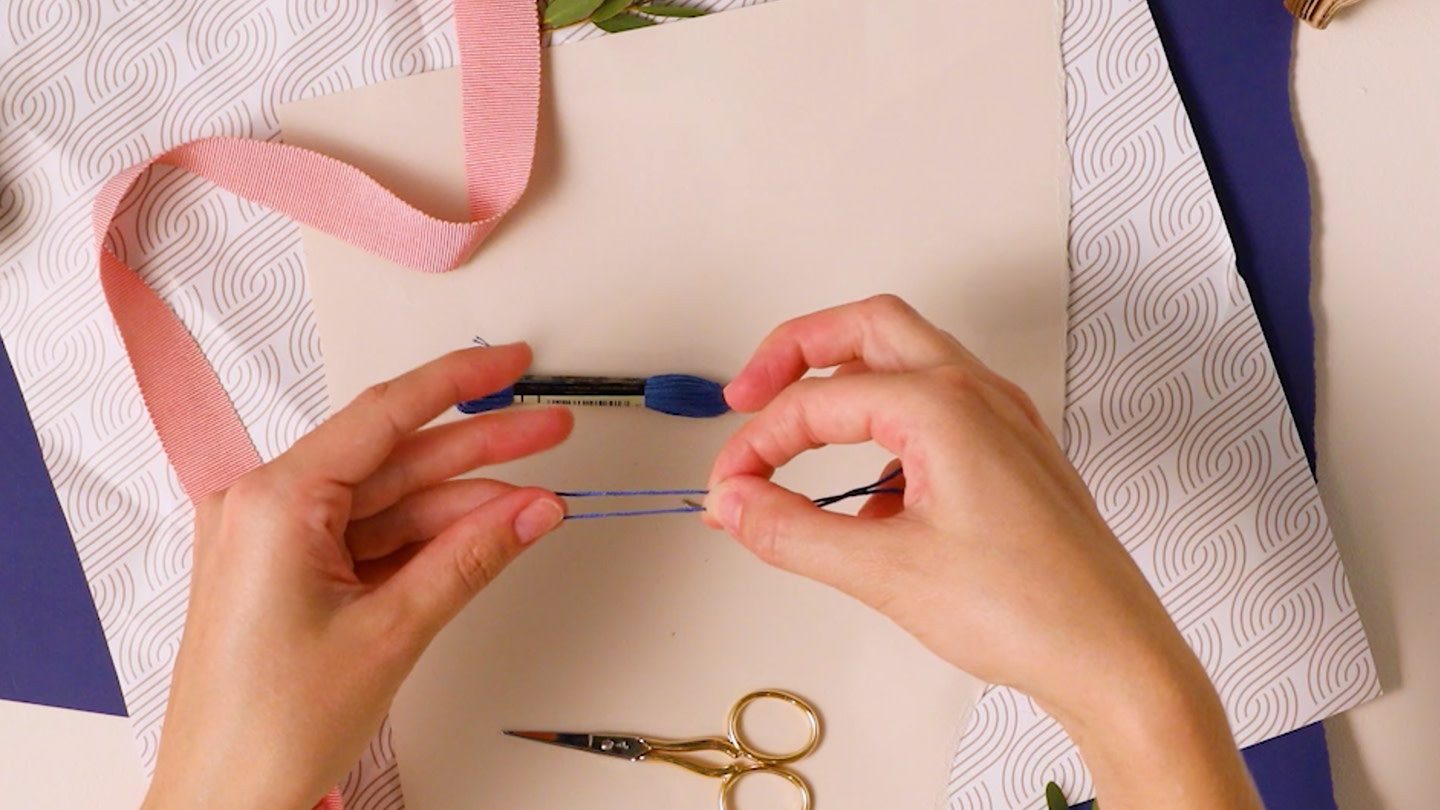
Étape 7
Laissez l’extrémité la plus courte dépasser le pompon gland tout en enveloppant le pompon gland avec l’extrémité la plus longue. Roulez le pompon gland cinq fois dans le sens des aiguilles d’une montre et assurez-vous que chaque tour est bien serré.
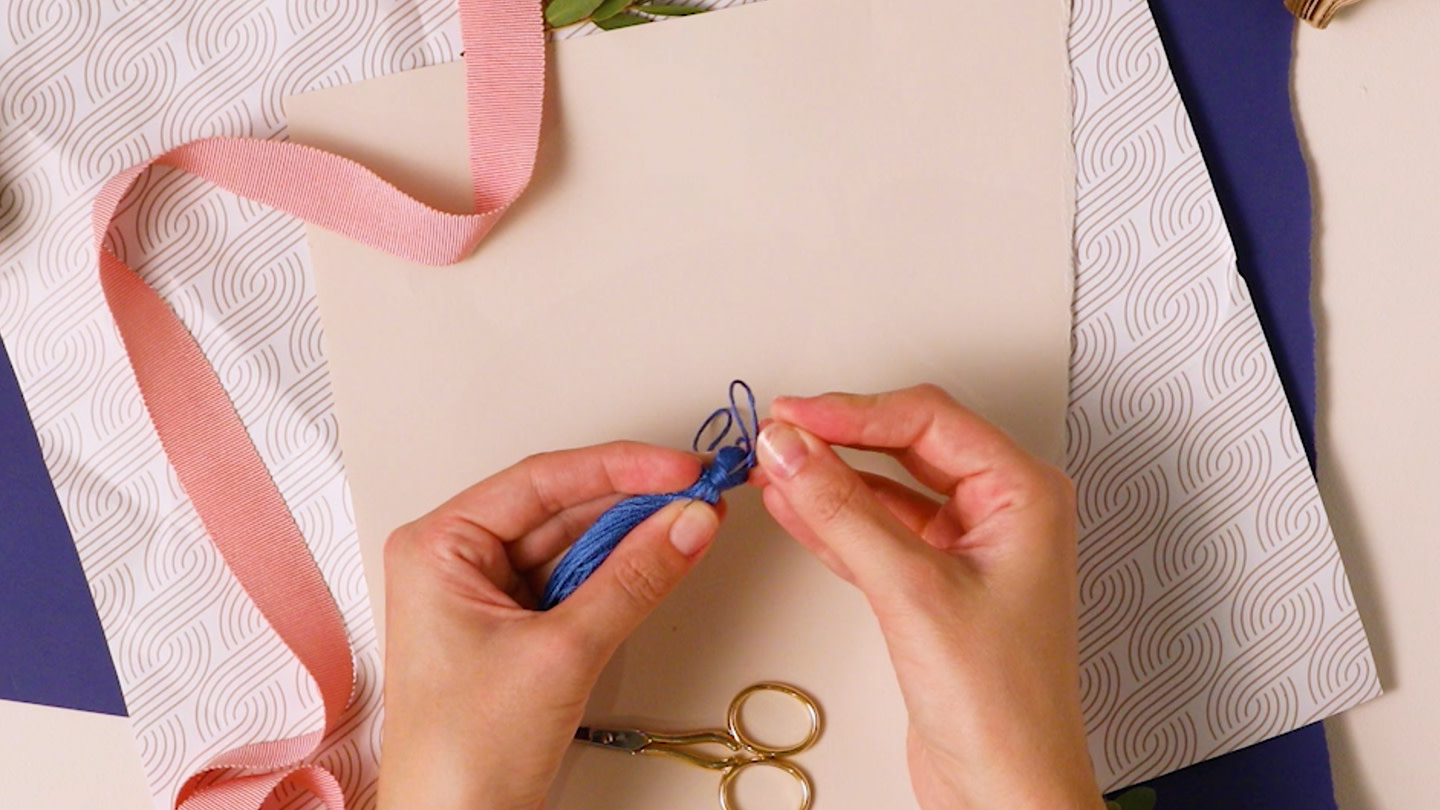
Étape 8
Une fois les tours terminés, passez l'extrémité du fil dans la boucle puis tirez doucement sur l'extrémité courte du fil que vous avez laissé dépasser en haut. Cela cachera le nœud sous les fils. Faites glisser l'étiquette du pompon gland.
Étape 9
Enfilez votre aiguille avec l'extrémité courte du fil que vous avez enroulé autour du haut du pompon gland. Poussez l'aiguille sous le nœud en haut du pompon gland.
Étape 10
Passez-le ensuite sous les fils.
Étape 11
Enfilez l'étiquette sur le pompon gland et coupez les extrémités. L'étiquette maintiendra les fils ensemble et vous donnera une ligne droite contre laquelle couper afin que tous les fils de votre pompon gland aient la même longueur.

Étape 12
Vos pompons glands terminés peuvent être utilisés dans un large éventail de projets créatifs. Pourquoi ne pas les utiliser pour ajouter une touche élégante à un emballage cadeau ou comme décorations d'arbre de Noël ?
Commandez facilement
Tout ce dont vous avez besoin
- +499 teintes disponibles
- +501 teintes disponibles


- +27 teintes disponibles
- +29 teintes disponibles
- +499 teintes disponibles
- +501 teintes disponibles
- +27 teintes disponibles
- +29 teintes disponibles
Related Articles