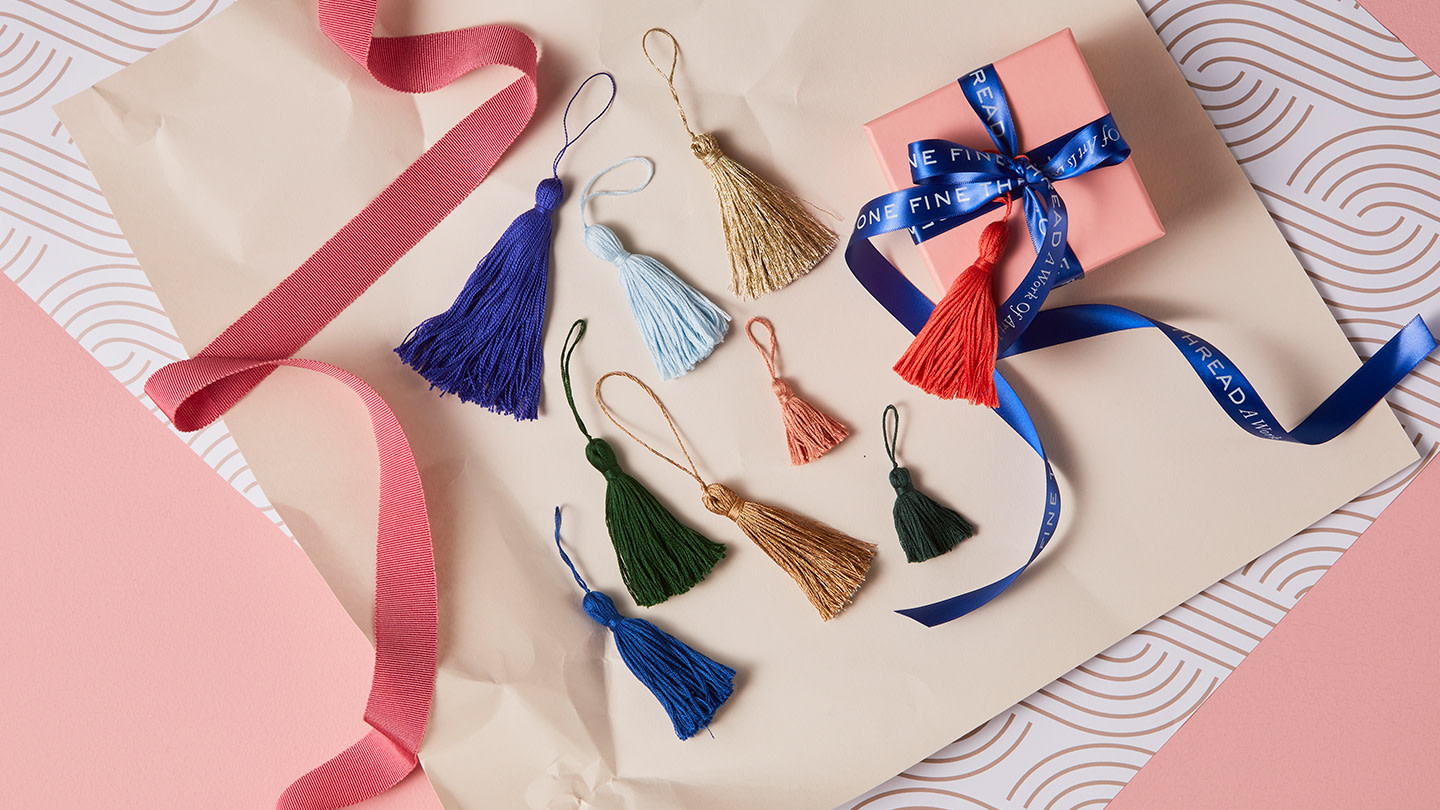
These step-by-step instructions make it easy, even for beginners, to create luxurious tassels from a single skein of DMC Mouliné Special, the World’s favourite stranded embroidery thread. Tassels add an elegant handmade touch to gift wrapping and chic Christmas tree decorations. Attach them to zip pulls of purses or slip one onto the handle of your scissors so you always know which pair is yours when you’re crafting with friends.
How to Make Tassels Using Mouliné Spécial
A beginner-friendly craft project for the festive season
2 Minute Read
Step 1
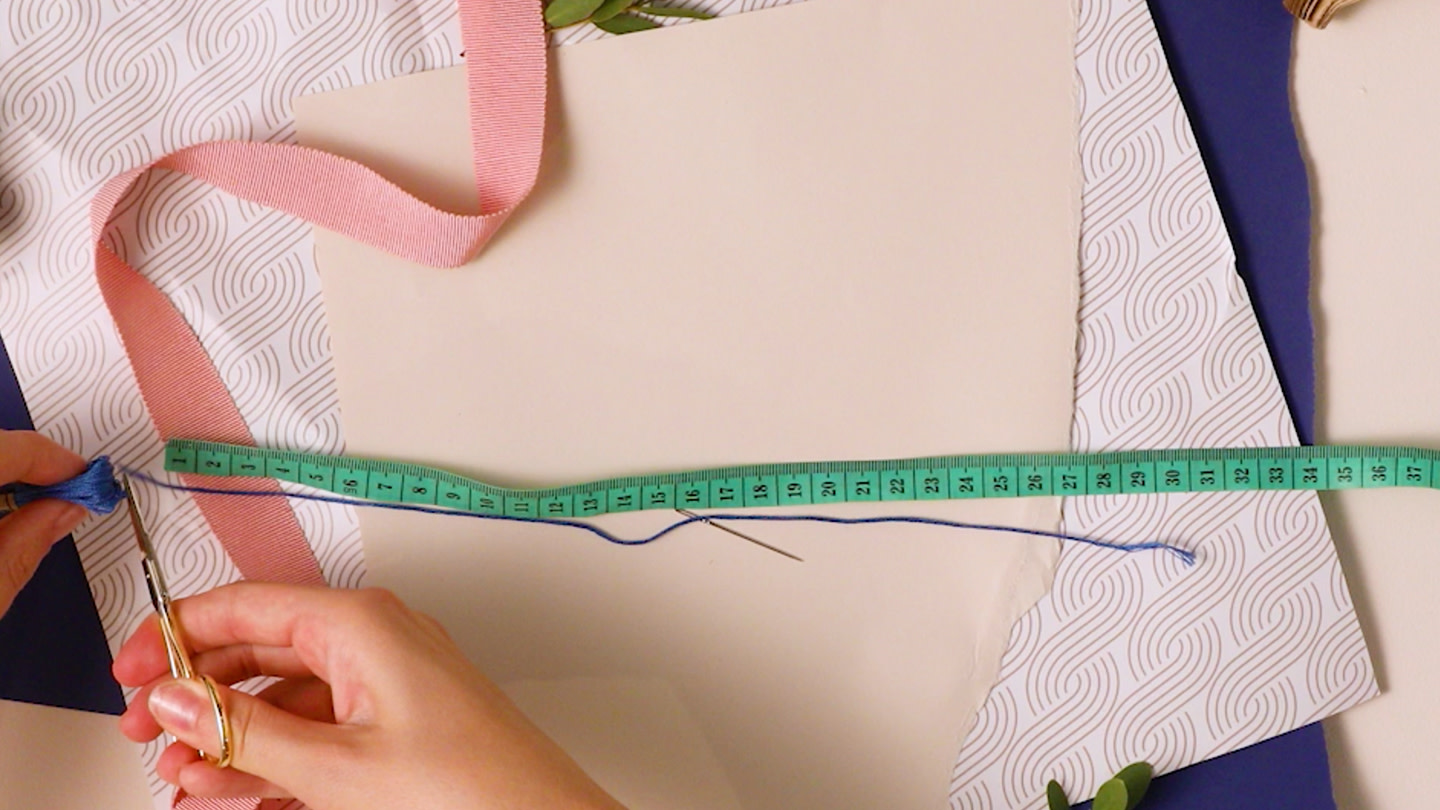
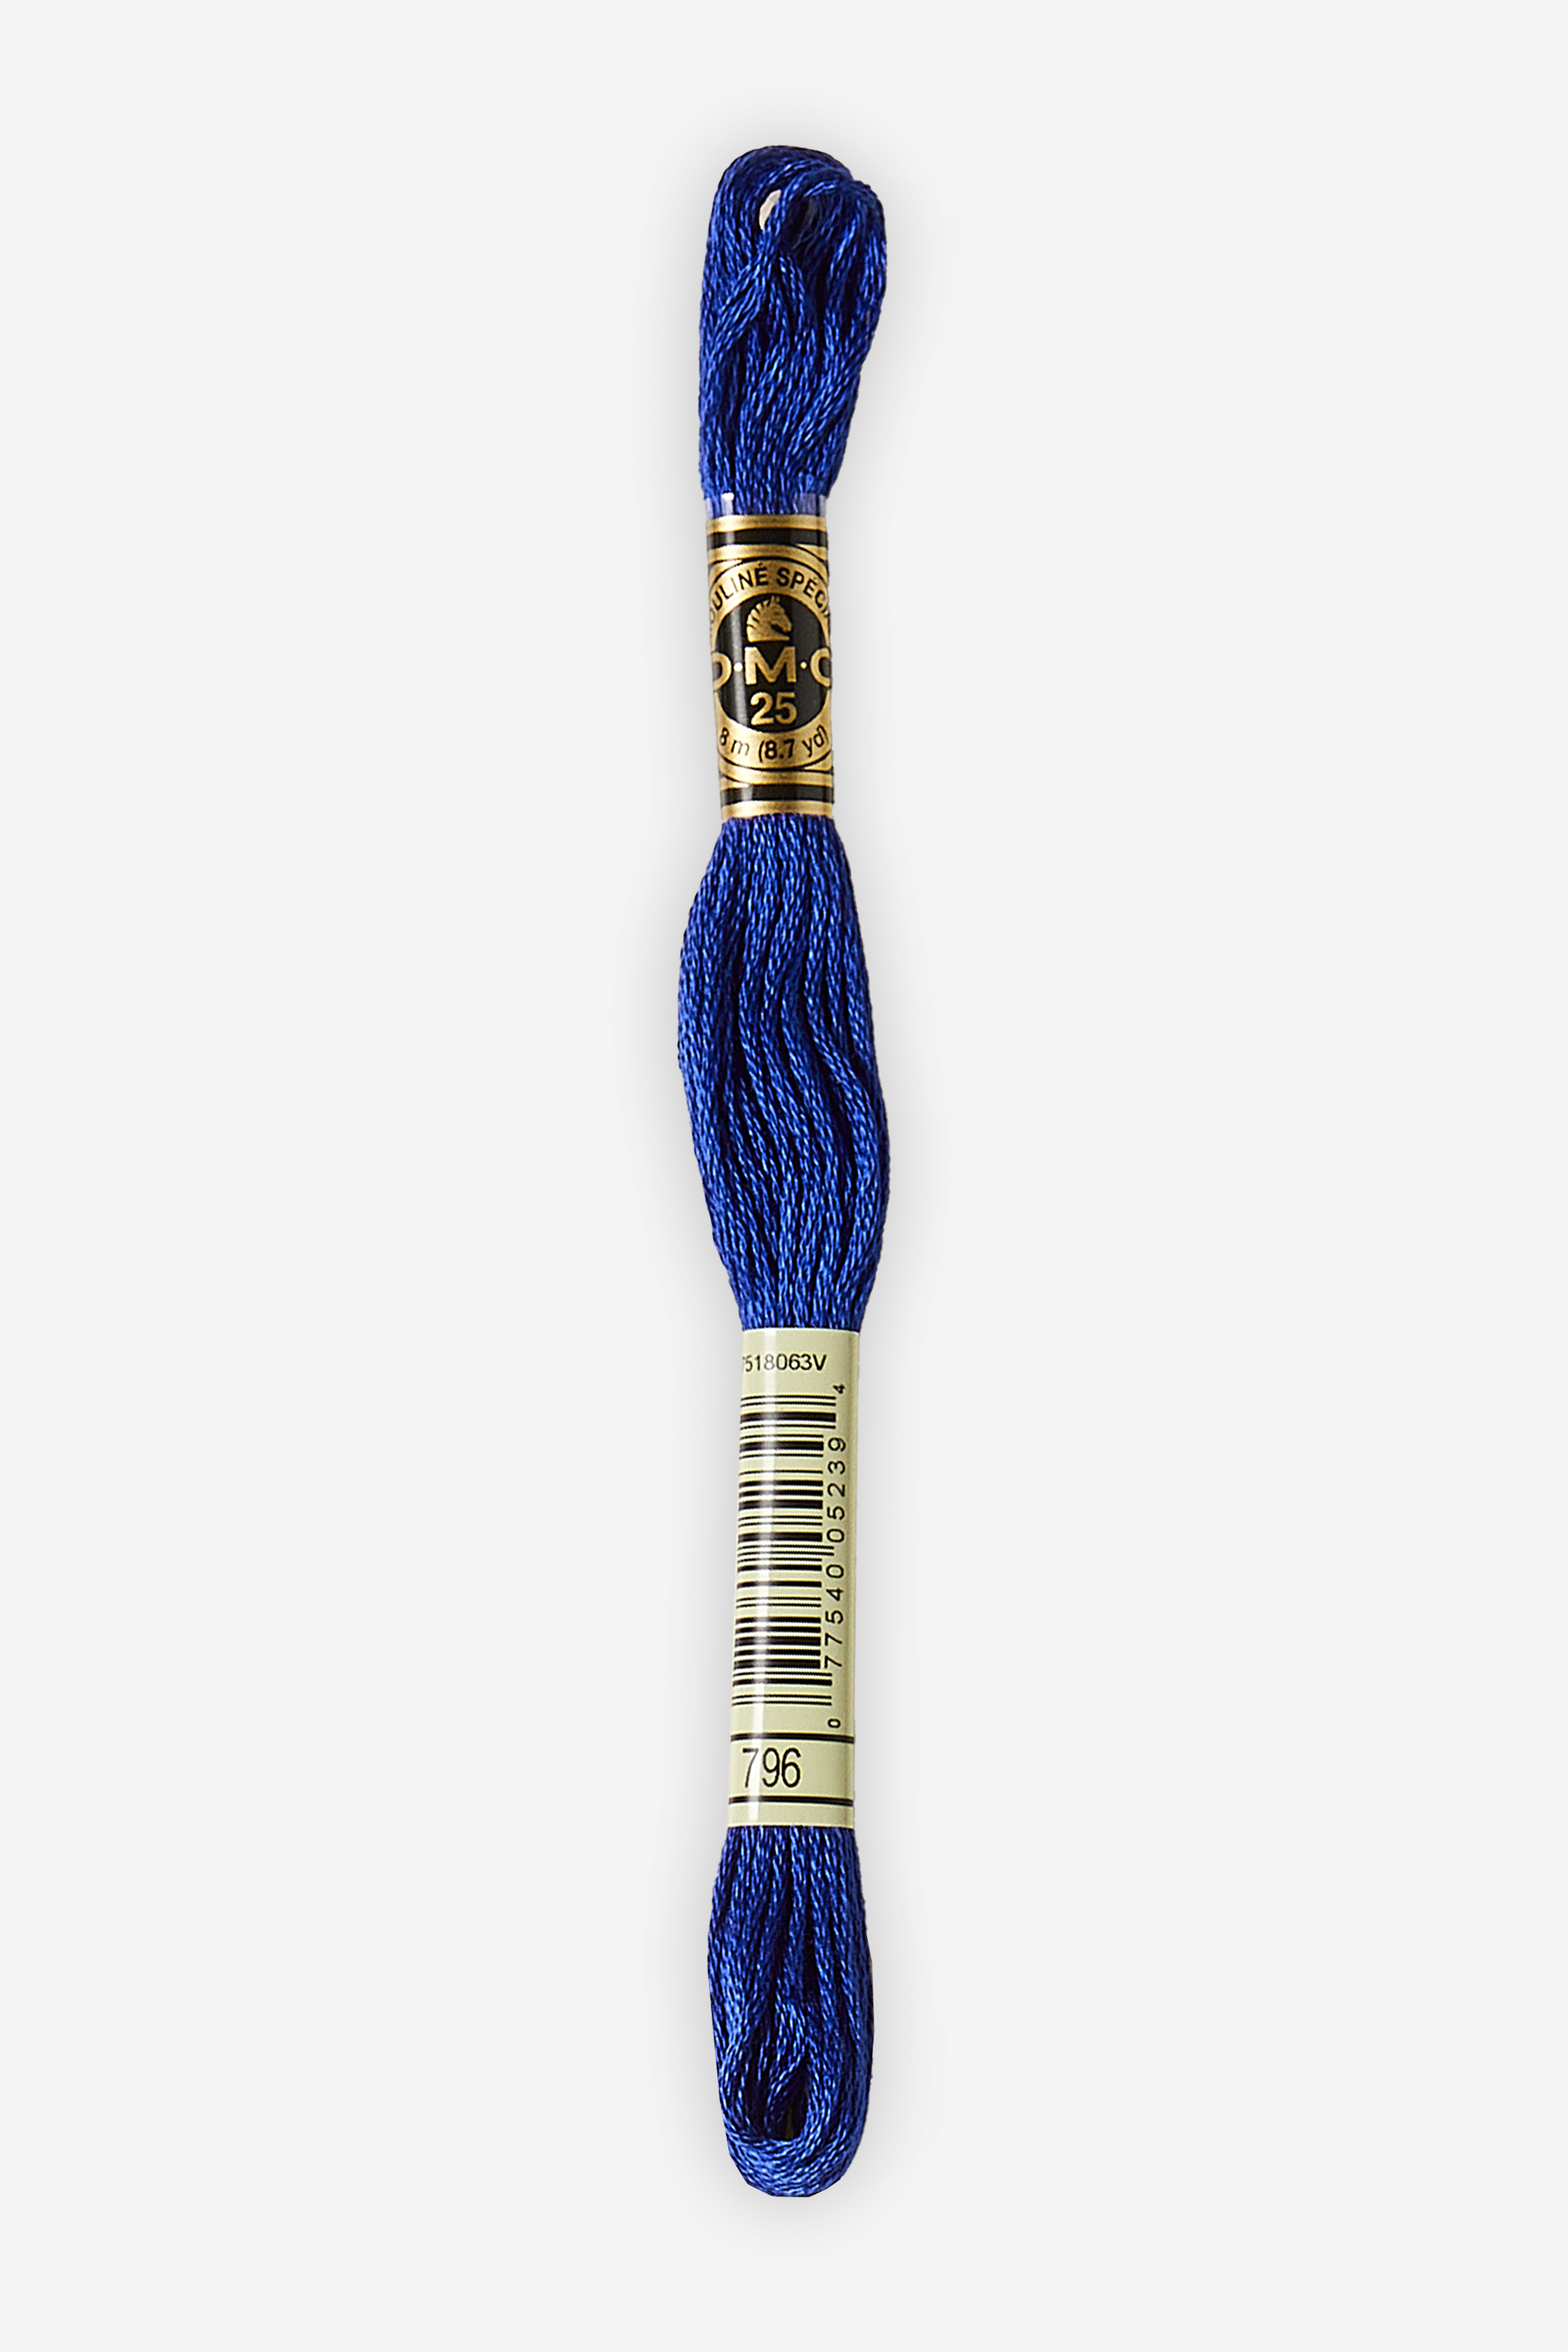
Take a skein of Mouliné Special in any colour you like. Find the end of the thread under the bottom label on the skein (the one with the barcode) and cut two 33cm lengths of thread.
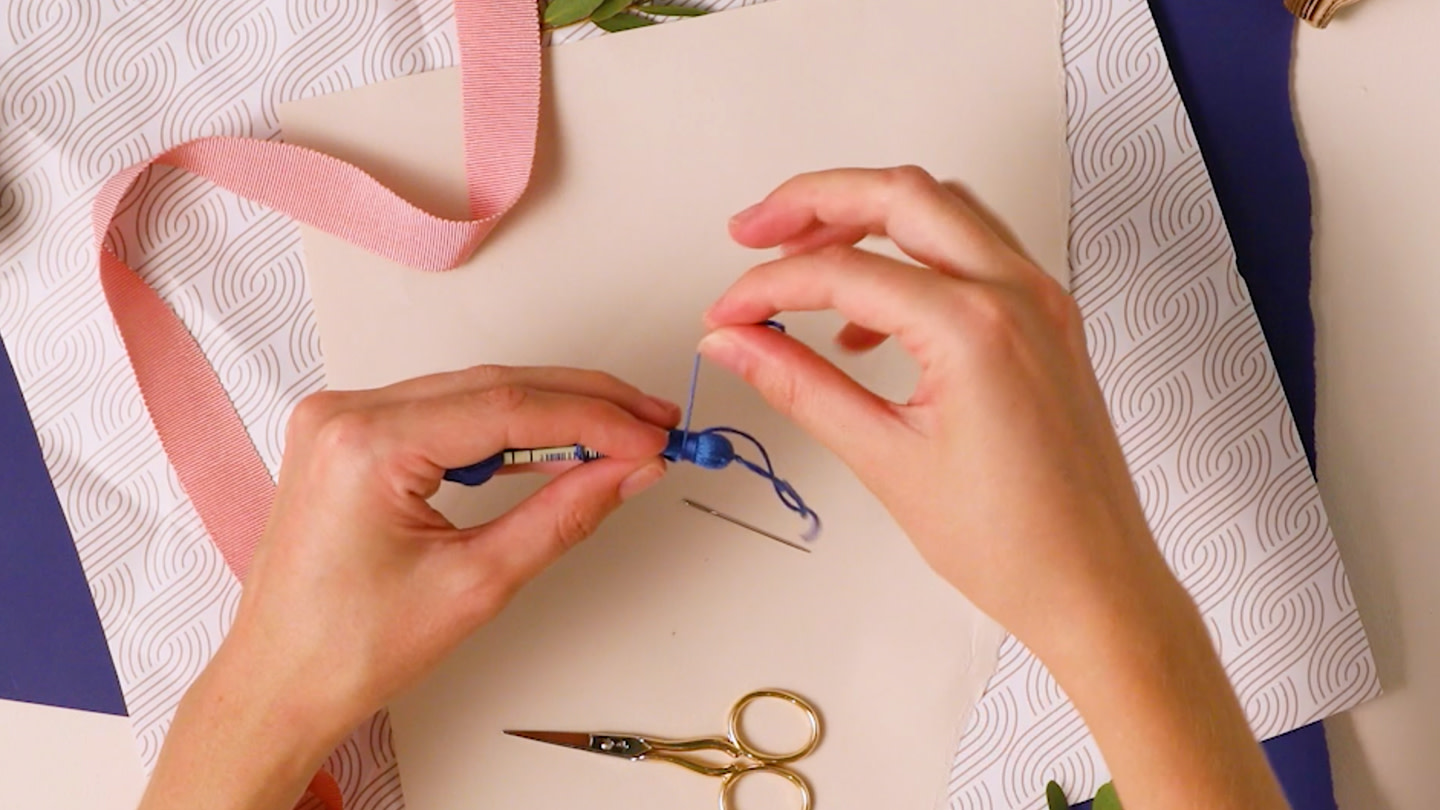
Step 2
Fold one of the strands in half and tie a loop at the top that’s about five centimetres long then separate the ends.

Step 3
Find the centre of the skein by folding the whole skein in half. Keep the labels on. Place it on the looped thread so the centre is right on top of the knot you tied.
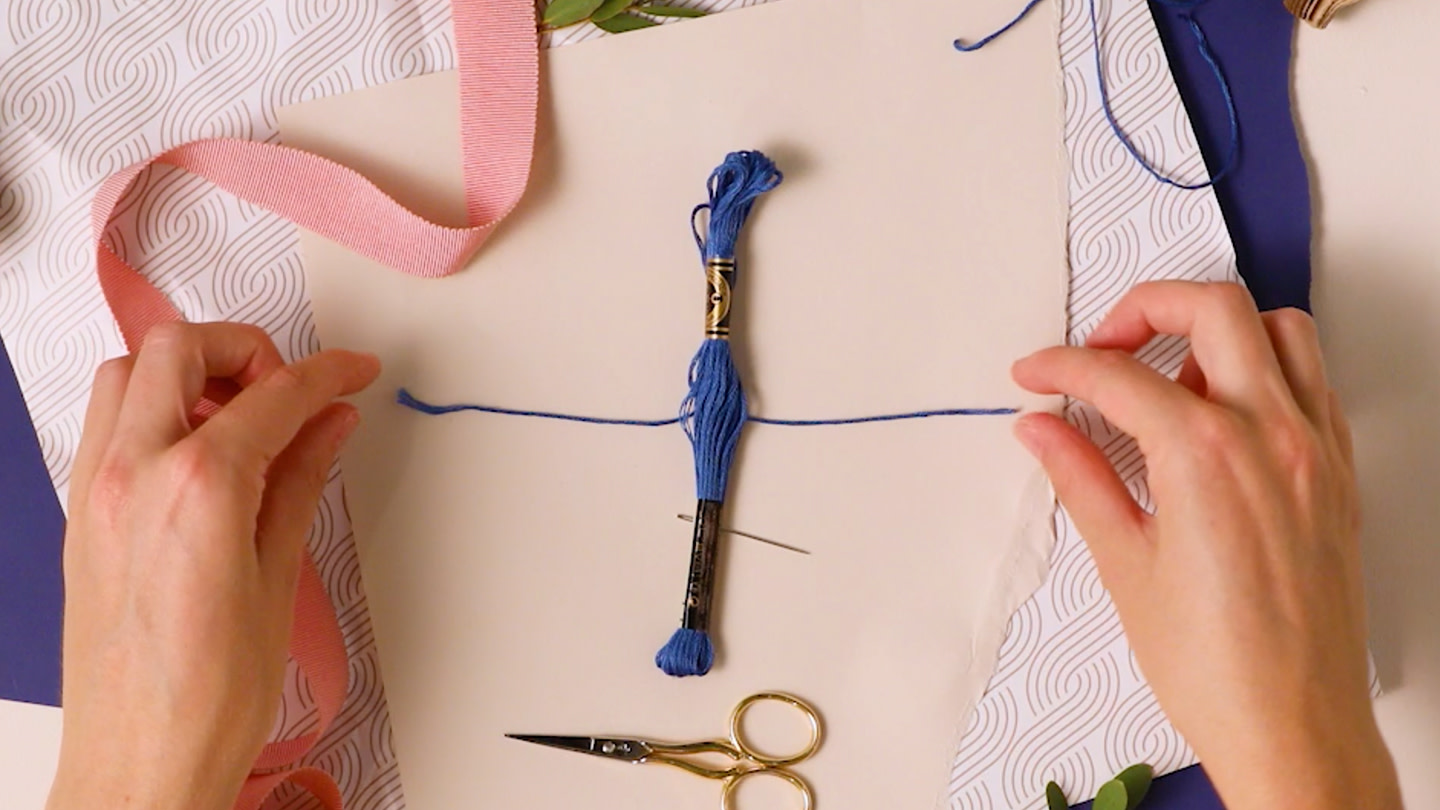
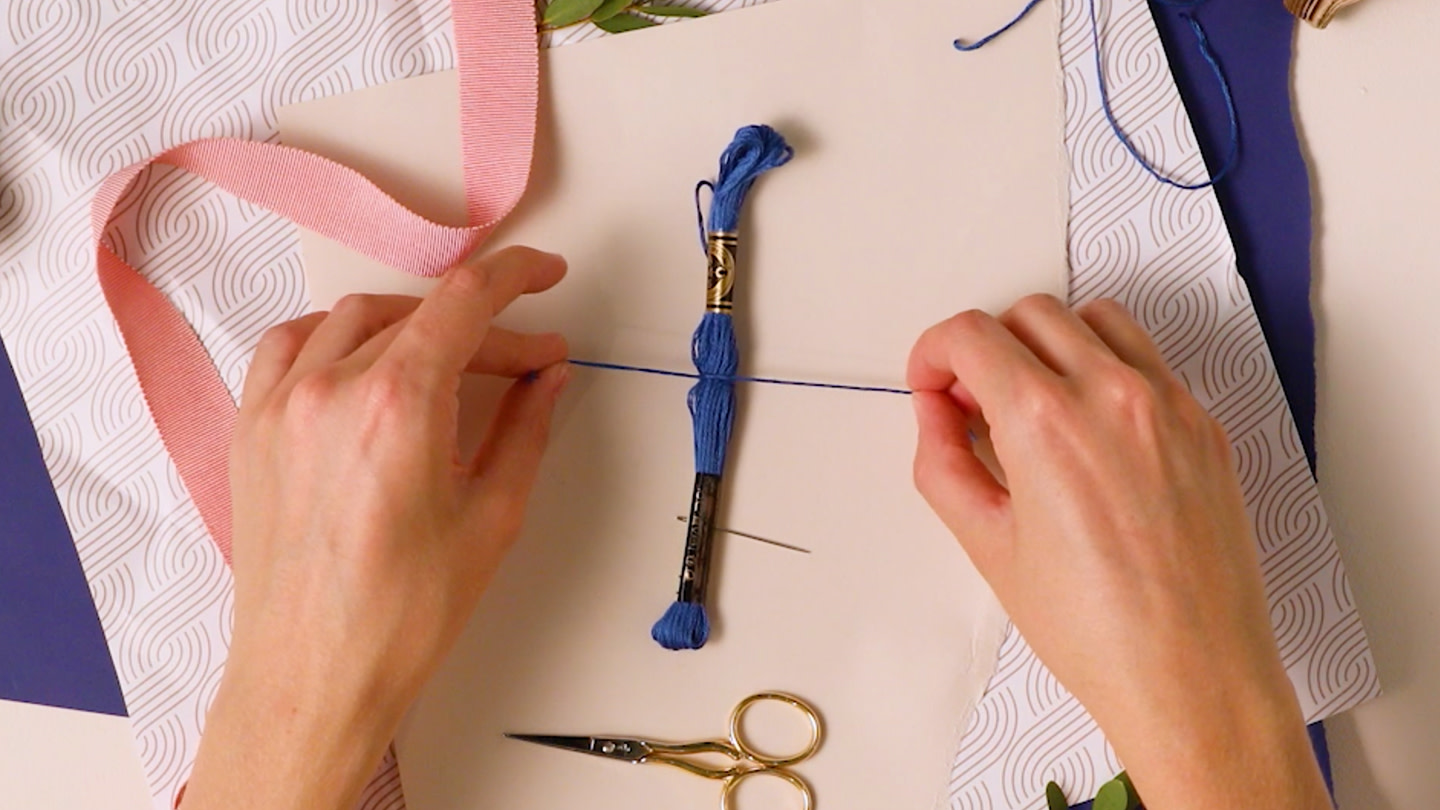
Step 4
Tie the ends of the looped thread around the skein with a double knot. Pull it nice and tight. The ends of the looped thread should be about the same length as the rest of the skein.
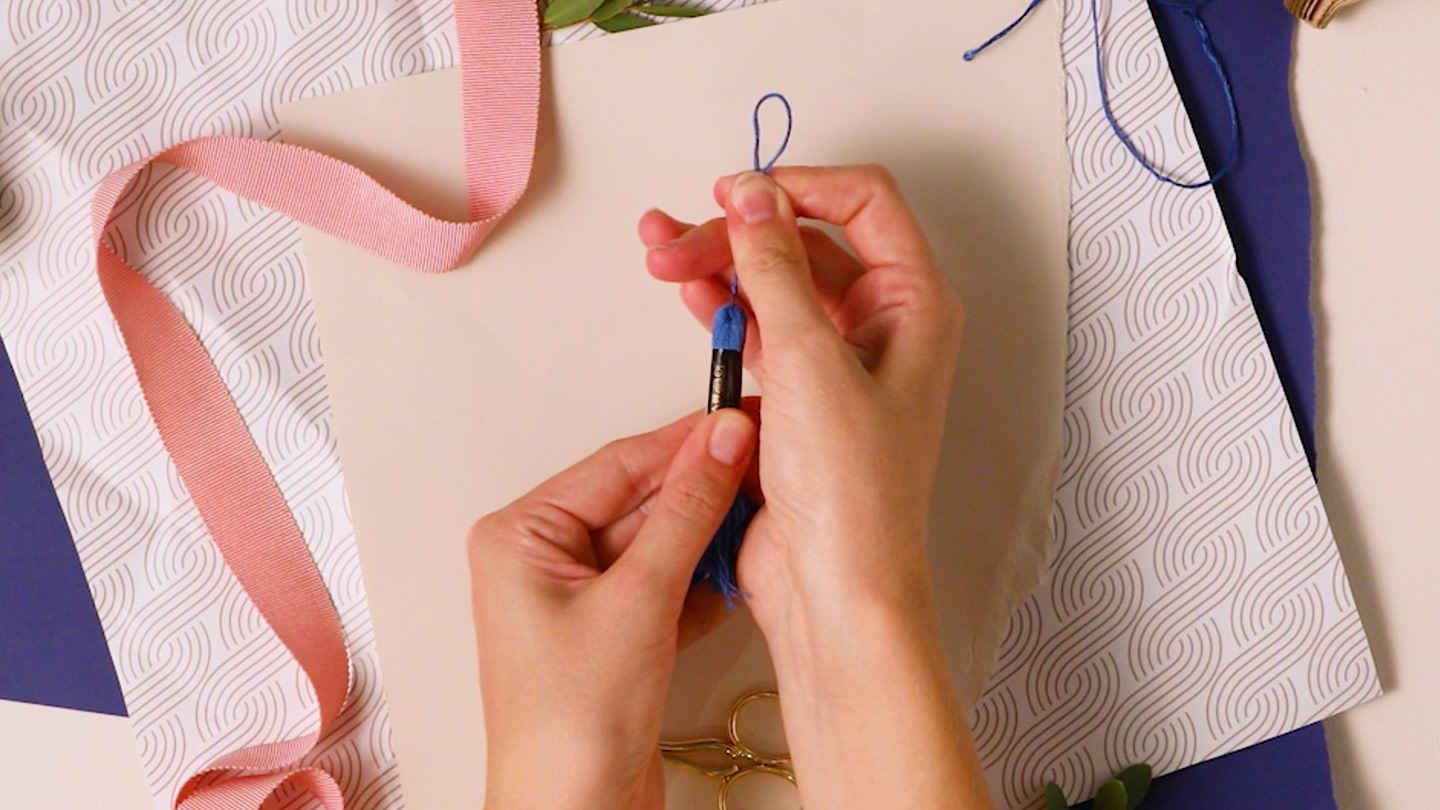
Step 5
Slide the labels off each end of the skein and fold it in half. Thread the loop through one of the labels and slide the label down until there are about two centimetres of thread showing.
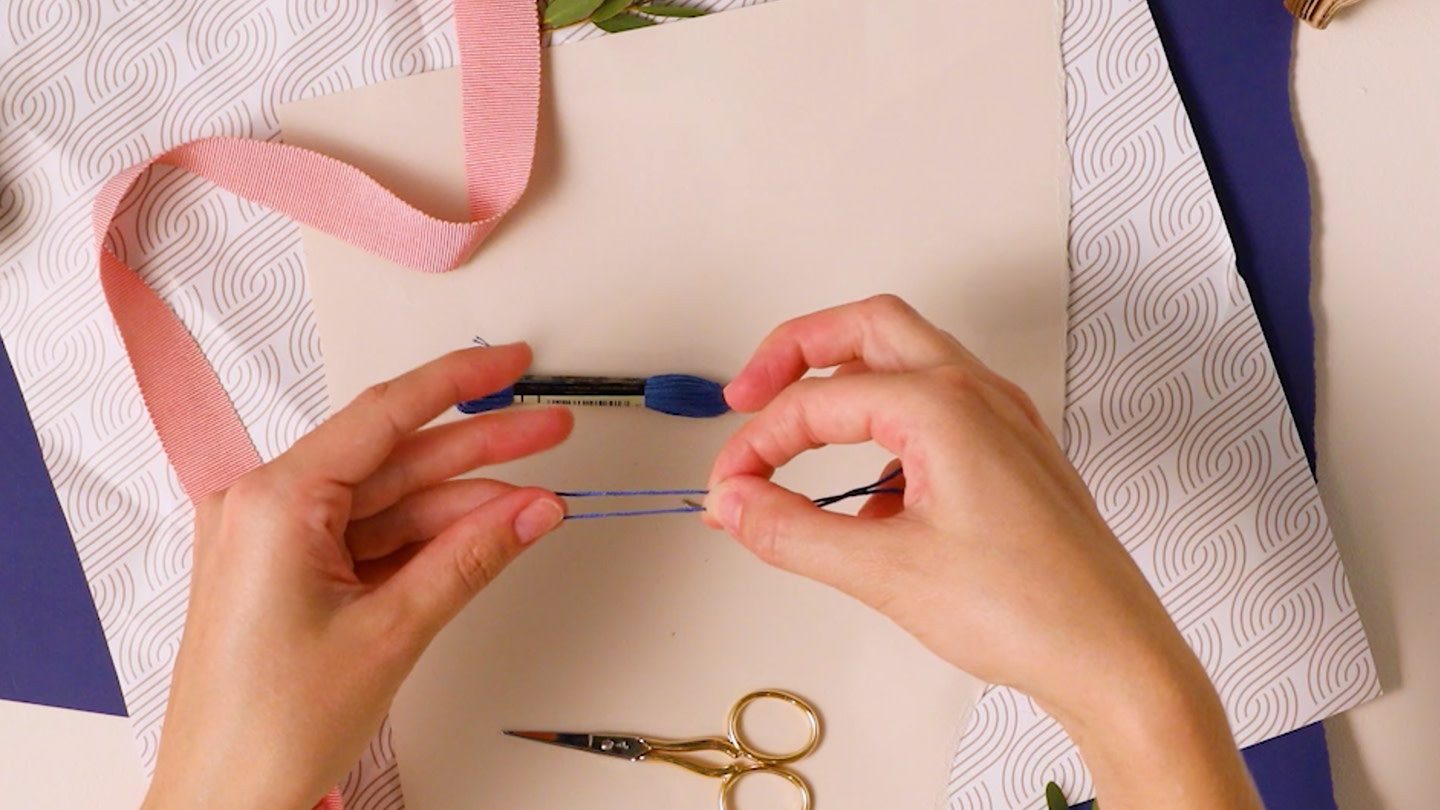
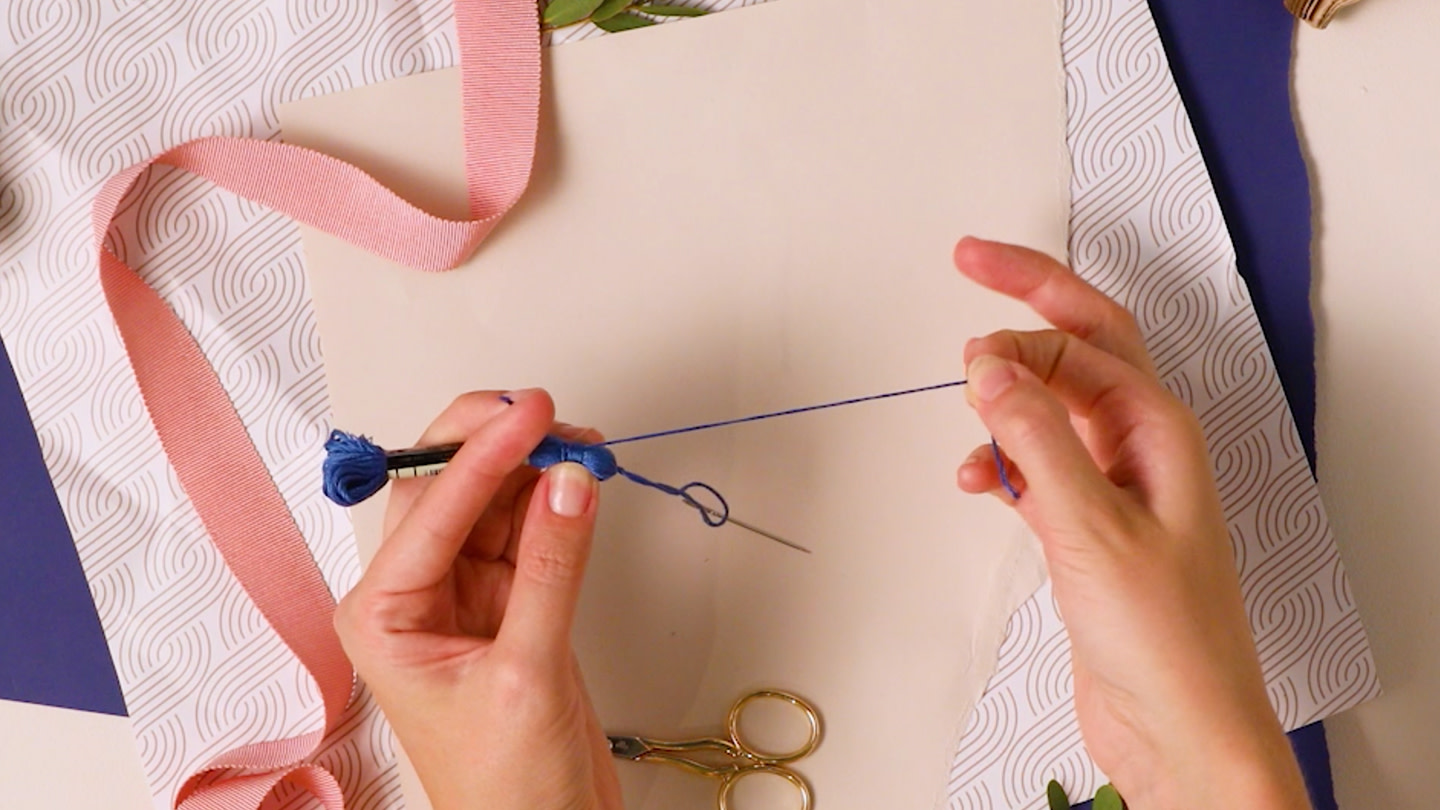
Step 6
Fold the other 33cm strand you cut to form a loop so that one end is just a bit longer than the tassel. Hold the loop near the top of the label so the two ends point to the top of the tassel.
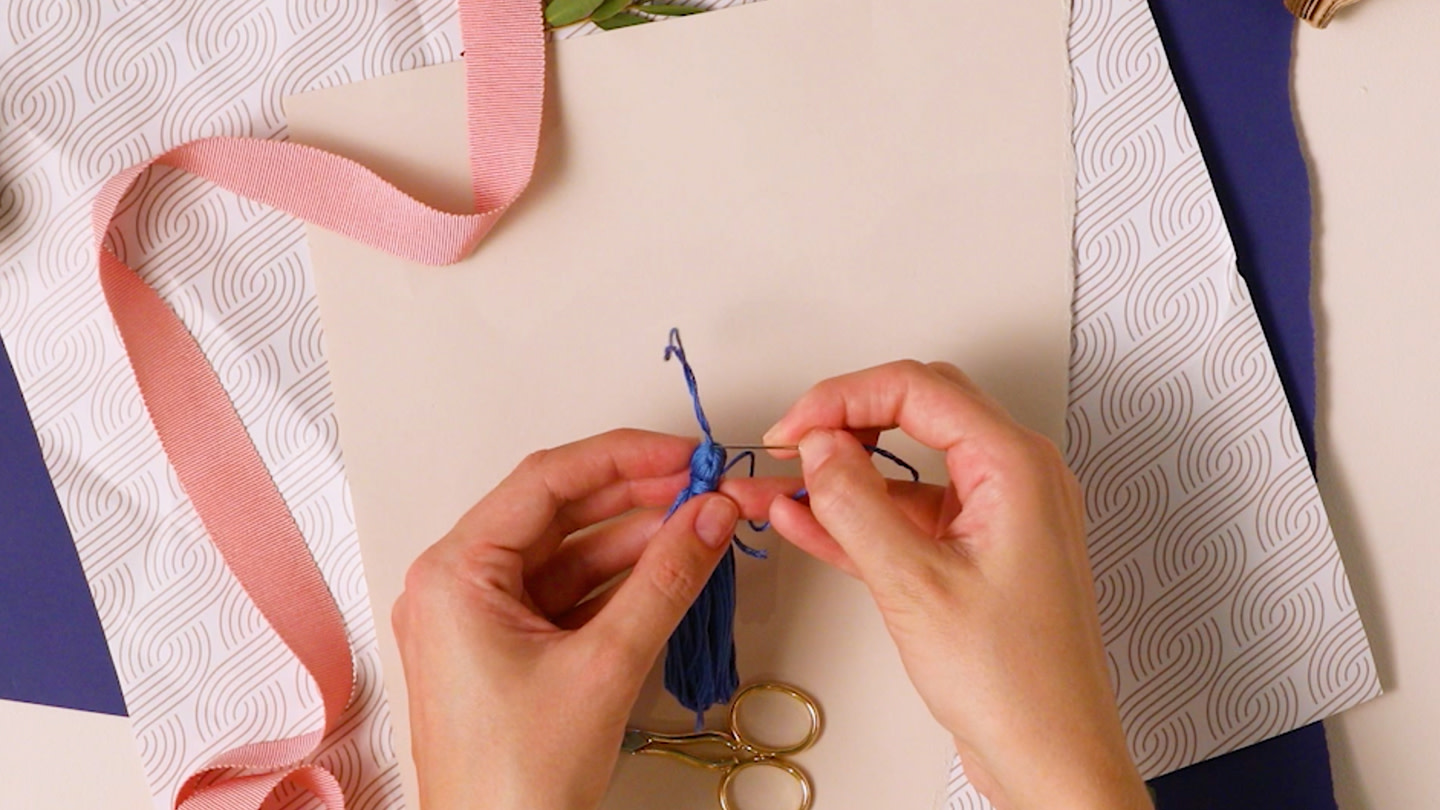
Step 7
Leave the shorter end out of the way poking up past the top of the tassel while you wrap the longer end around the tassel. Wrap clockwise five times moving down the tassel making sure each wrap is tight.
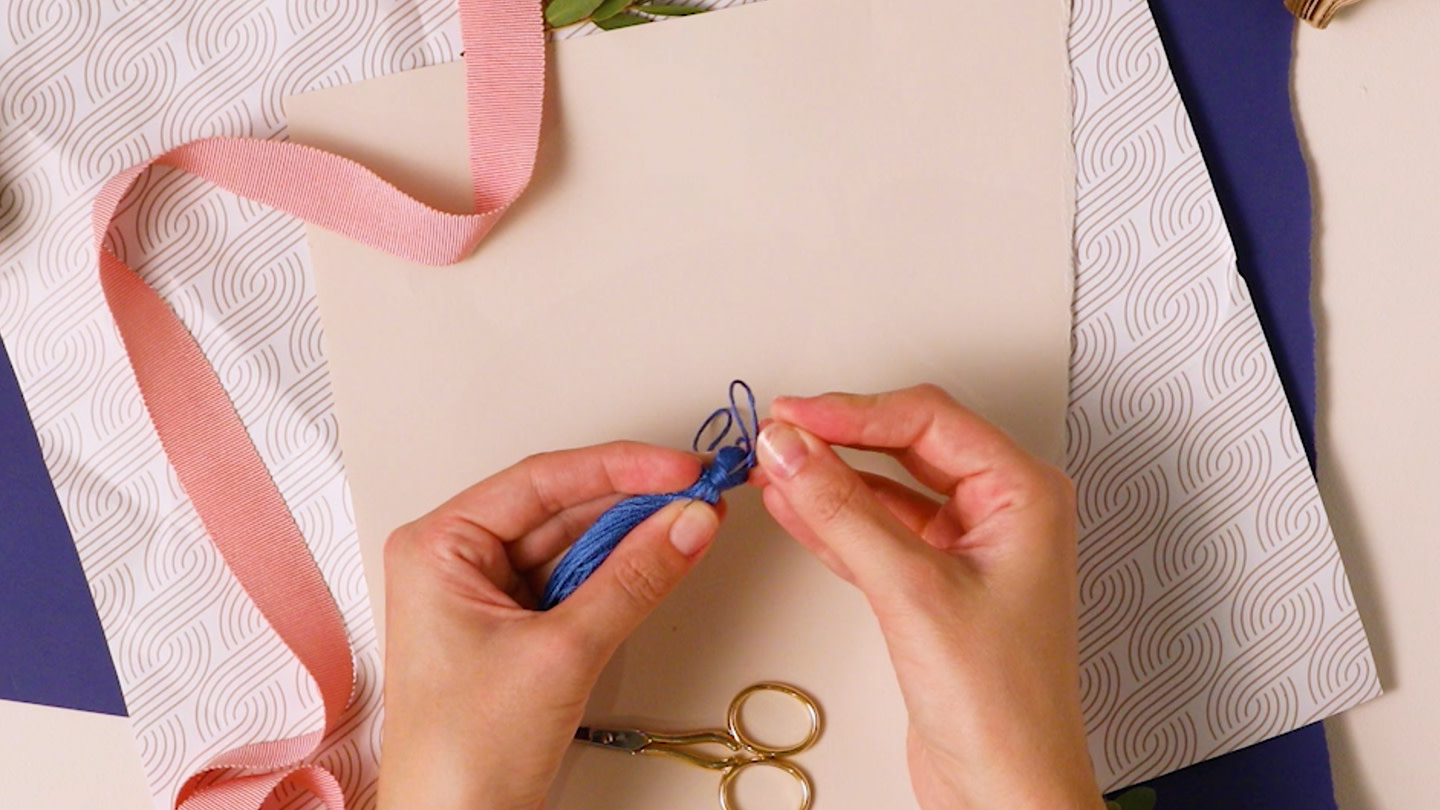
Step 8
Once you have completed the wraps, pass the end of the thread through the loop and then gently pull the short end of the thread you left poking out at the top. This will hide the knot under the wraps. Slide the label off the tassel.
Step 9
Thread your needle with the short end of the thread you wrapped around the top of the tassel. Push the needle under the knot at the top of the tassel.
Step 10
Then pass it under the wraps.
Step 11
Thread the label back on the tassel and trim the ends. The label will hold the threads together and give you a straight line to cut against so all the threads in your tassel are the same length.

Step 12
Your completed tassels can be used in a wide range of creative projects. Why not use them to add an elegant touch to gift wrapping or as Christmas Tree decorations?
Easily order
Everything you need
- +499 shades available
- +501 shades available


- +27 shades available
- +29 shades available
- +499 shades available
- +501 shades available
- +27 shades available
- +29 shades available
Related Articles