Taking a few minutes to prepare your fabric before you begin your project will help you to achieve the results you want. In this article we explain what you need to do to prepare your fabric for punch needle including how to transfer the design onto your fabric.
Should You Prewash Punch Needle Fabric?
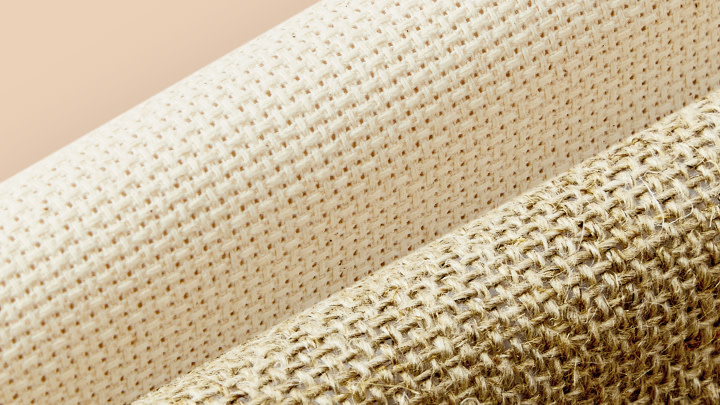
For many embroidery projects it is normal to prewash fabric to avoid any shrinkage or colour run issues from damaging projects. However, punch needle is usually worked on a specially treated punch needle aida fabric or hessian so it is not advised to prewash it. Washing may remove treatments or cause fraying. If you are doing a fine punch needle project with thread and cotton then prewashing is a good idea. You will need several centimetres of fabric around your design if you want to mount and frame your work. It’s better to leave plenty of fabric so you can choose the best way to finish your project. To prevent the edges from fraying while you stitch you can hem your base fabric with a running stitch, machine stitch a zig-zag or cut the fabric with pinking shears.
How Do You Transfer Your Design Onto Fabric?
There are a few different ways to transfer the design onto your cloth but the easiest way is to use a light box or window. Simply tape the design to your window or lightbox and hold or tape the fabric over the top. Tip: Decide which side of the punch needle you prefer - the loopy texture or the flat texture because this will determine whether your pattern needs to be reversed or the right way round - especially if the design includes text!
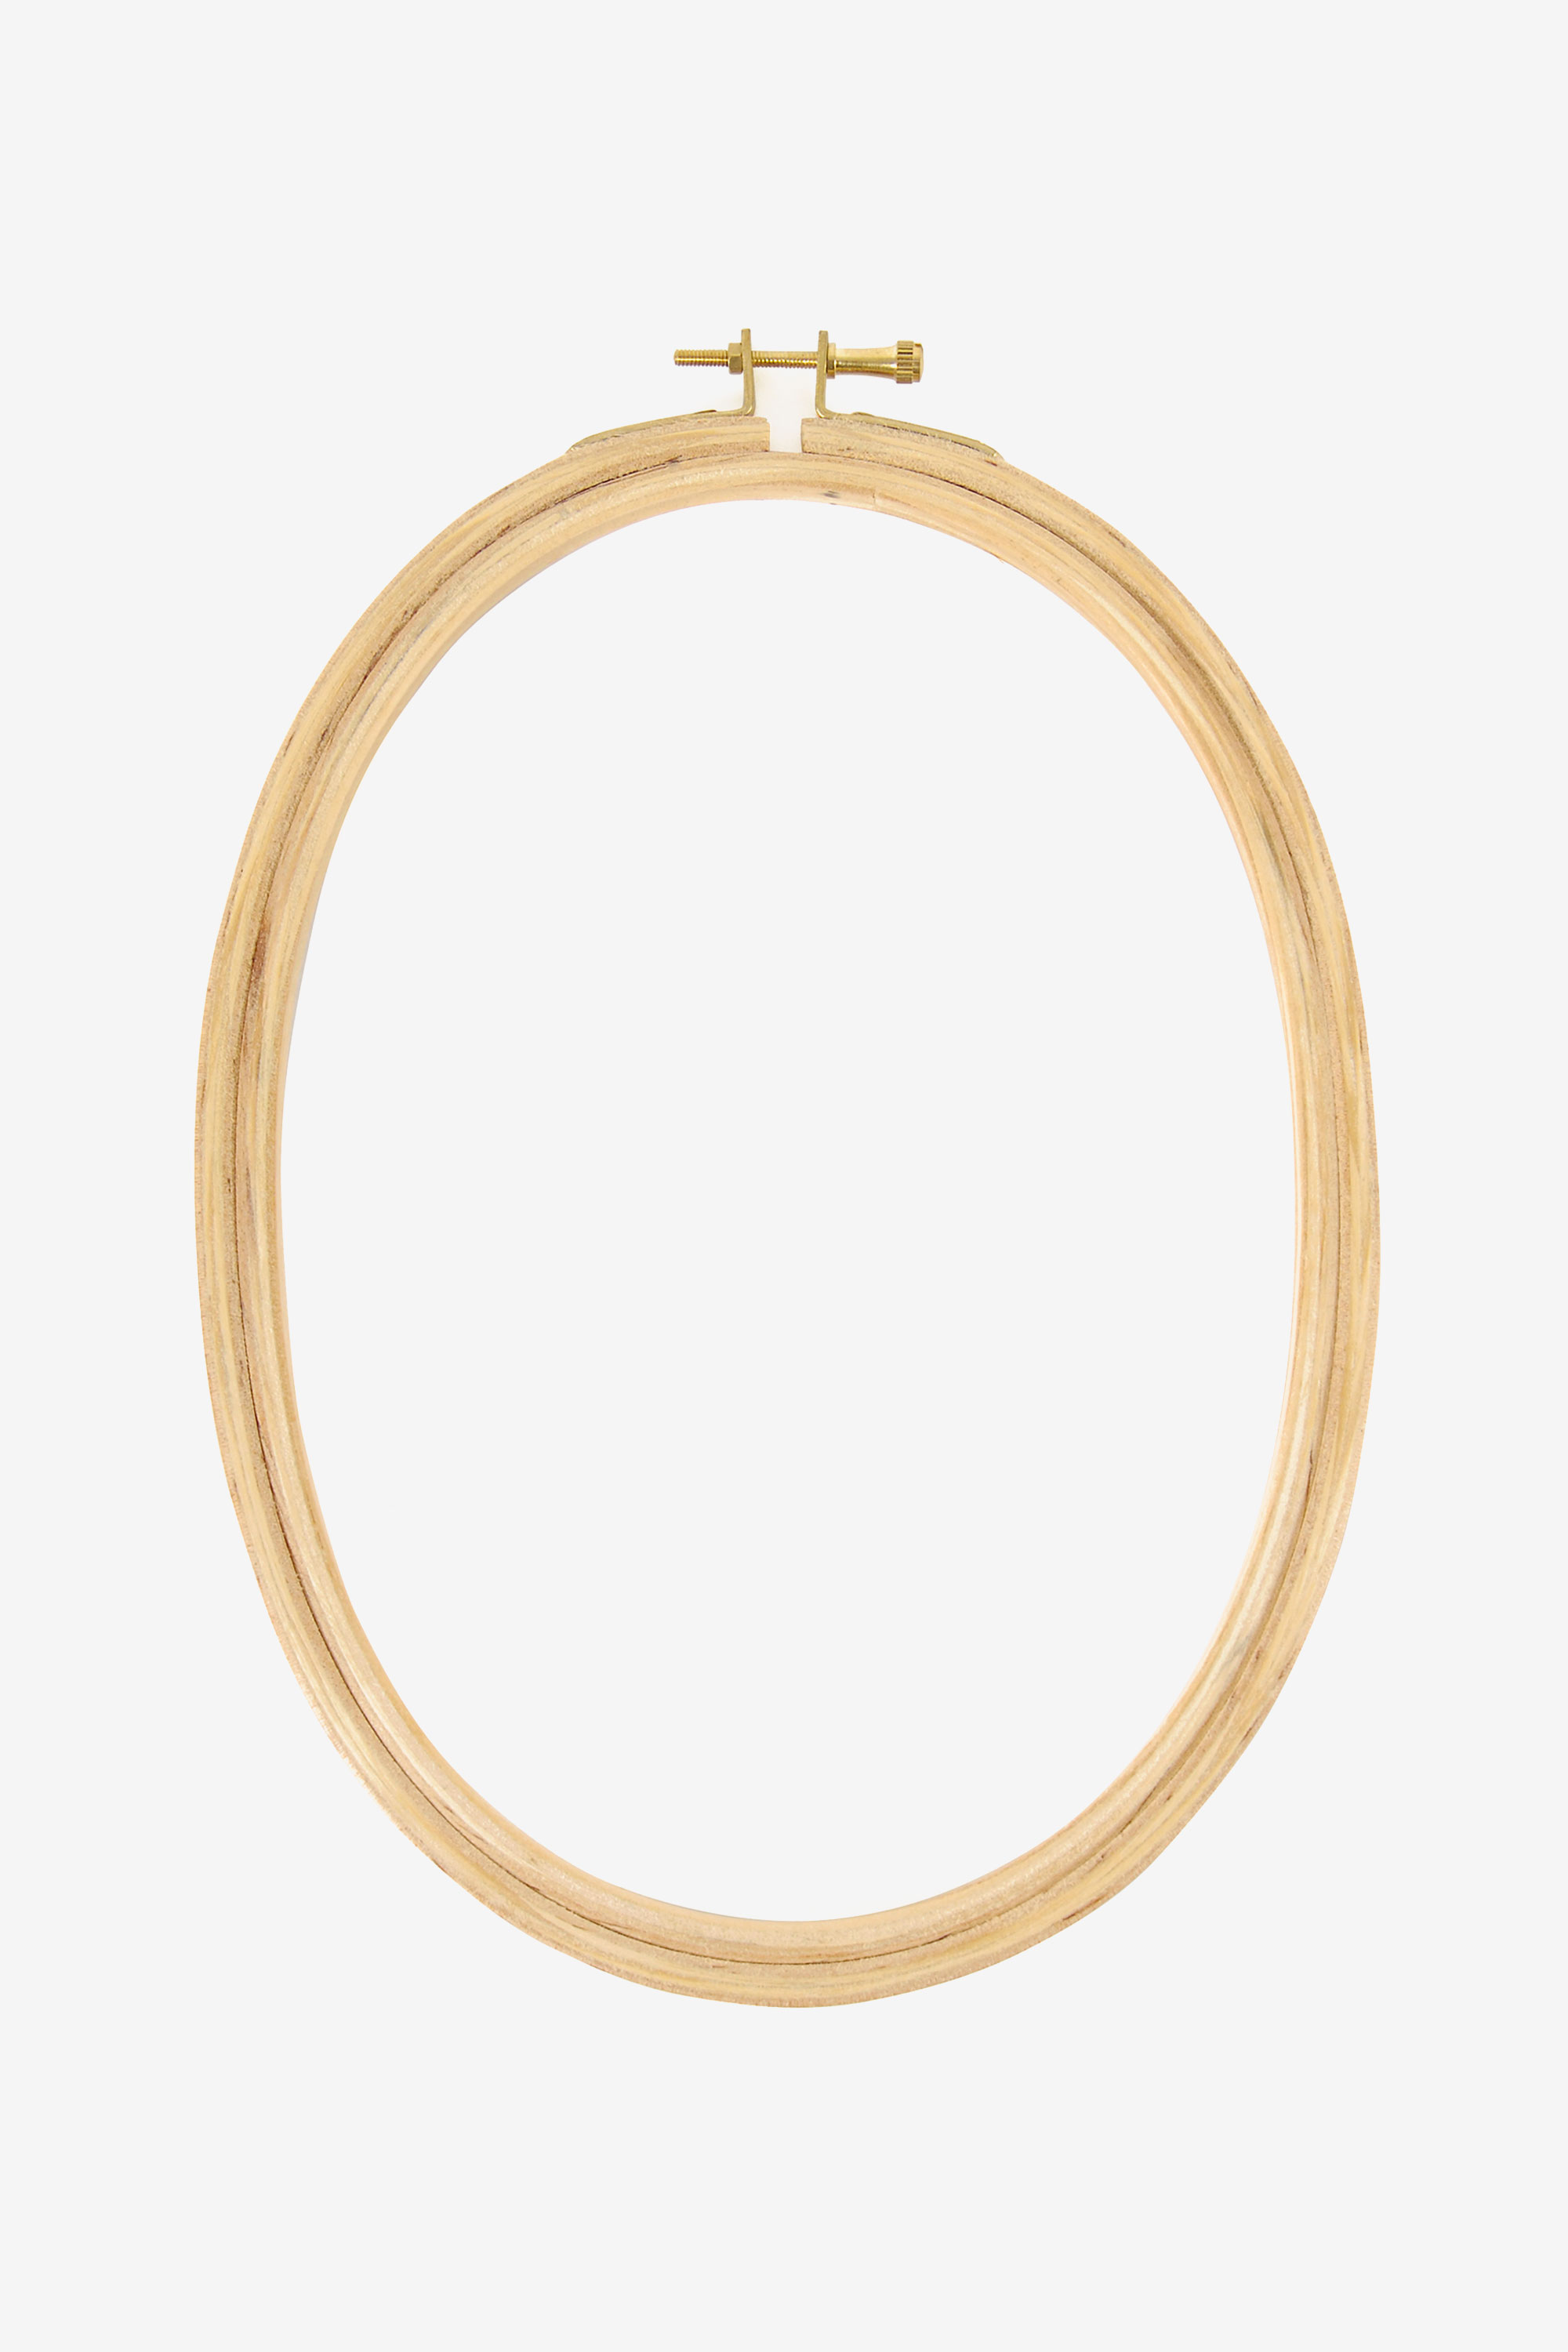
Stretch Your Fabric in a Hoop or Frame
In order to use a punch needle your fabric must be taut so you will need to use a frame or hoop. You may find you need to re-tension your fabric from time to time whilst you stitch. If you’ve never used an embroidery hoop before read our article: How to Use an Embroidery Hoop.
Why Are Punch Needle Patterns Reversed?
Traditionally the loopy side of punch needle work was considered to be the “front” and the flat side the back, so many patterns are reversed so that the finished loopy side shows the design as it was intended to be.
Many modern punch needle designs make use of both the flat and loopy textures by flipping their project over to complete different sections. You can decide which you prefer and adjust your pattern accordingly. This is especially important for designs that include lettering.