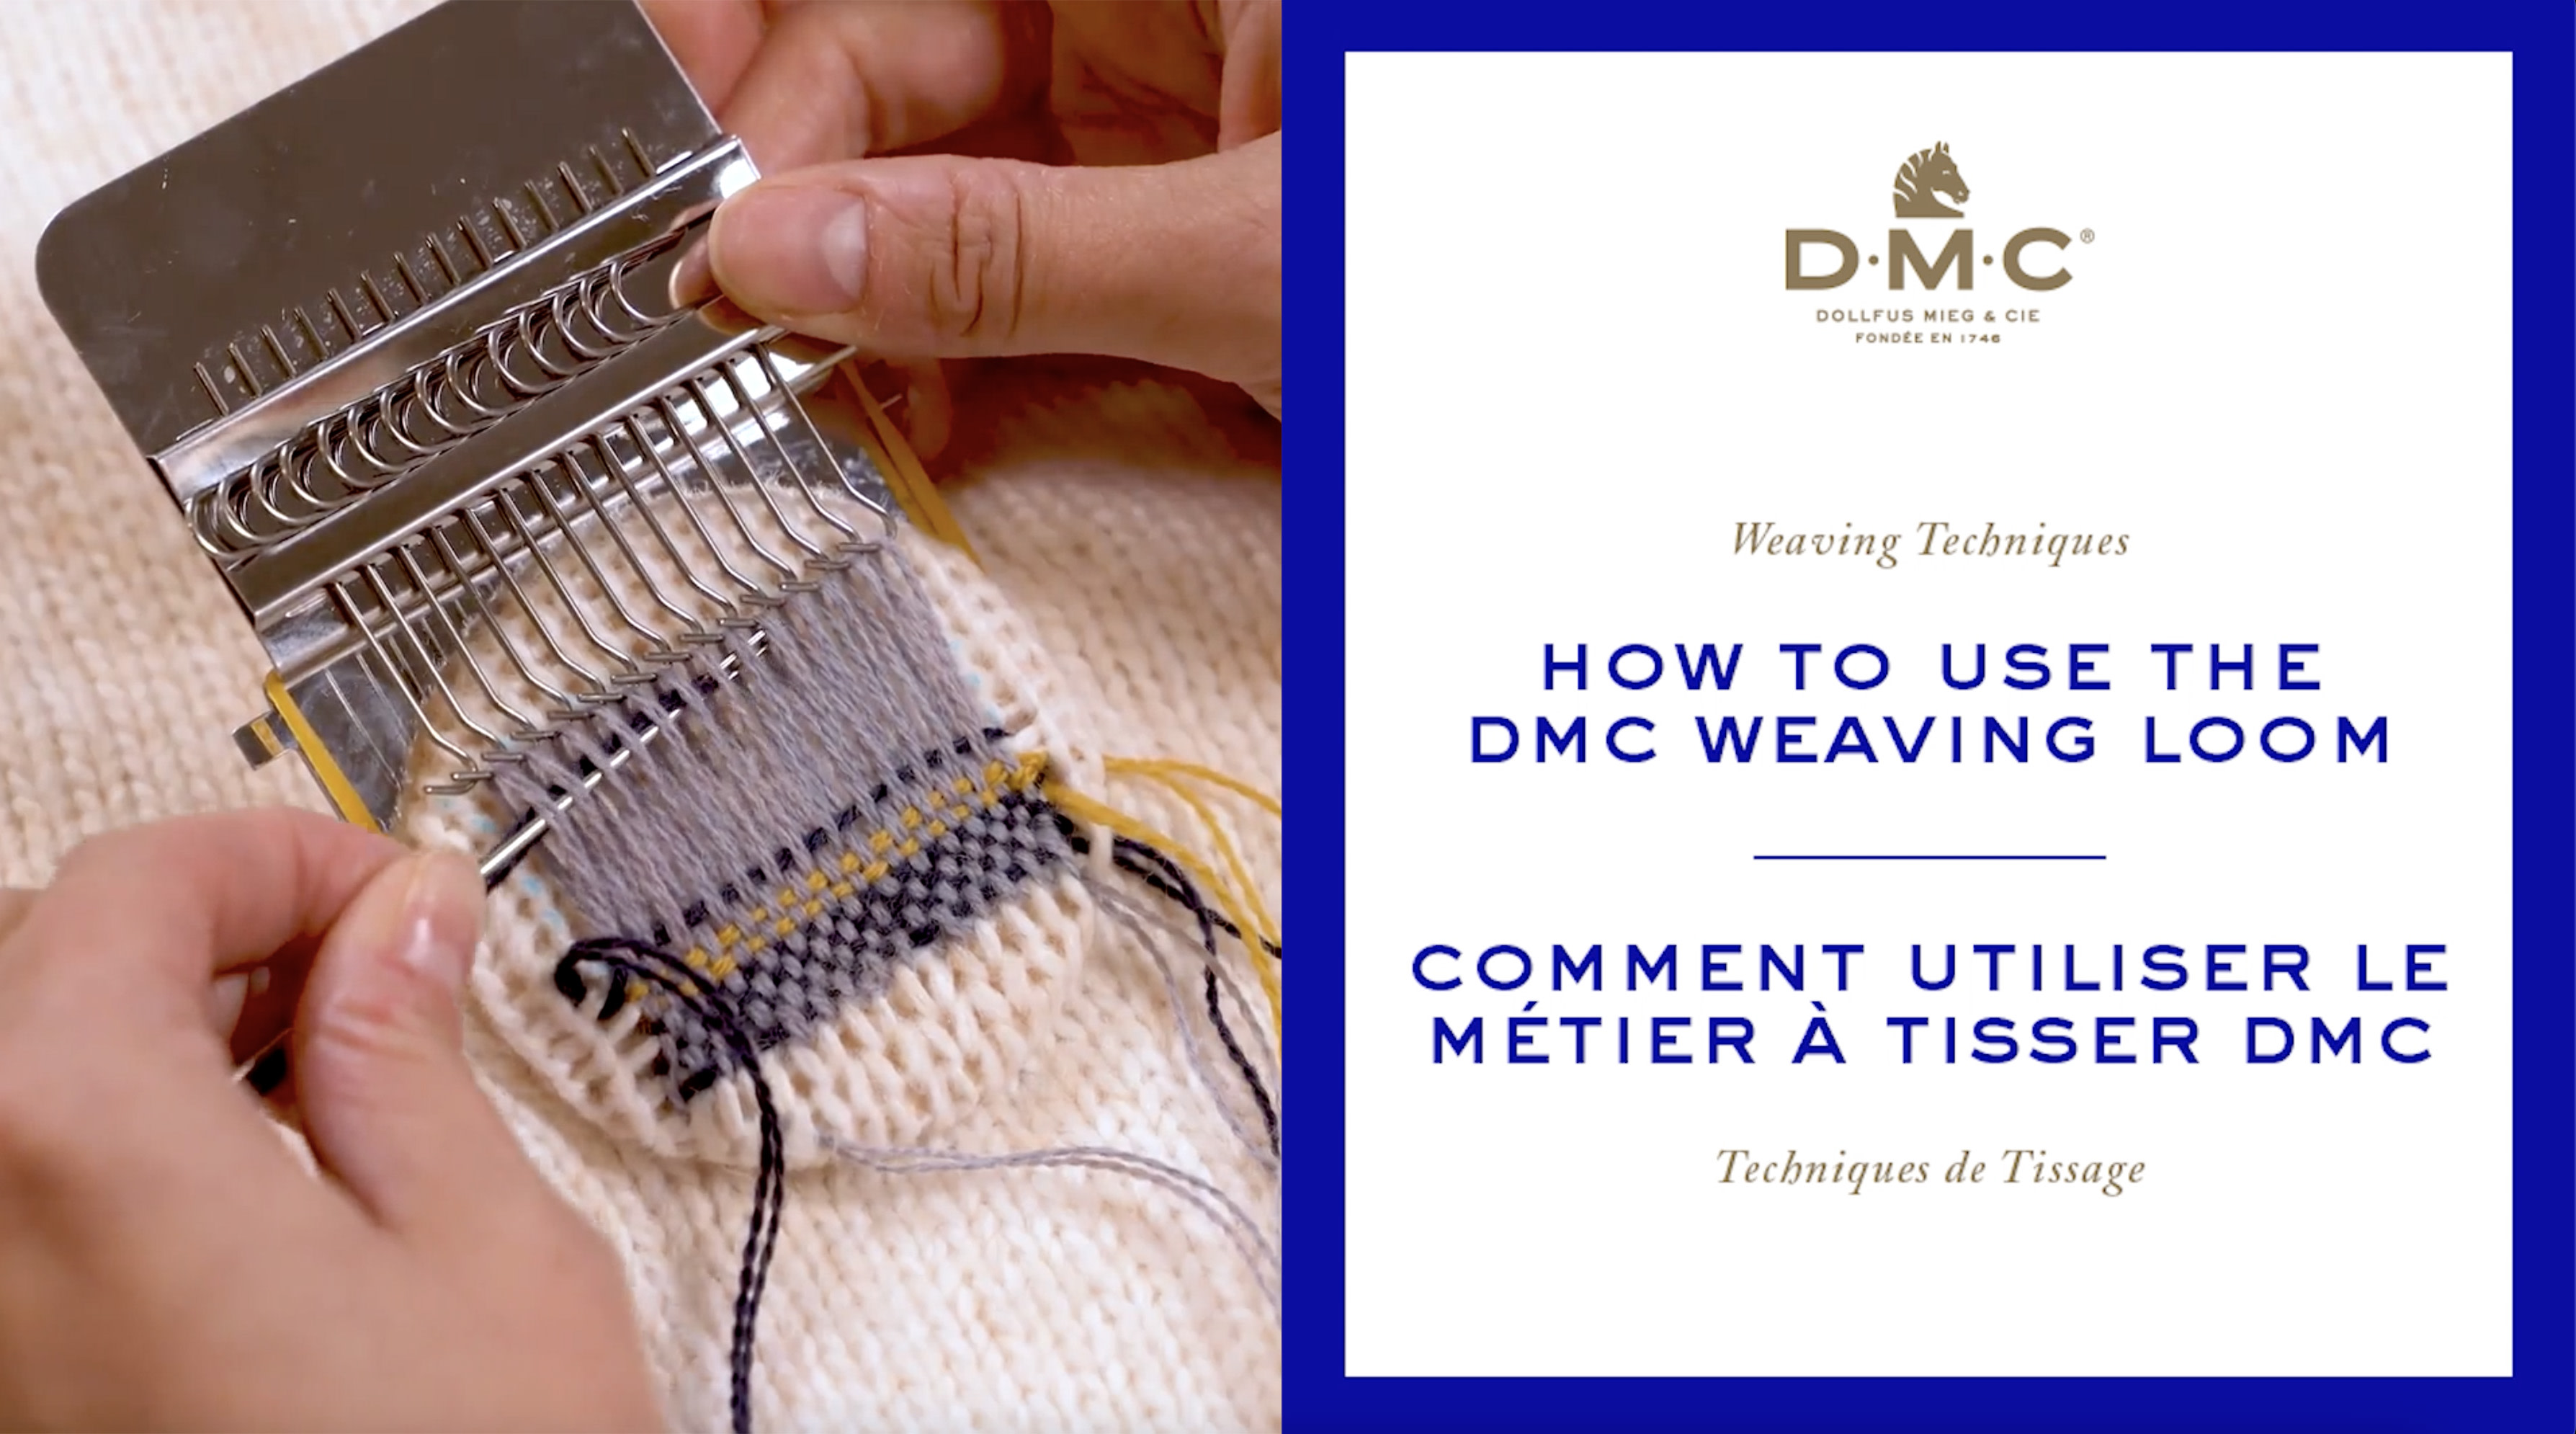
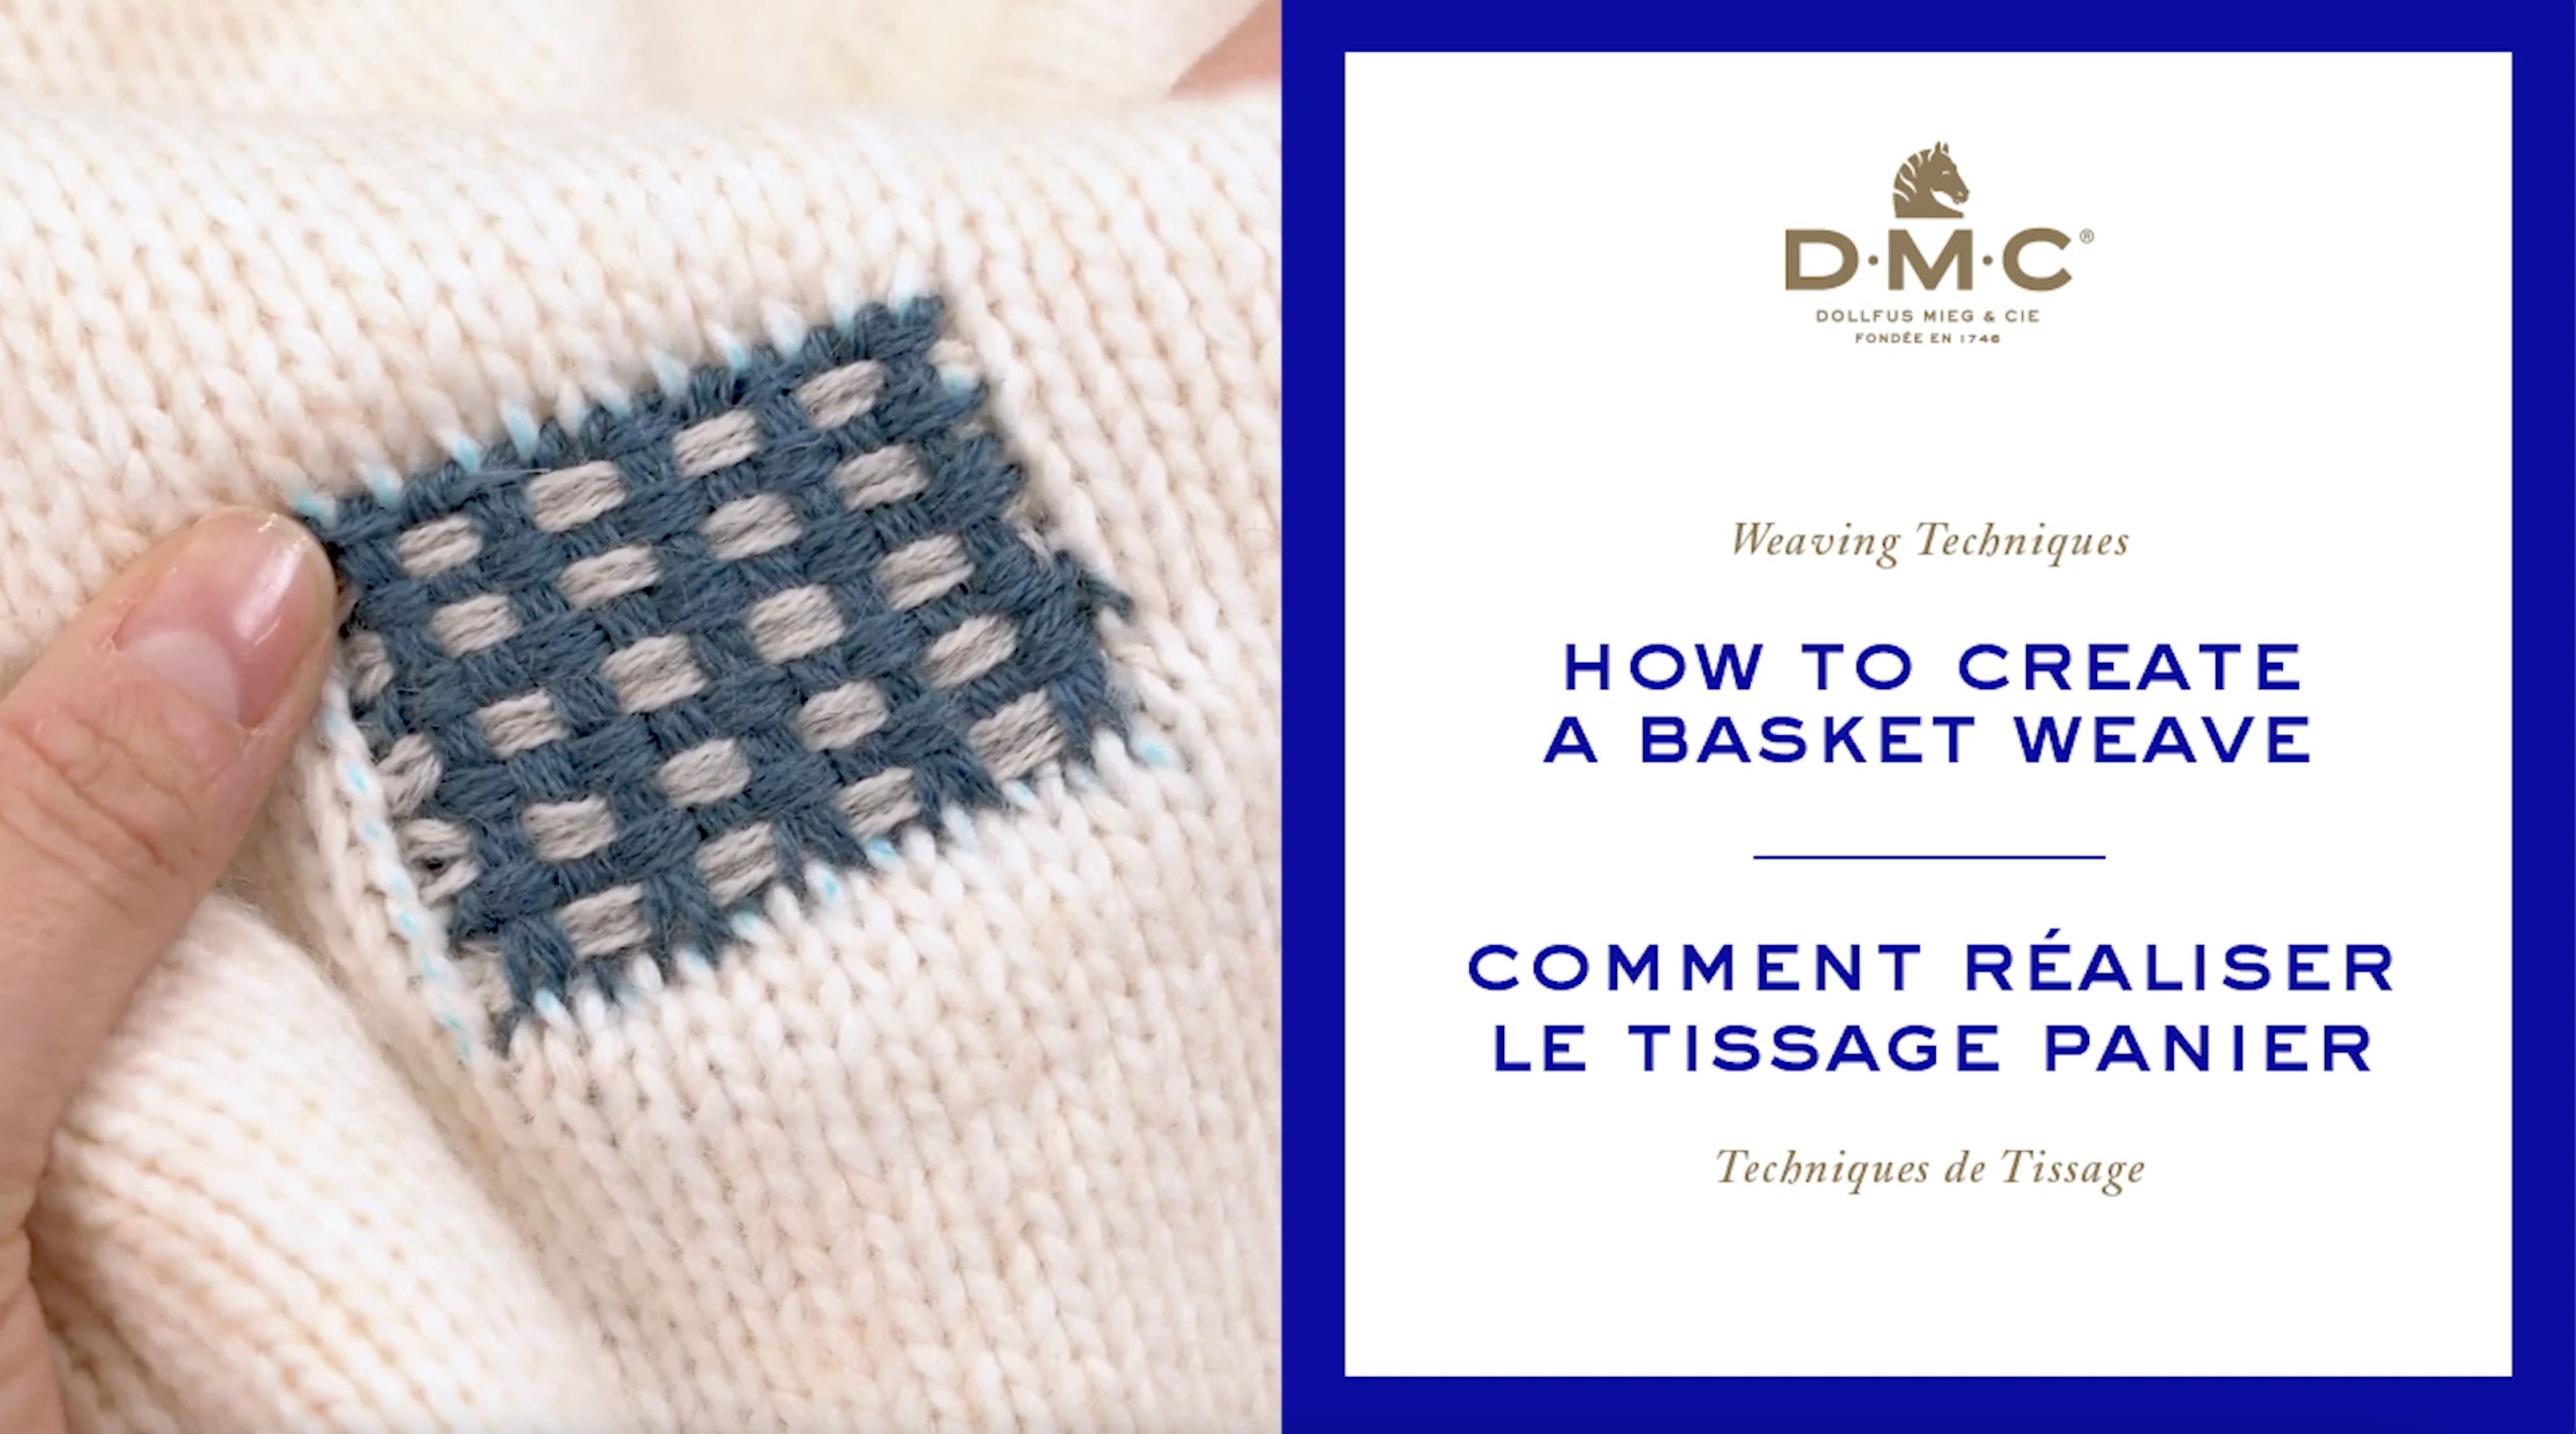
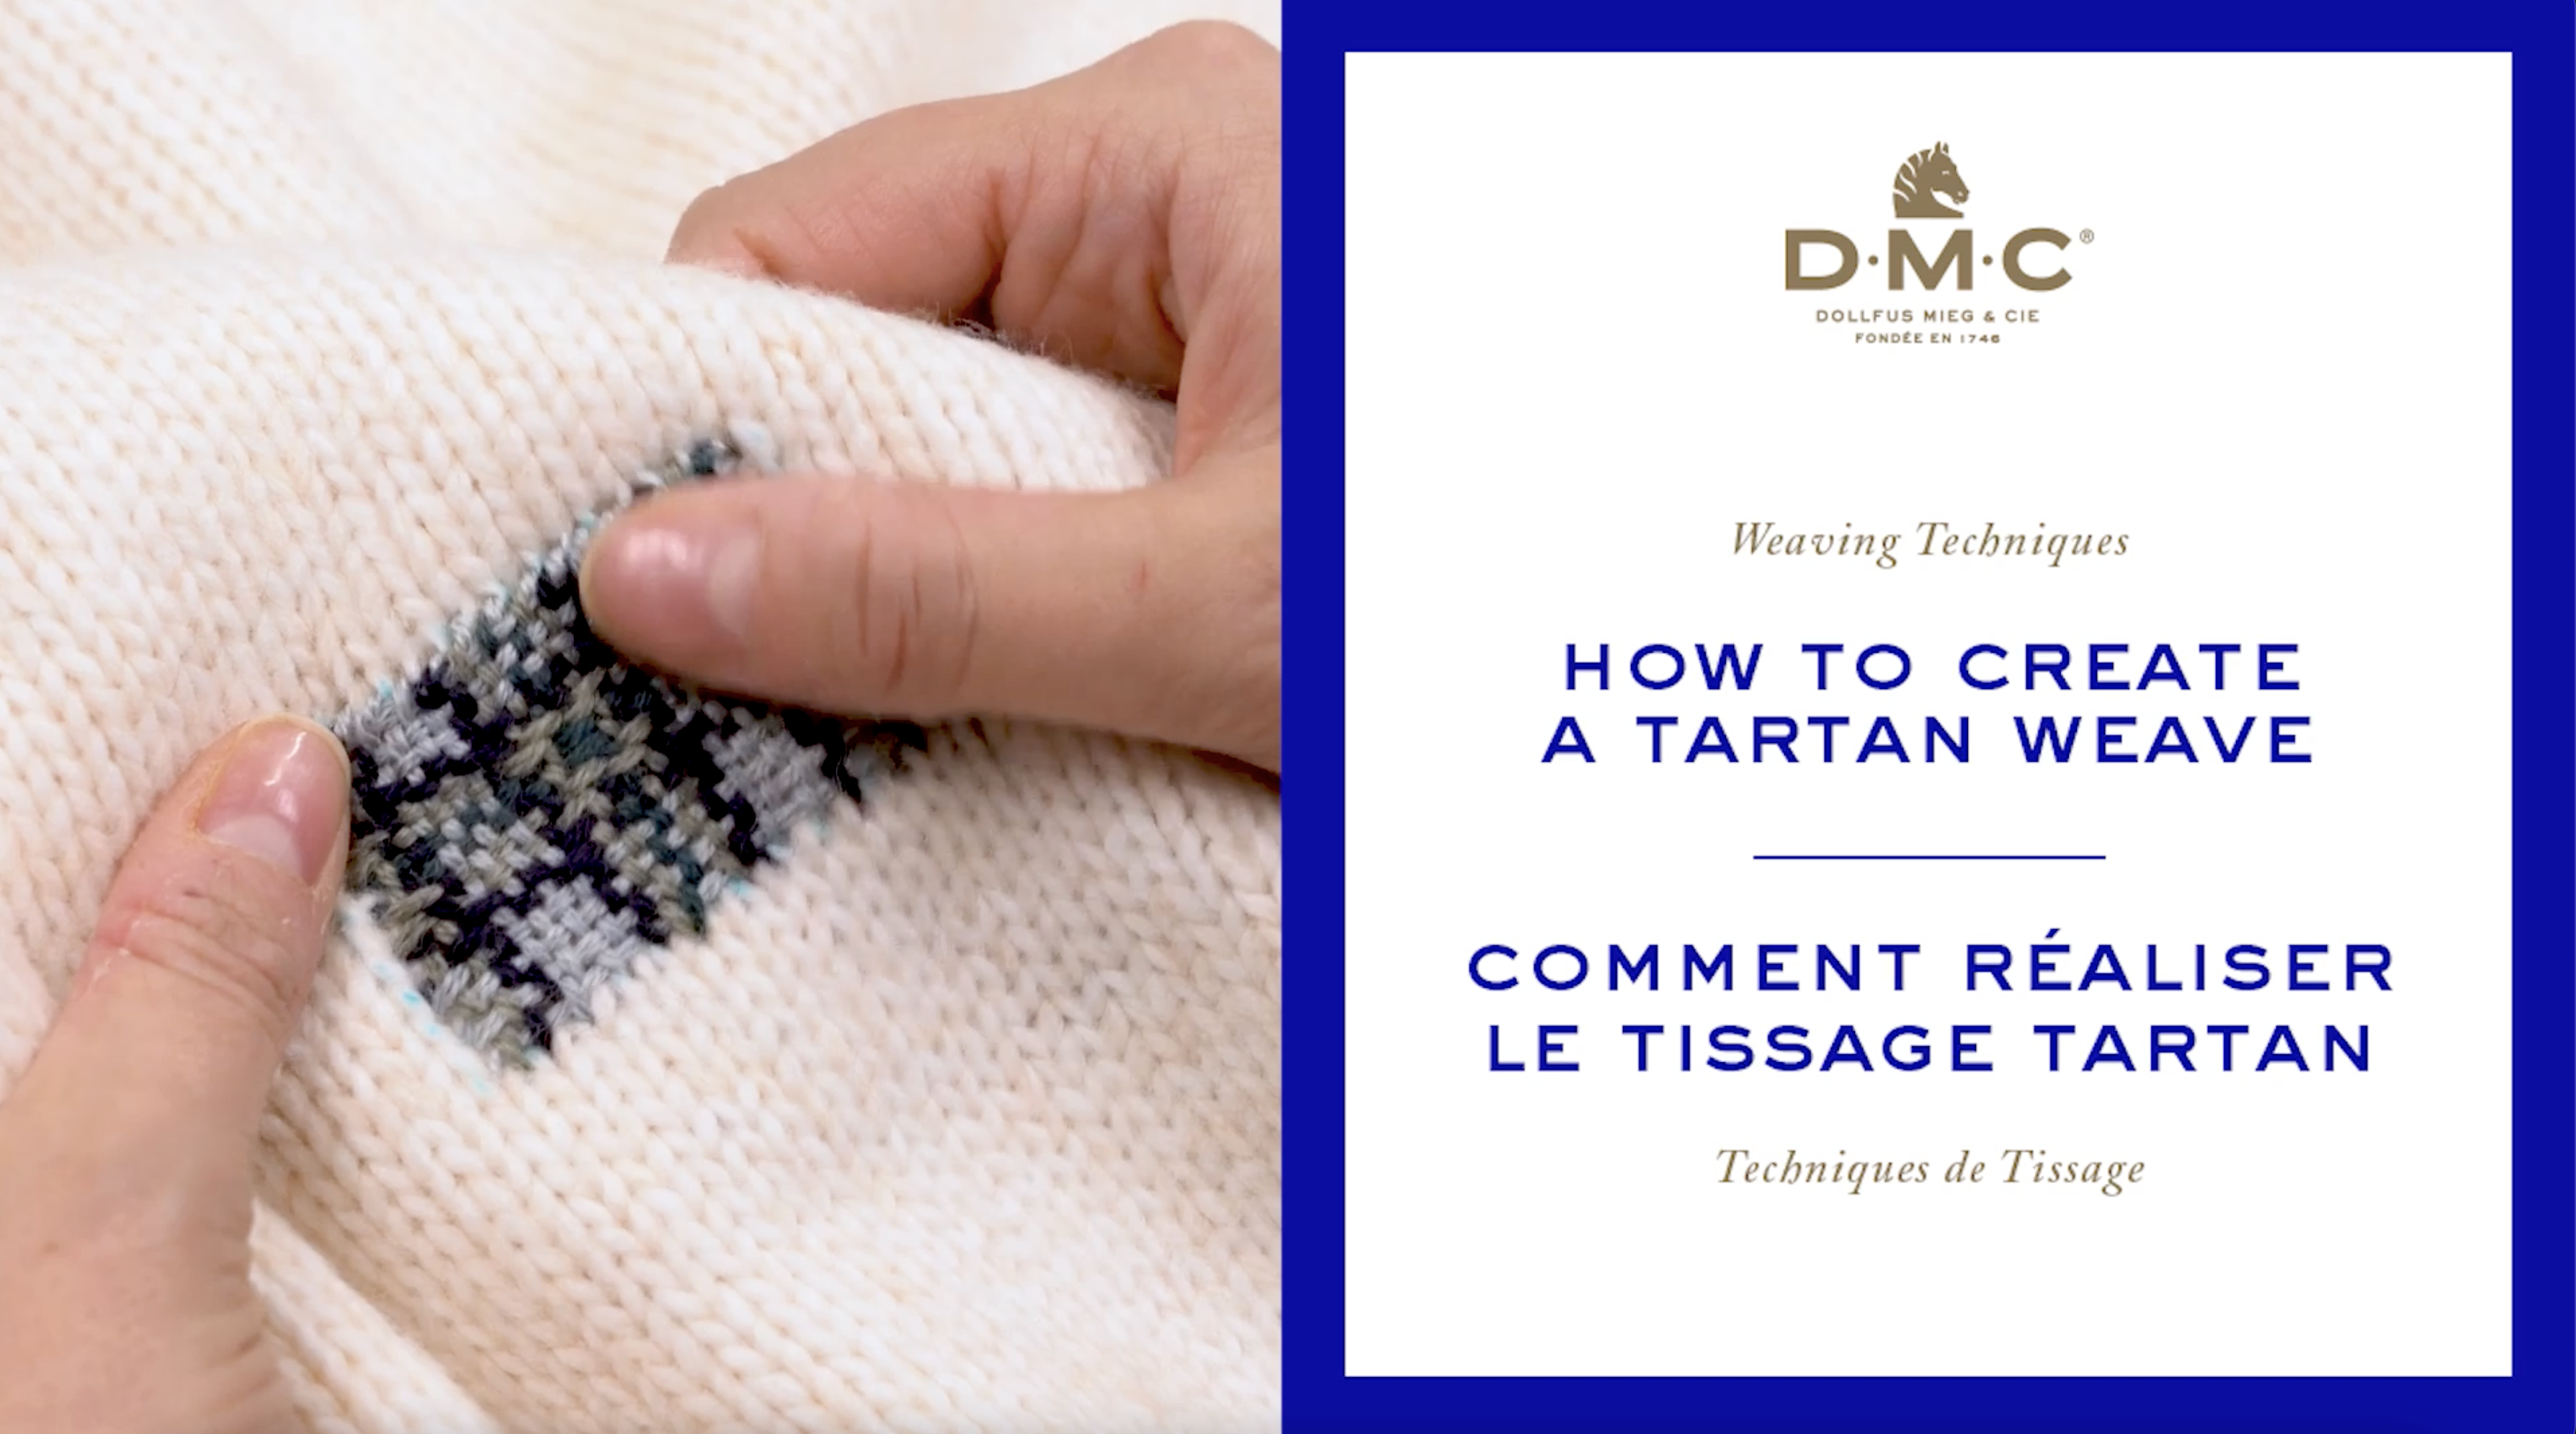
Once you have mastered plain weaving using a mini loom you might want to start creating more intricate woven designs. Patterns for these designs are presented as charts. In this article, we explain how to read these charts so you can make the most of your mini loom.
How to Read a Weaving Chart for a Mini Loom
Learn to Create Patterns with Your Darning Loom and Eco Vita Thread
Understanding Weaving Charts
Here’s an example of a weaving chart taken from our Eco Vita Mender’s Wardrobe Book.

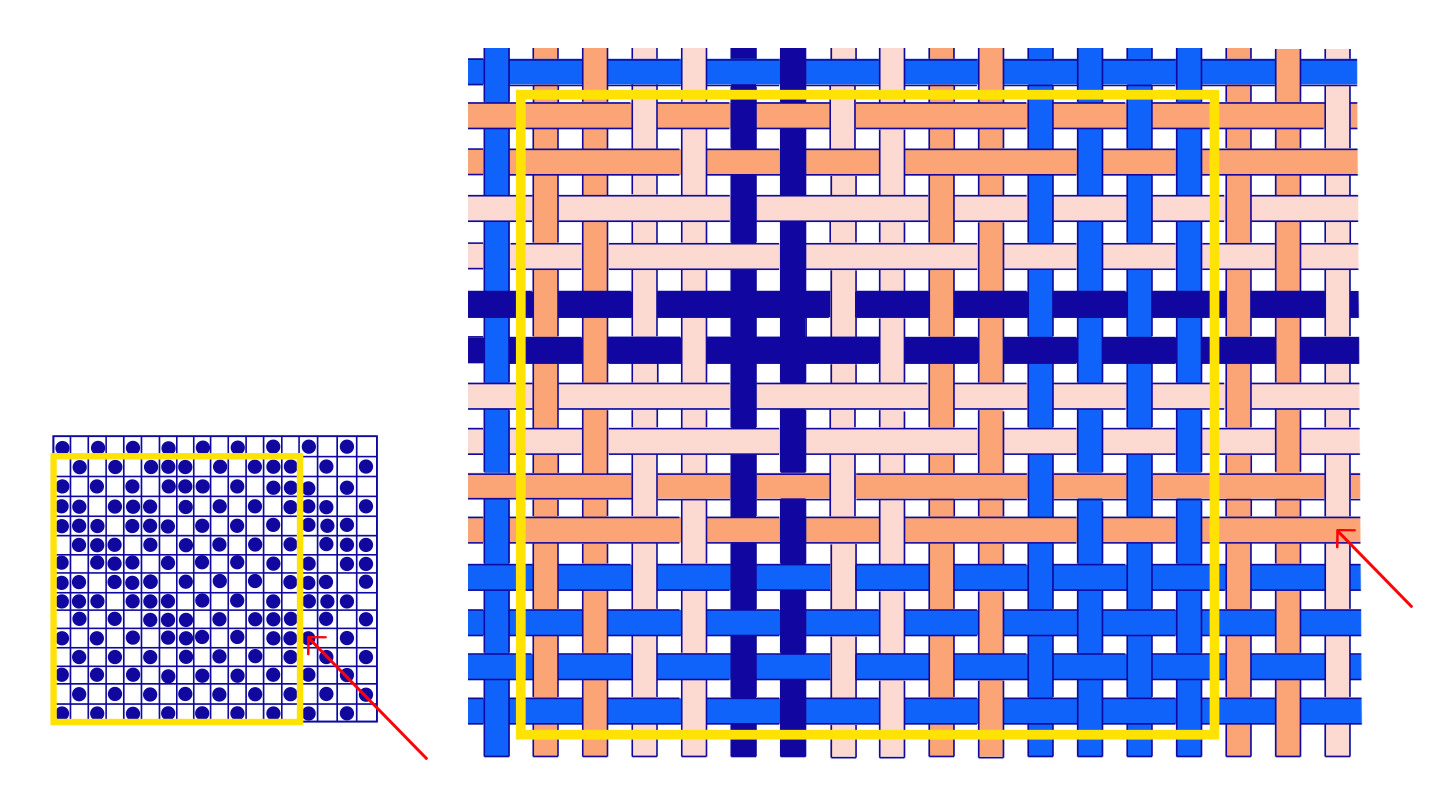
DMC weaving patterns contain two charts. The larger colored chart helps you to visualize what the finished design will look like. It shows which color threads to use where and which horizontal weft threads should go over each vertical warp thread and which should go under. The second chart uses symbols and a key to show more simply which weft threads go over the warp and which go under.
Read Charts From the Bottom Up
Once you have set up your loom with all the vertical warp threads you will be ready to start using the charts. When you weave on a mini loom you begin weaving at the bottom so the charts need to be read in the same way. In the example above, the colored chart shows what color each warp thread should be. Once you have these warp threads in place, start weaving and reading the first row of the chart from right to left. The example above shows that for the first row you would take a pale blue color weft thread under the first warp thread then over the next and repeat this pattern until the end of the row.
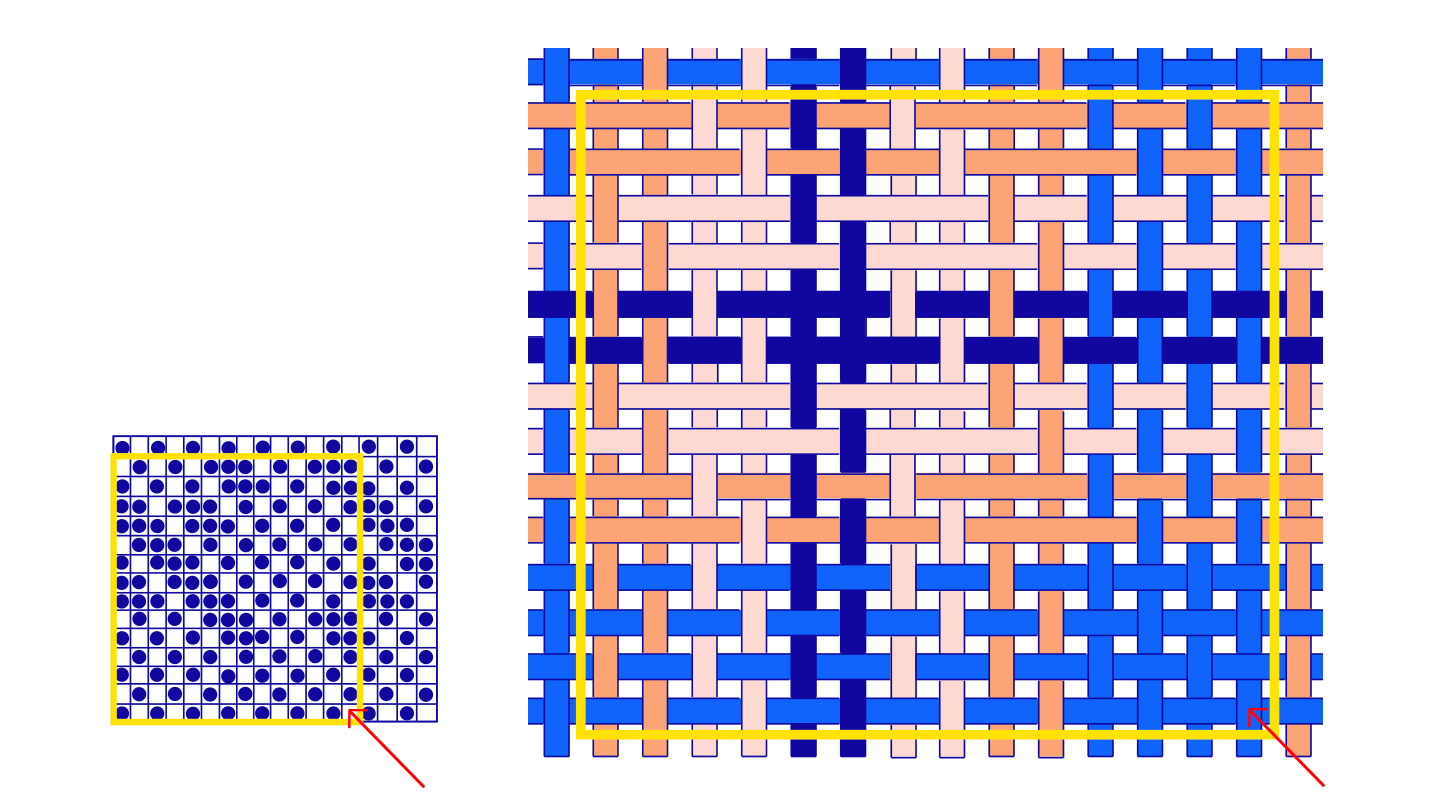
For the second row, as you already have a pale blue weft thread, you would read the chart from left to right weaving the thread back across following the symbols as before. For the following rows read the chart alternately from right to left then left to right so the weft thread gets carried backwards and forwards across the work in a zig zag. On the fifth row, things change more so pay close attention to the chart as in some places you take the weft thread over three warp threads. As you are introducing a new color read the chart from right to left again.
Tip
Use the eye of the needle rather than the point to guide the weft thread over and under the warp threads to avoid the point of the needle snagging any of the threads.


