What is cross stitch
Cross Stitch is one of the easiest stitches to learn. It starts with a simple X shaped stitch that is commonly stitched with Mouliné thread on an evenweave fabric. The cross stitch is repeated numerous times to create a design. Counted cross stitch designs are made by following a grid or chart where each square that contains a symbol represents 1 stitch.
Gather Your Tools
You are going to need some basic items to get started. DMC manufactures premium quality supplies at a great value, for any type of needlework project. You can find all of your beginner cross stitch essentials in our Beginner Kit Bundle
SELECTING YOUR FABRIC

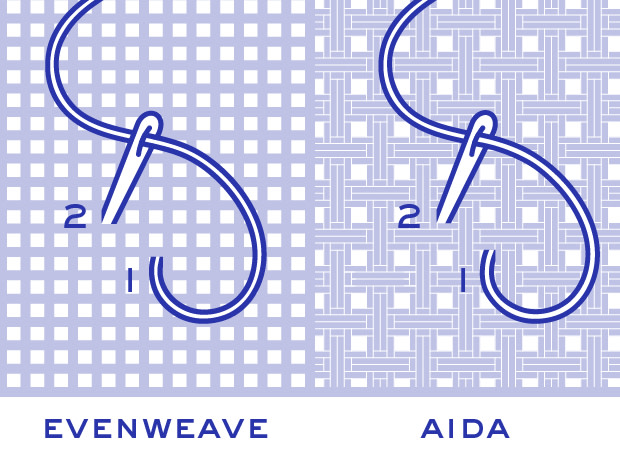
Select an evenweave fabric for cross stitch projects. For beginners it is best to start with 100% cotton Aida fabric. Its precise square-patterned weave with visible stitching holes, or squares, makes this fabric easy to use and allows the needle to glide easily through the holes. When a project calls for Aida fabric, it usually lists a count. The count indicates how many squares per inch of fabric. Each square or hole represents a cross stitch. DMC & Charles Craft Aida are available in a variety of different counts ranging from 11, 14, 16 and 18, with the holes being larger or smaller. The smaller the fabric count the larger the holes in the fabric. For example 11-count Aida fabric will have 11 holes per inch. This is why for beginner projects it is recommended to use 11– count or 14 - count Aida fabric as the holes are larger making it easier to stitch and to count. DMC and Charles Craft Aida fabrics have a wonderful finish and are available in a variety of colours and types.
You can find a little more about fabrics and how to select the right one with our Fabrics Guide
CHOOSE YOUR THREAD

For most cross stitch projects you will use DMC Mouline Stranded Thread. DMC Mouline Stranded Thread is the highest quality and most widely used thread in the world. It is made from long staple 100% Egyptian cotton and mercerised to give a beautiful sheen. There are over 450 colours of DMC Mouline Stranded Thread.
Each length of thread is composed of six individual strands, allowing you to adjust the thickness of your stitching by using a different number of strands. Charts and instructions commonly refer to a strand as a ply (i.e. 6 ply embroidery thread)
Other DMC threads to use when cross stitching include: DMC Color Variations Thread, DMC Light Effects Thread and DMC Satin Thread. All of these threads are also composed of six individual strands that can be easily separated. All DMC Threads are made from the world’s highest quality fibres and are either mercerised or finely twisted so that the beautiful lustre and brilliant dyes are consistent skein to skein, ensuring that your project will withstand the test of time. DMC Threads are all 100% colourfast and fade resistant.
PICKING THE RIGHT NEEDLE

For cross stitch projects use DMC Cross stitch needles. Cross stitch needles have an elongated eye for easy threading and a blunt tip that glides smoothly through the holes in your fabric. The number of the cross stitch needle corresponds to the size of the eye and the thickness of the needle. The higher the number of the needle, the smaller the eye and thinner the needle is.

For cross stitch projects use DMC Cross stitch needles. Cross stitch needles have an elongated eye for easy threading and a blunt tip that glides smoothly through the holes in your fabric. The number of the cross stitch needle corresponds to the size of the eye and the thickness of the needle. The higher the number of the needle, the smaller the eye and thinner the needle is.
preparation
PREPARE YOUR THREAD

DMC Mouline Stranded Thread is composed of six strands that are twisted together and easy to separate. Many cross stitch designs stitched on 14 – count Aida call for only two strands of thread, so you will need to separate your thread. Refer to your design chart to see how many strands (or plies) of thread the design specifies.
Find the end of the thread on your skein of DMC Thread. Slowly pull the end out from the skein until you have a 50cm (18”) length of thread and cut it off. To separate the thread into individual strands, pull one strand up and out slowly until it is completely separated from the remaining strands. Continue to pull out the number of strands you need to stitch with. To rejoin the threads, hold them together at one end then gently pass your hand over the lengths to smooth and recombine them.
ESTIMATING THREAD FOR A PROJECT:
Thread amounts for a project depend on numerous variables; the tension of the stitch and where the colour is placed in the design are the two primary ones. A quick way to estimate the amount of thread you will need for a large project is to take one 50cm (18”), length and in the correct ply, cross stitch the fabric until the thread is finished. You will then know the how many stitches per length of thread you can make.
Each skein of DMC Mouline Stranded thread has 8m (8.7 yards) and a skein of Pearl Cotton 5 contains 25m (27 yards). By counting the stitches on your chart and using a calculator you should be able to determine the amount you’ll need.
Most charts assume that one skein will be plenty but in larger projects like Afghans, the chart will list how many skeins of each colour are needed.
PREPARING YOUR FABRIC:
It is important to locate the centre of your fabric so that you can centre the design on it. To find the centre, fold the fabric in half and then in half again, the centre of the fabric is located where the folds intersect. To mark the centre point make a small dot with a Water Soluble Pen.
Every chart lists the finished size of the cross stitch design. Add at least 8cm (3”) all around the design area for framing or more if your finishing technique requires it.
DO NOT wash your fabric before you use it. Washing will tighten up the holes and make stitching on the fabric more difficult as the squares become harder to see.
Embroidery hoops are especially helpful if you are a beginner. See below for a step-by-step on how to easily insert your fabric into an embroidery hoop.
HOW TO USE AN EMBROIDERY HOOP:

Loosen the screw or nut on the outer embroidery hoop and separate the inner and outer rings. The outer ring will hold the fabric over the inner ring once you have inserted the fabric.

Place the inner ring on a flat surface. Place your fabric over it, then put the outer ring over the fabric and press until the bottom ring is snug inside the outer ring. Tug the corners of the fabric slightly to make the fabric taunt – make sure this is as tight as possible so the fabric won’t slip out of the hoop.
Tighten the nut or screw securely. Your fabric is now in place and ready to stitch.
It is important to locate the centre of your fabric so that you can centre the design on it. To find the centre, fold the fabric in half and then in half again, the centre of the fabric is located where the folds intersect. To mark the centre point make a small dot with a Water Soluble Pen.
Every chart lists the finished size of the cross stitch design. Add at least 8cm (3”) all around the design area for framing or more if your finishing technique requires it.
DO NOT wash your fabric before you use it. Washing will tighten up the holes and make stitching on the fabric more difficult as the squares become harder to see.
Embroidery hoops are especially helpful if you are a beginner. See below for a step-by-step on how to easily insert your fabric into an embroidery hoop.
HOW TO USE AN EMBROIDERY HOOP:

Loosen the screw or nut on the outer embroidery hoop and separate the inner and outer rings. The outer ring will hold the fabric over the inner ring once you have inserted the fabric.

Place the inner ring on a flat surface. Place your fabric over it, then put the outer ring over the fabric and press until the bottom ring is snug inside the outer ring. Tug the corners of the fabric slightly to make the fabric taunt – make sure this is as tight as possible so the fabric won’t slip out of the hoop.

Tighten the nut or screw securely. Your fabric is now in place and ready to stitch.
PREPARING YOUR NEEDLE
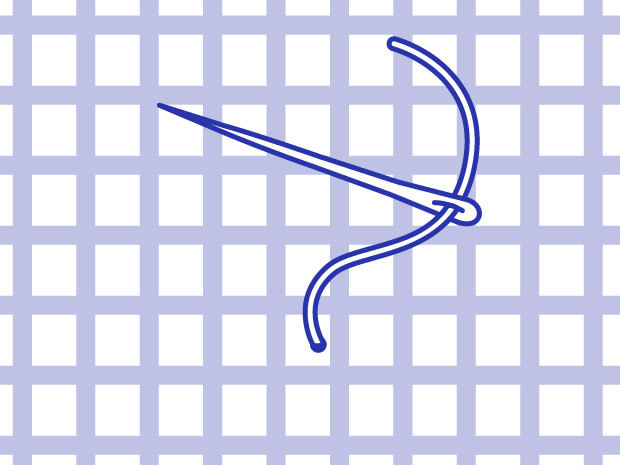
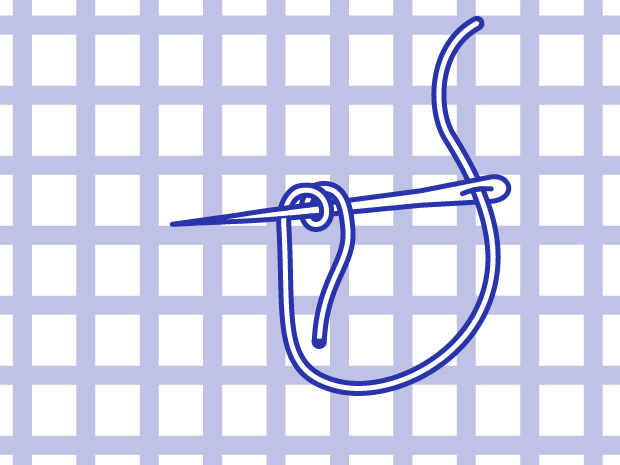
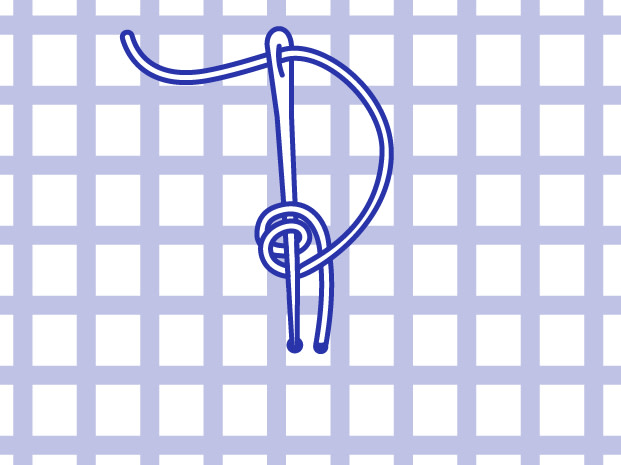
To thread your needle it is easiest to use the DMC Needle Threader. To use the DMC Needle Threader, slide the eye of the needle onto the hook, then loop the thread on the hook and pass the hook through the eye of the needle and pull the thread through.

Here are some other ways to thread your needle without the assistance of a threader.

Pinch and Poke
Pinch and Poke – Cut a clean end of thread and pinch it between your thumb and forefinger, leaving only a little of the end exposed. Holding the needle in your other hand, “poke” the eye of the needle over the tip and the thread into the eye, then pull the thread through. Pinching the thread gives you more control to guide the thread into the eye. You may have to “saw” the eye of the needle back and forth slightly to get the thread to enter the eye.

Loop, Pinch and Press
Loop, Pinch and Press – Loop the end of thread over the eye of the needle and pinch the loop tightly between your thumb and forefinger. Remove the needle from the loop and press the eye of the needle down over the thread. Pull on the loop to get the thread through the eye of the needle.
The Design Chart

A Design Chart contains all the information you need to stitch your design. The chart lists what kind of thread to use, how many strands and the fabric type. A thread colour key shows you the symbols that correspond to each colour needed to stitch the design. The squares on the Design Chart correspond to the squares on the fabric, every square on the design chart that requires a stitch will contain a symbol. A Cross Stitch Pattern is a grid made up of tiny squares, each square on the grid represents a square of Aida fabric. Grid lines are usually darker in 10 x 10 sections to make reading the pattern, counting the stitches, and keeping your place much easier. Cross Stitch patterns also have arrows to indicate the centre of the design. It is important that you centralize your design. To find the centre of the design, follow the four arrows found on the outside edge of the chart. They will intersect at the middle point. Cross stitch charts can be in colour or black and white. The symbols on the chart will tell you if a cross is needed, or a fractional stitch is needed.
TIP: Never leave your work in the hoop for an extended period of time. This can cause creases in the fabric that are difficult to remove. It is best to take your work out of the hoop when you’re not working on it, as it only takes a moment to place it back in the hoop.
TIP: Make sure your hands and work surface are kept clean while you’re stitching. Make it a habit to wash your hands before you begin to stitch and keep drinks and snacks away from the area.
TIP: DMC recommends that you start stitching the design in the centre of the fabric and work outwards towards the edges. Beginners and all stitchers alike, it’s best to start in the centre and avoid a costly miscalculation only to find that you’ve run out of fabric to finish stitching the design.
Starting & Ending
To create beautiful cross stitch designs, DMC recommends starting your stitching with one the methods described below.
IN LINE WASTE KNOT METHOD
This “beginners” starting technique is best used to start a new design or to start stitching in a new area of the design. Knot the end of your thread and take your needle from the front to the back about 2.5cm (1”) or so from your starting point running the thread along the same line you plan to stitch. Bring the needle up to the front of the fabric at the starting point of your first cross stitch. Start stitching towards the knot, being sure to cross over the thread on the back with each stitch to secure it. When your stitching reaches the knot, pull the knot up and clip it off close to the fabric and continue stitching.

This “beginners” starting technique is best used to start a new design or to start stitching in a new area of the design. Knot the end of your thread and take your needle from the front to the back about 2.5cm (1”) or so from your starting point running the thread along the same line you plan to stitch. Bring the needle up to the front of the fabric at the starting point of your first cross stitch. Start stitching towards the knot, being sure to cross over the thread on the back with each stitch to secure it. When your stitching reaches the knot, pull the knot up and clip it off close to the fabric and continue stitching.

AWAY KNOT METHOD
Another easy way to start a new design or to start stitching in a new area of the design is the Away Knot. Knot the end of the thread and take your needle from the front side onto the back several inches away from your starting point and start stitching. When you finish stitching with that thread, pull the knot up and clip it off. Turn your work over, re-thread the needle with the remaining thread and weave the thread through several stitches on the back to secure it.

STITCHING OVER METHOD
Pull your threaded needle up onto the front side of the fabric, leaving a 2.5cm (1”) end of thread on the back. Hold the end of thread against the back of the fabric in the direction you plan to stitch and work the first 4 to 5 stitches over it to secure it into place. Be sure to check the back to confirm that your stitches are covering the thread and clip any loose ends before continuing to stitch.
Once you have started a project, you can secure new threads by weaving the thread under several adjacent stitches on the back and continue stitching.
STITCHING CROSS STITCH
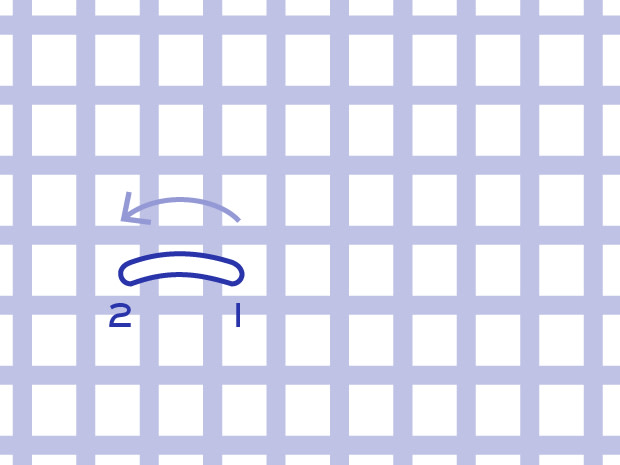
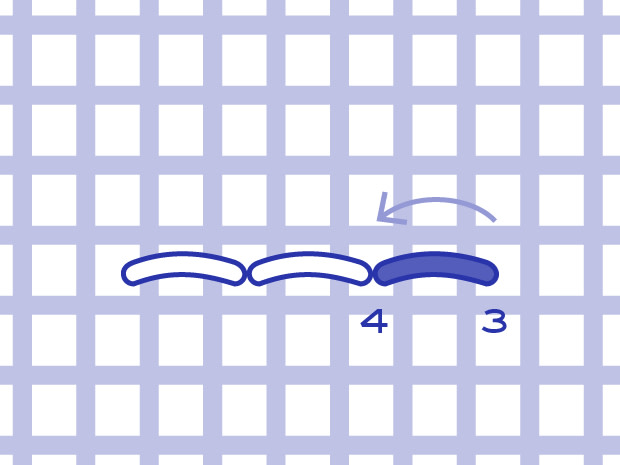
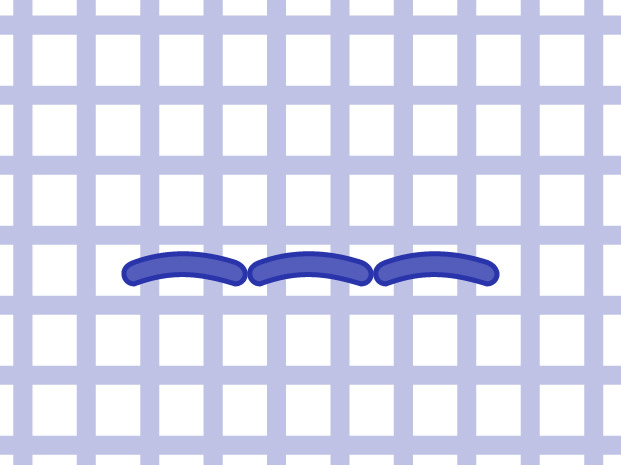
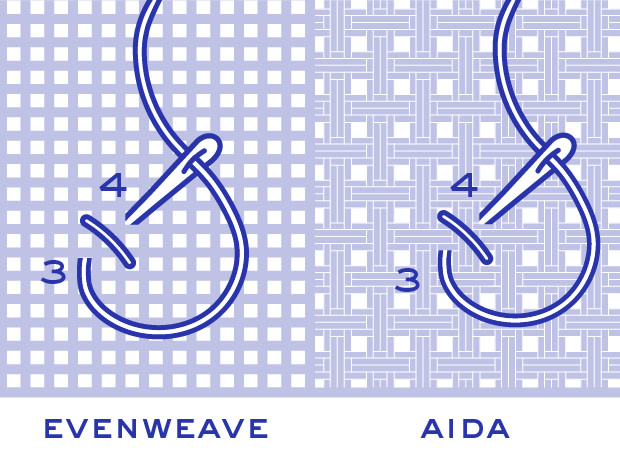
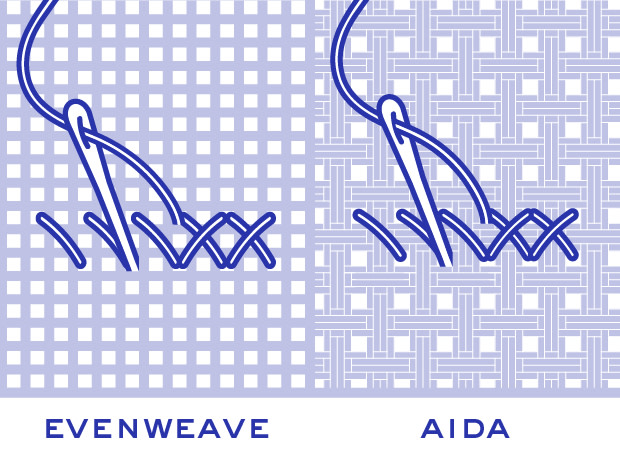
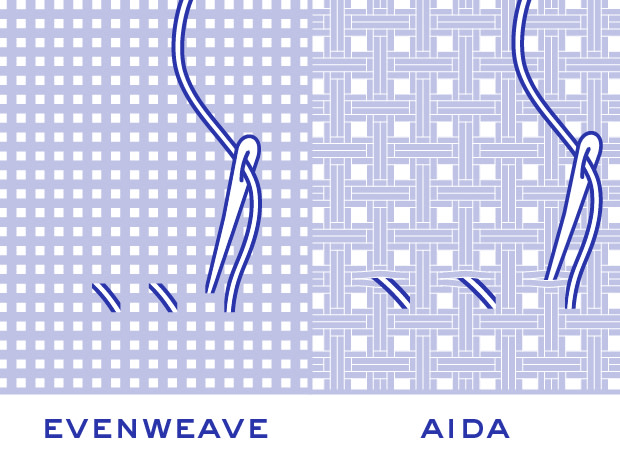
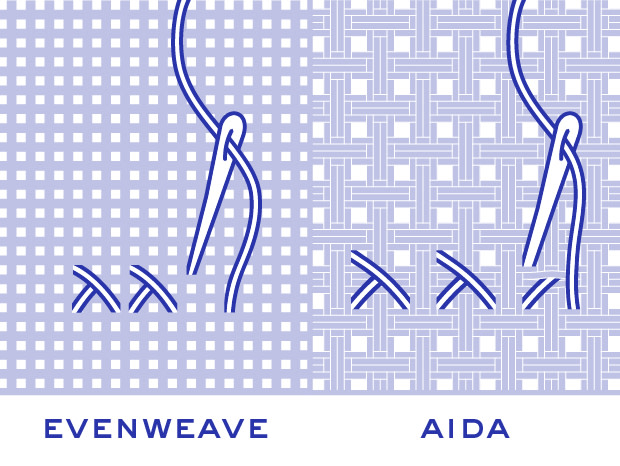
The cross stitch is worked in horizontal rows from left to right. To make a cross stitch bring the needle up at point 1, lower left hole of one square of the fabric and down at point 2, upper right hole of one square of the fabric. Bring your needle back up at 3 down at 4, up at 5 down at 6. Complete the row. The return row is stitched right to left, make crosses by bringing the needle up at 9 and down at 10, up at 11 down at 12. Complete the return row and repeat the stitching sequence until the area is stitched as charted.

ENDING A THREAD
To end a thread, run your threaded needle under the last few stitches on the back of the fabric, and clip off the excess thread. After rethreading the needle to continue, simply run the needle under several stitches on the back to secure the thread and resume stitching.

6 basic stitches used in cross stitch
You can discover more stitches with the DMC Stitch Guide Book or refer to the DMC Embroidery Stitch Guide to learn how to stitch 27 different embroidery stitches.
Cross Stitch – A Cross Stitch is an x-shaped embroidery stitch
Half Stitch - The Half Stitch is a diagonal stitch that goes from one corner of the fabric square to the opposite corner. Some designs use the half stitch to add interest and texture to backgrounds and shadows.
Quarter Stitch – A quarter stitch resembles a half stitch but is half its length and only extends into the centre of the stitching square. Quarter stitches are often used to create details or to complete a three quarter stitch that has been stitched in a different colour.
Three Quarter Stitch –Three Quarter stitches are used to create curved design lines. This fractional stitch makes it possible to add detail to the otherwise “blocky” look of traditional cross stitch.
Back Stitch – A backstitch is a straight stitch used for outlining or lettering. These stitches form lines and are used to outline shapes or to add fine detail to your design.
French Knot – The French Knot is a popular decorative stitch used in cross stitch to add detail. French knots look great clustered together to create texture, or individually to serve as a centre of a flower, or eyes to an animal on your design.
NOTE: Half stitches, quarter stitches and three-quarter stitches are commonly called fractional stitches because they are divisions of the cross stitch. Fractional stitches are considered advanced stitches and are recommended for more experienced stitchers.