Get to grips with the basics of cross stitch.
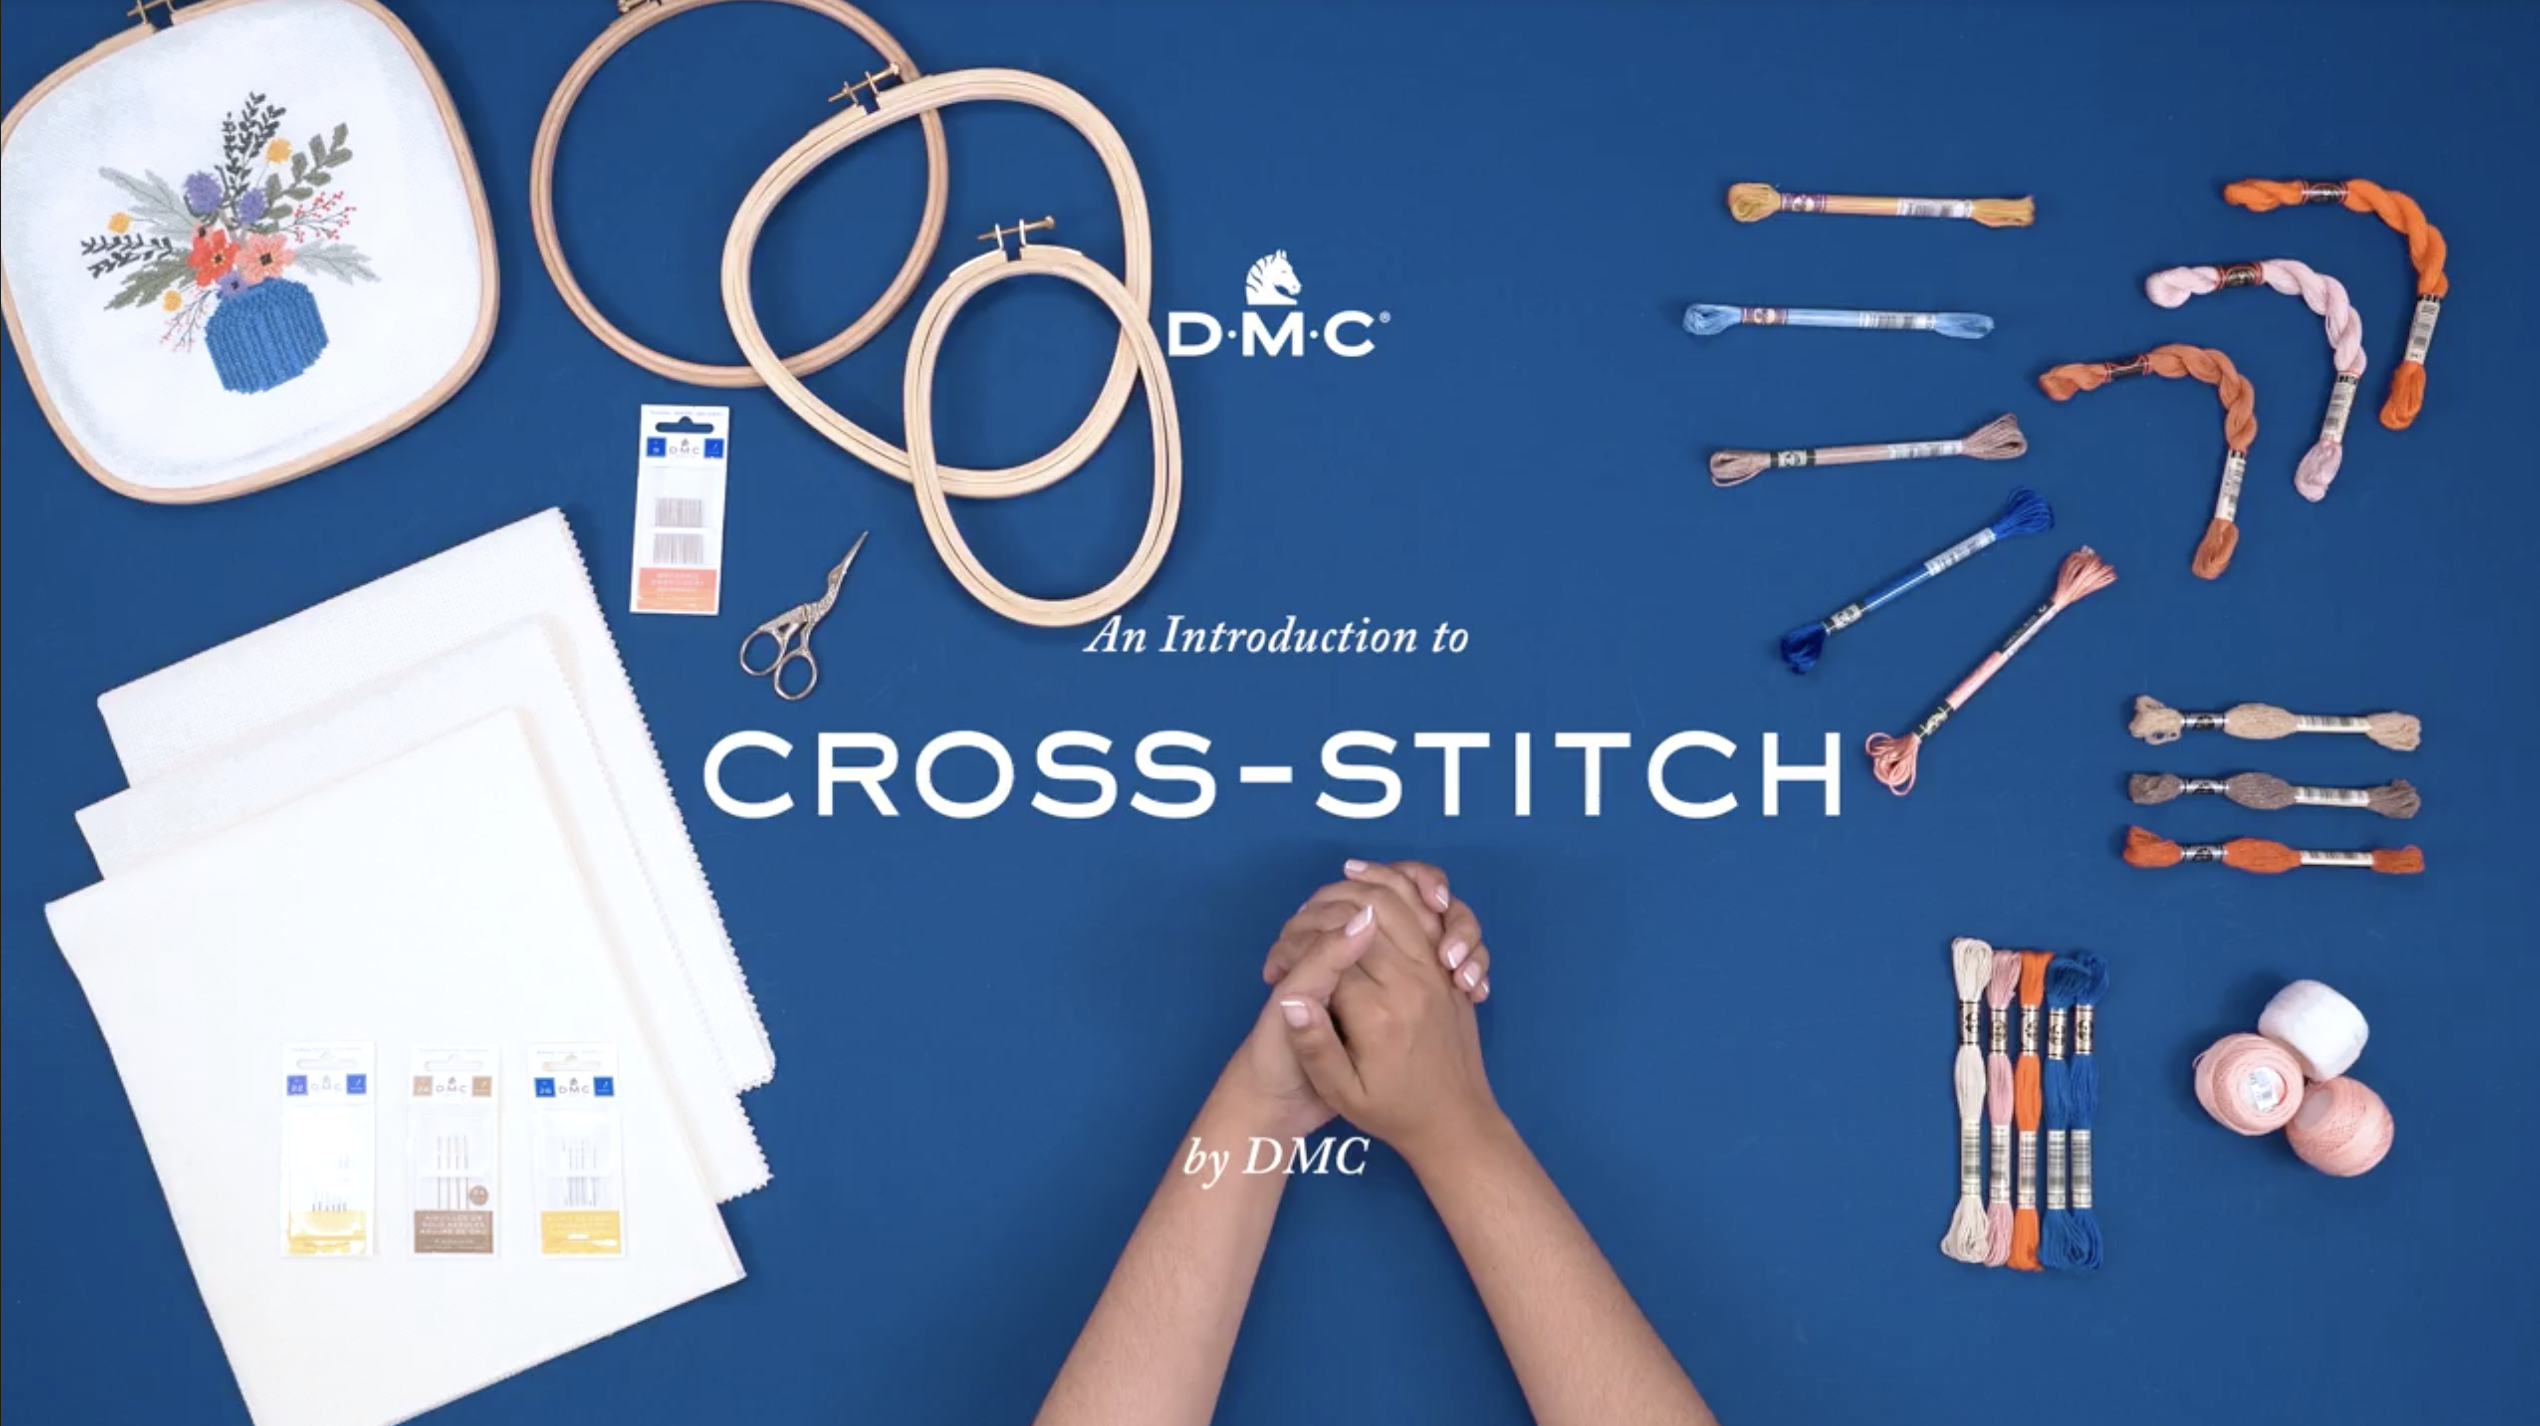
An Introduction To Cross Stitch
From the tools you’ll need to what you can make, this video is perfect for complete novices.
Cross Stitch
Beginner
Technique
The finest thread and yarn since 1746Shop All Threads →
Everything you need for your next makeStitch Your Photo: Personalized Kits →
Exquisite design translated into clear patternsShop All Patterns →
Nurture wellbeing by learning new craftsExplore by Craft →
Inspiring makers around the world since 1746Read DMC Craft Studio Blog →
From the tools you’ll need to what you can make, this video is perfect for complete novices.
Cross Stitch
Beginner
Technique
Expect monthly newsletters in your inbox, with tips and tricks for all your needs.
Hello,
We think you are in United States. Would you like to visit your local site for a tailored experience?