In this article we take a closer look at how cross stitch designer Anna Matvieieva uses back stitch in the designs she created recently for the DMC Designer Collection and give you tips for adding this humble stitch to your own cross stitch projects. This often overlooked stitch can really transform the look of cross stitch, as Anna says you can use it “like makeup to complete your work and emphasise details.”
What Is a Back Stitch?
The back stitch is a basic flat stitch that gives a continuous line. Each stitch is worked back towards the previous stitch, hence the name. This simple stitch is great for adding extra details such as facial features or even to add small lettering. They’re also particularly useful when wanting to outline a design which adds a beautiful, polished finish to a project.
Cross stitch designer Anna Matvieieva uses back stitch in her designs to give them a sketch-like painterly quality. In the ivy on the left hand side of the design, the color overlaps the back stitches, which gives it a unique watercolor sketch aesthetic.
Emphasizing Shapes
In the Eiffel Tower design, which Anna recently created for the Designer Collection, she used back stitch to add the texture to the tower itself to represent its structure and make it the focal point of her charming composition.
She also uses back stitch to separate and define the outline of the roofs. In the ivy on the left hand side of the design, the color overlaps the back stitches, which gives it a unique watercolor sketch aesthetic.


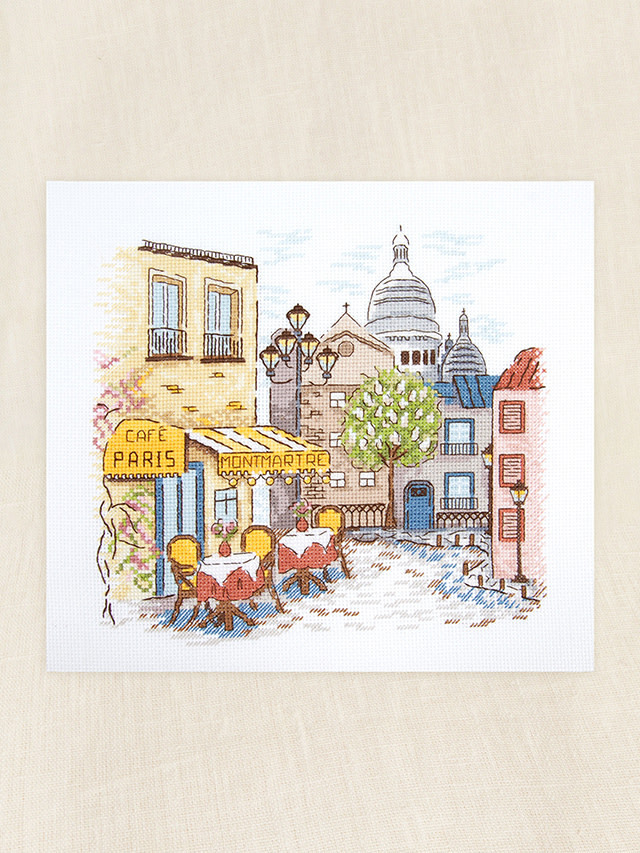
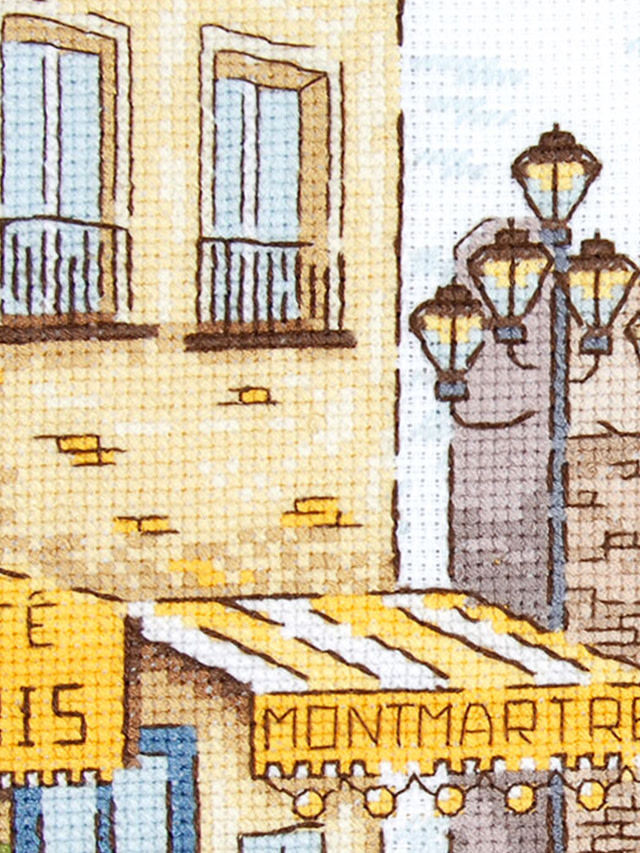
In her Montmartre design, Anna uses back stitches to accentuate the roundness of the dome as well as defining the fine details of the shutters and furniture.
It’s worth noting that around the windows and in other areas too, Anna uses broken lines which gives the piece a painterly feel. She also doesn’t use black thread to outline and add fine details.
Instead, she opts for a softer look by choosing dark shades that complement the colors she has used in the piece. This ensures the shapes are defined without looking too harsh.


How to Back Stitch

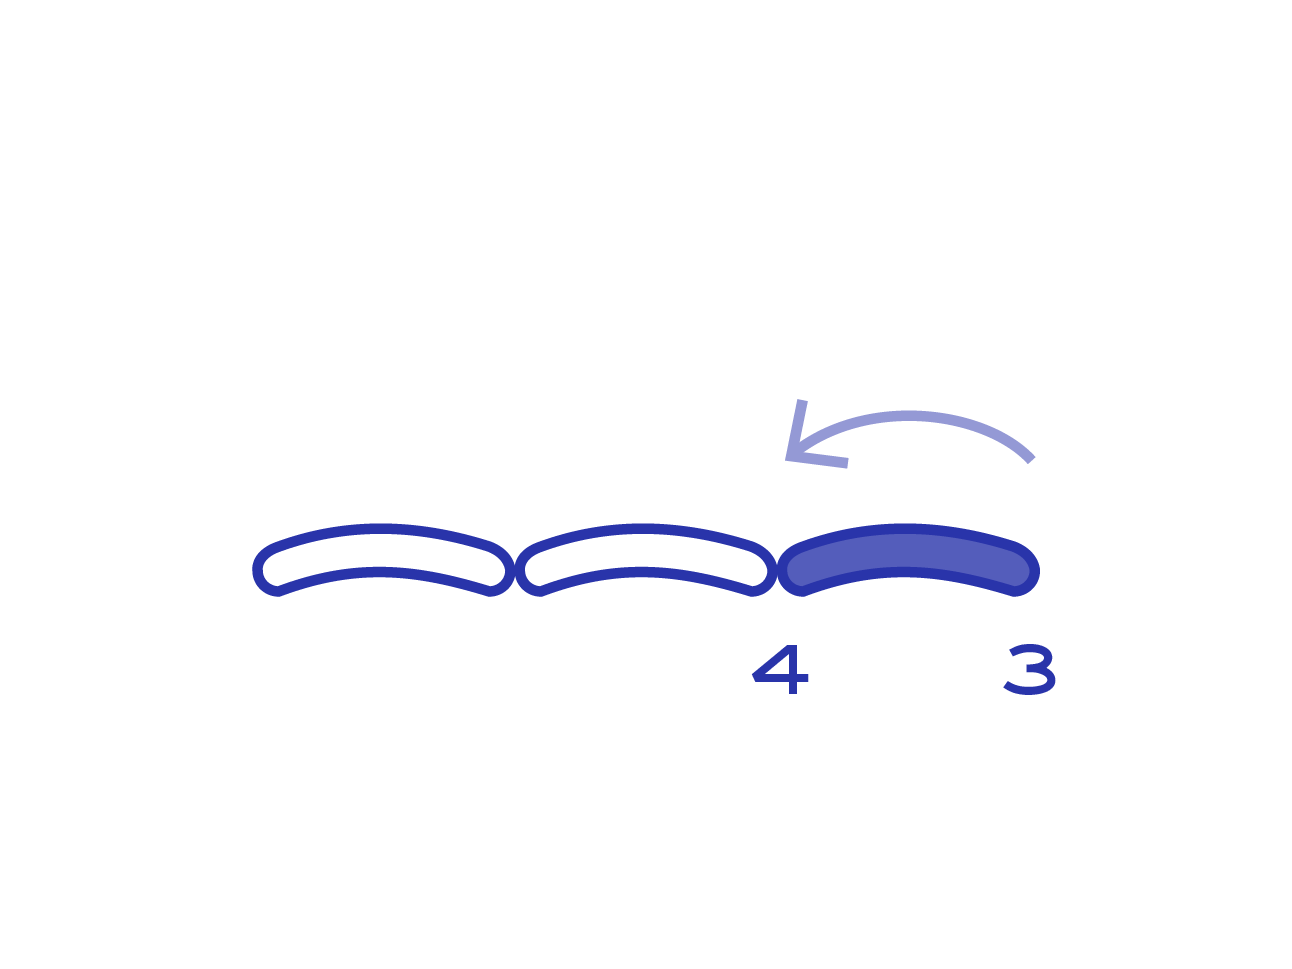
Bring the needle up when you want your line of back stitch to begin. Decide how long you want your stitches to be and take the needle down through the fabric to make the first stitch.

Leave a gap the same length as your stitch and bring the needle up. Working back towards your first stitch, make the second stitch by taking the needle down at the end of the first stitch.

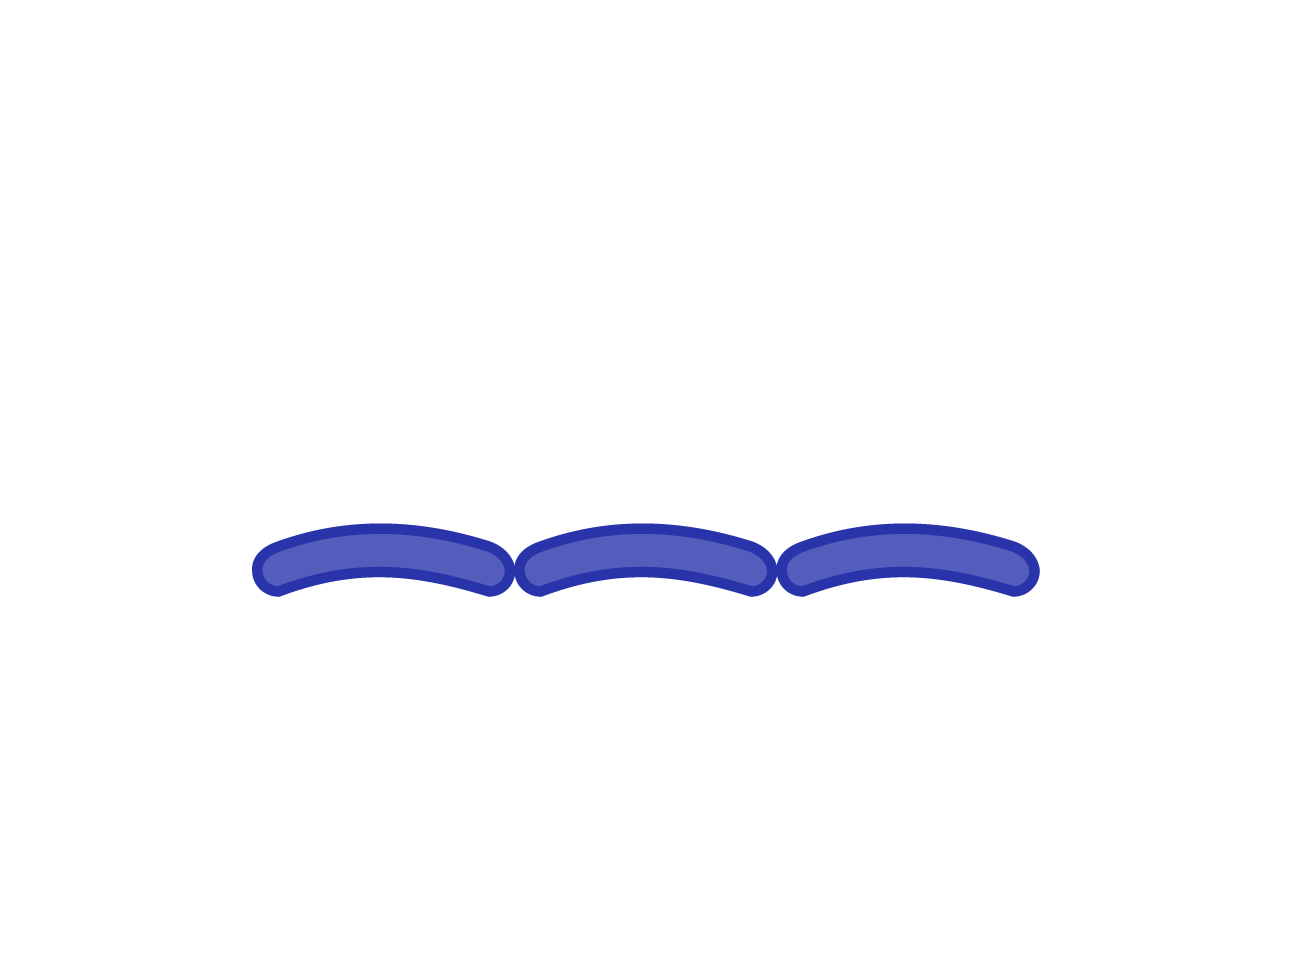
Bring the needle up when you want your line of back stitch to begin. Decide how long you want your stitches to be and take the needle down through the fabric to make the first stitch.

Leave a gap the same length as your stitch and bring the needle up. Working back towards your first stitch, make the second stitch by taking the needle down at the end of the first stitch.
8 Top Tips for Using Back Stitch in Cross Stitch
Use these tips for adding back stitch to your cross stitch projects.
Add back stitch after you have completed your cross stitches because they can overlap areas of stitching.
If you are using Aida it may be necessary to pierce the fabric and stitch between the weave rather than through the main holes to allow your placement of stitches to follow curves or less uniform shapes.
Try stitching on evenweave instead of Aida this can make the placement of back stitches (especially for curved shapes) a little easier.
Use darker shades of the colors in the cross stitch instead of black for a more subtle look.
Use back stitch to accentuate key areas and add definition.
Use a single strand of embroidery floss to backstitch fine outlines or, for thicker outlines use multiple strands or two rows of back stitch.
Keep stitch length consistent to create a uniform result.
Take care with your tension. If you pull back stitch too tight it may pucker the fabric.
We hope you have found this article helpful and that you feel inspired to try back stitch in your next cross stitch project. We’d love to see the results, use #DMC when you share your work and you might even find your work appearing in one of our galleries on dmc.com.


